
Review
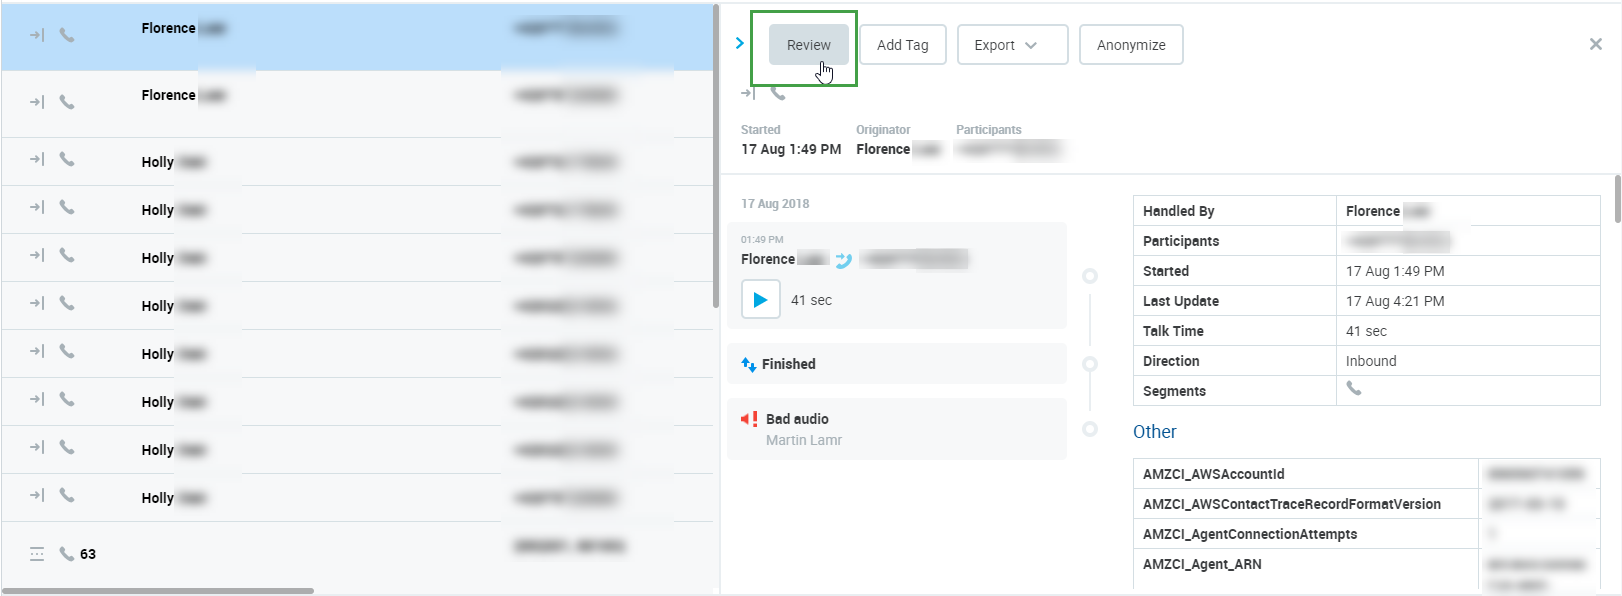
The Conversation screen enables you to review a selected conversation. A conversation may have one or more identified agents associated with the selected conversation:
-
In case there is only one identified agent in the conversation, click Review and the Review Conversation dialog displays.
-
In case there is more than one agent associated with the conversation, the Review button changes into a dropdown from which you need to select the agent you wish to review.
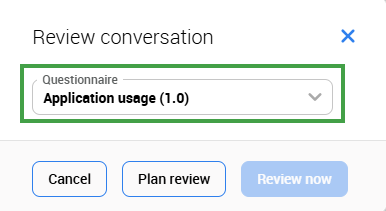
The Review Conversation window displays:
-
Select a Questionnaire to be used for the given review.
-
Click Plan review or Review now.
-
If you select Plan review a new window will appear. In the Reviewer conversation window, select one or more Reviewer(s), for example, for calibration purposes. You may select/deselect all Reviewers by clicking the top checkbox next to Reviewer. Only reviewers who have the right to review the respective agents will be listed. This includes also the agents that participated in the conversation if they have the
REVIEWS_SELF_ADDpermission. See the Quality Management Roles page for more details on permissions.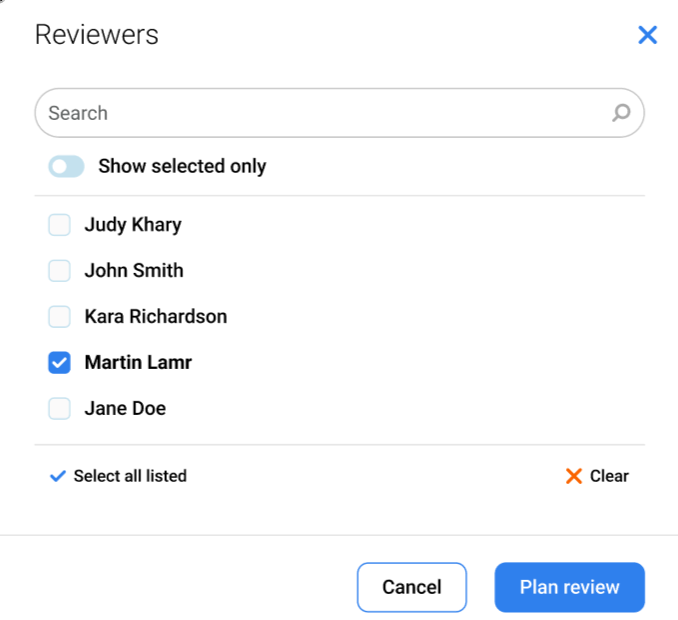
Click Plan review to confirm.
-
If you select Review now you will go directly to the Grading form.
-
The Quality Management application recognizes membership in one group only. This group should be marked as a 'main' group in User Management. If users were imported from external systems, like UCCX or UCCE, consider carefully if their group membership and/or the main group selection should be manually modified from within User Management.
A reviewer must have the agents' main group assigned to them (more details on the page: Adding Users to Groups) if they wish to perform reviews on these agents.
The following rules apply to setting the main group in User Management:
-
If a user is a member of one group only, this group is set as main.
-
In case a user is a member of more than one group, only one group can be set as main.
-
If a user is removed from the main group, the first group from available groups sorted alphabetically will be set as the new main group.
Self review
Agents need the REVIEWS_SELF_ADD permission to be able to do a self-review(they may also require REVIEWS_CONV_ADD, REVIEWS_SELF_VIEW, REVIEWS_CONV_EDIT in order to add or replace conversations).
To see the reviews go to Reviews in the navigation tree.
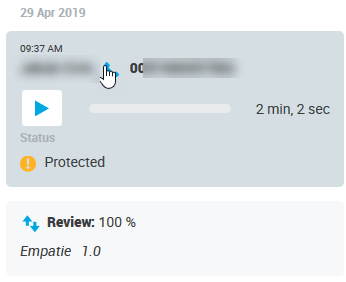
All conversations used in reviews are flagged and marked as Protected and the score is displayed.
Adding Tags
Tags can be used to mark conversations. Do this to quickly find conversations in the future using a filter. To tag a conversation select it and click Add Tag(1). Tags show in a dedicated column, mouse over the blue icon to view details.
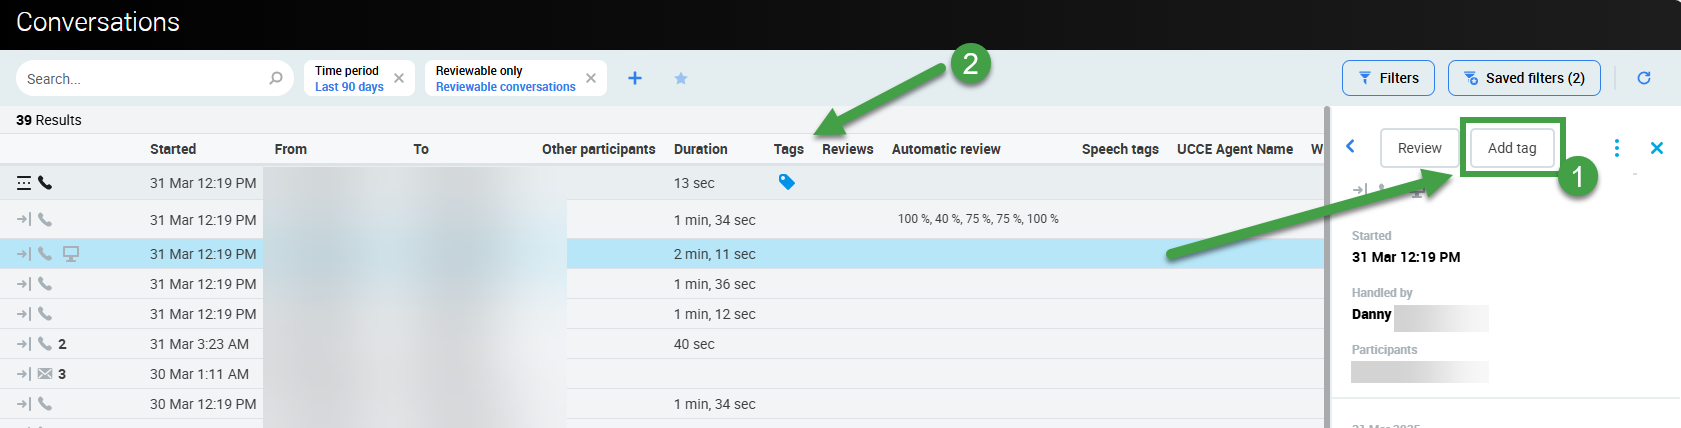
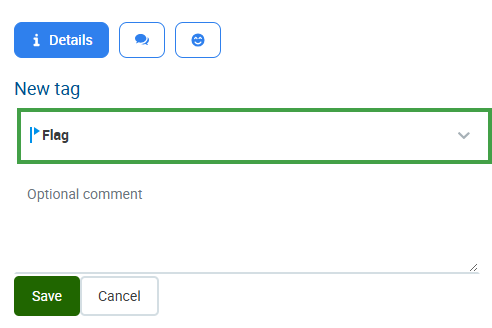
Clicking the Add Tag button shows the preset Flag tag – you may add a comment not exceeding 1000 characters.
You can choose from the available tags, one at a time, and optionally type a comment. If you choose the Comment tag, entering a comment is mandatory. There is a one directional comment propagation from segment comments stored in the database into the Comment tag's comment.
You may even create your own custom tag. See the Tags page for more information. Please note that you need permission to manage tags, by default assigned to the CC Manager and Compliance Analyst role as part of the CC_MANAGER and COMPLIANCE_ANALYST roles. Refer to the section Default Composite Application Roles on the page Quality Management Roles.
Alternatively, it's also possible to manage tags via Framework Data API. More info can be found on your QM local host's API Swagger documentation (e.g. http://your.local.machine/encourage/api-doc/index.html). More about Swagger (OpenAPI 2.0).
Custom tags
-
New key-value pair custom tags are usually created by Administrators.
-
Any custom tag added to a conversation will propagate its corresponding key-value pair back to the media recording metadata.
Data tags and the use of key-value pairs are explained in the Data Tags section of the page Searching for Conversations in the Conversation Explorer .
Tagged conversations will display a general tag icon. Hover over the icon to see the exact tag(s) with any comments that were added.

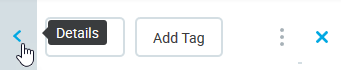
The tags will also be visible within the Conversation Details window. Click the Details button to view or modify it.
Warning Message
If the following message (or a similar error) displays when working with tags please refresh your screen and add the tag again.
Unable to perform action. Refresh search results and try again.
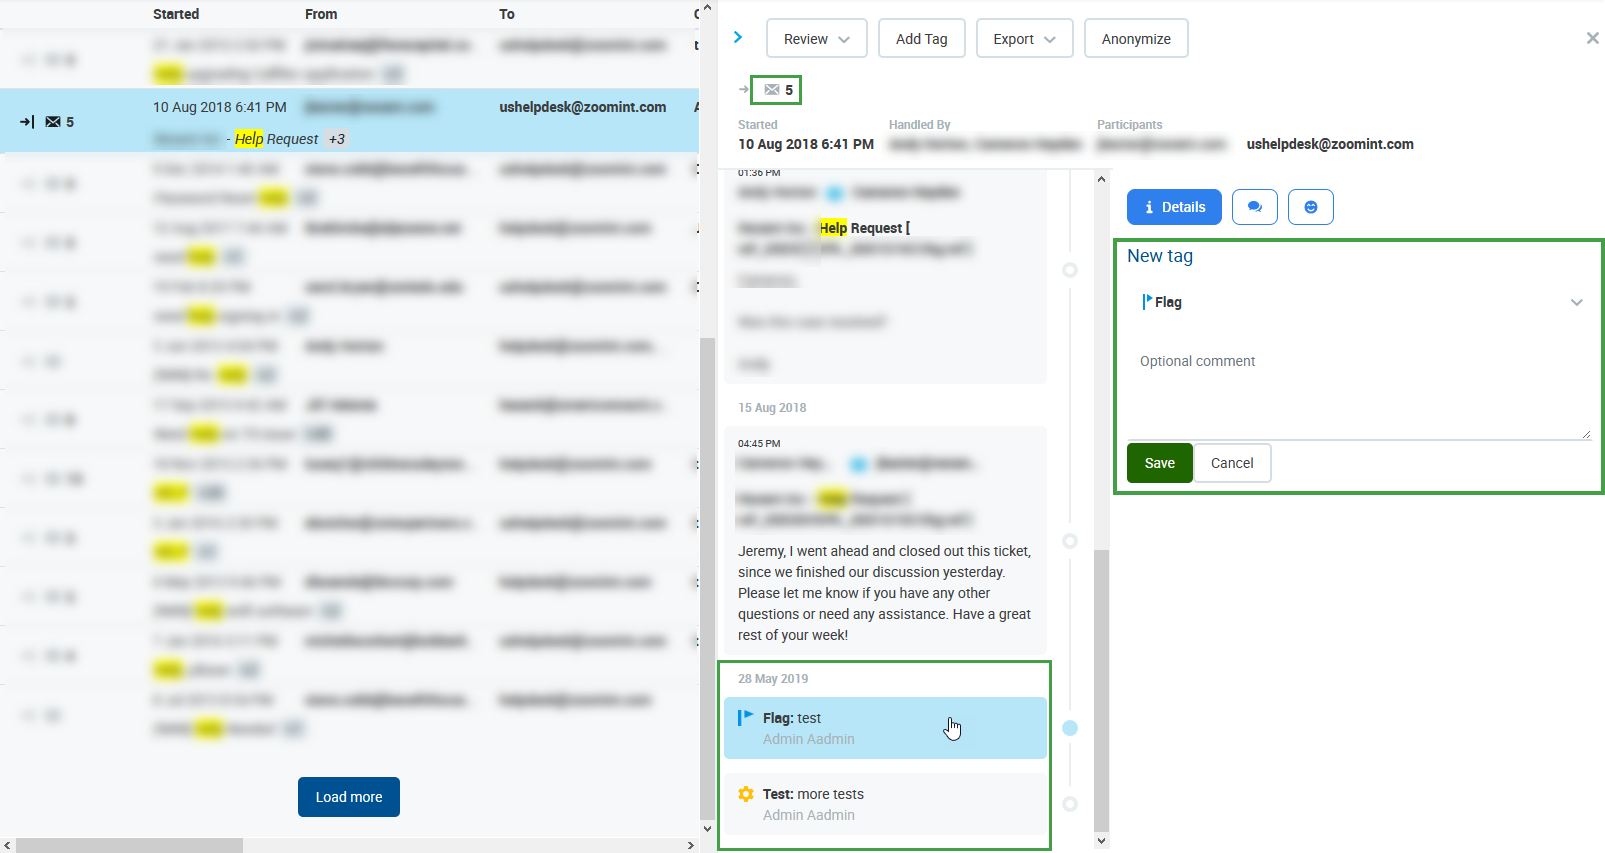
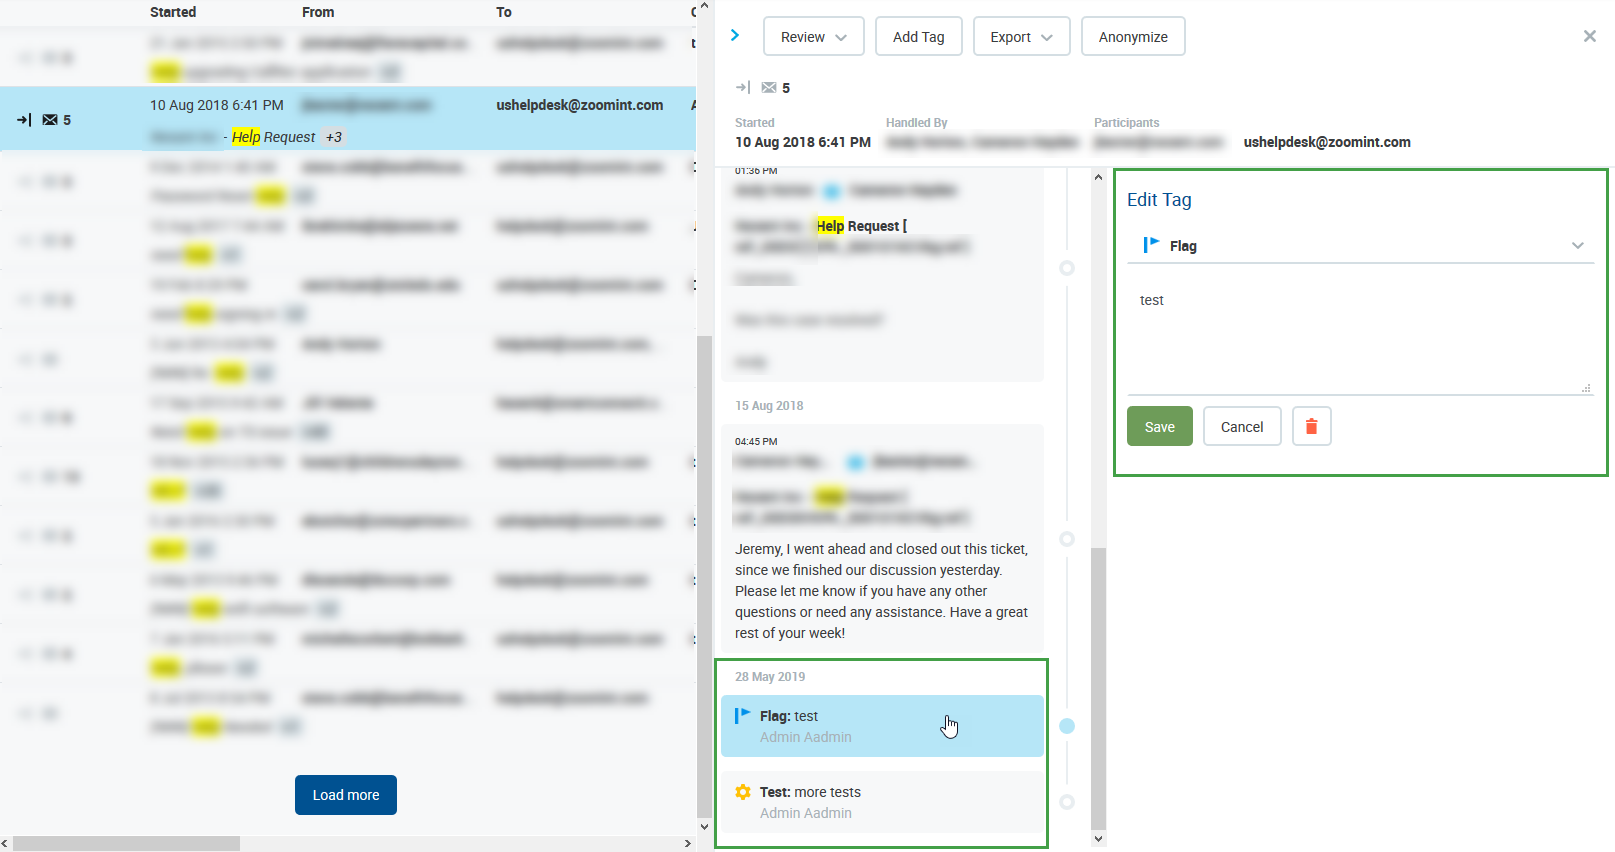
Editing or Deleting Tags
The Conversations Details window also enables you to edit or delete the tags and their comments. Select the conversation, click to expand the Details pane and choose the tag you wish to modify or delete.
You may also modify or remove your own custom tag, at the moment this is supported via Framework Data API. More info can be found on your QM local host's API Swagger documentation (e.g. http://your.local.machine/encourage/api-doc/index.html). More about Swagger (OpenAPI 2.0).
-
If propagation of a tag change to the metadata stored in the database fails you will see an error message with a prompt to try saving your changes at a later time.
-
A saved filter that includes tag(s) with a Key-Value pair will also return results based on the Key-Value pair associated at the time of the search execution.
Export
The Export feature is only available to QM users withINTERACTIONS_EXPORT_MEDIA or INTERACTIONS_EXPORT_JSON permission. More about roles. It allows you to download the following media types / formats:

The following options are available in the Export dropdown:
-
Data (JSON) – You can export data from any selected conversation into a JSON file – an open-standard file format that uses human-readable text. Information about the data exported can be found on your QM local host's API Swagger documentation (e.g.
http://your.local.machine/encourage/api-doc/index.html). More about Swagger (OpenAPI 2.0).-
It is possible to select and export data from one conversation at a time
-
The export file is saved to the user's computer
-
This option only exports data available for your installation(e.g. Participants, custom data, reviews, etc. Text contained within emails, chat content, assigned tags, transcriptions, AI grading, flags and topics detected. It does not contain voice or video recordings!)
-
-
Media (MP3) – This option, only active if the selected conversation contains at least one call, enables you to download the call conversation audio file.
-
Call segments will be merged into one MP3 file. In case of missing or erroneous media in one or more segments, the MP3 file won't be exported and you will see an error message.
-
The downloaded file name will be in the following format:
conversationID_UUID.mp3
-
-
All Media (ZIP) – This option exports all available media in ZIP format. (Screen Recordings are not available for export)
-
In case of missing or erroneous media the exported zip file may be empty.
-
The downloaded file name will be in the following format:
conversationID_UUID.zip
-
If the Export option is not visible, click on the expandable options menu (three dots).
Regulatory Compliance
When exporting conversation data, ensure that any Personally identifiable information (PII) or any other sensitive information from a customer is not included in the exported file sent to another customer or compliance party.
Anonymize
In order to facilitate compliance with regulatory requirements related to personal data protection (such as GDPR), users of QM are able to select conversations on the conversation screen and anonymize Personally Identifiable Information at the click of a button. The Anonymize feature is available by default to QM users granted the permission INTERACTION_ANONYMIZE.
* Compliance setup
Learn how to choose which Personally Identifiable Information (PII) can be anonymized on the Compliance Setup page. Special permission is required.
Protection against Anonymization
Certain conversations may be protected against anonymization and deletion for compliance reasons. You cannot easily anonymize conversations protected due to compliance even if you have the 'INTERACTION_ANONYMIZE' permission. In Quality Management, users with the "MANAGE_DATA_LIFECYCLE" permission (assigned to the DEFAULT_CC_MANAGER as part of the Default Composite Application Role) have the ability to protect selected conversations against anonymization (see the Protected Conversations Against Anonymization section).
Warning! As of v 9.7
If call conversations are protected by Retention Policies due to compliance requirements, or marked by a MiFID II TAG they are protected against deletion and will be anonymized, users will not be informed that the media is protected against deletion.
Anonymizing Conversations Marked as Protected
Certain conversations may have a "protected flag", typically for two reasons:
-
"Protected flag" is set by a User of a third party integration.
-
All conversation segments that are either reviewed or planned for a review(or used in a survey) are automatically marked with a "protected flag".
You are able to anonymize this type of protected conversations. If such a conversation with at least one protected segment is being anonymized, a confirmation dialog, as shown below, is displayed and when confirmed, the "protected flag" is removed.
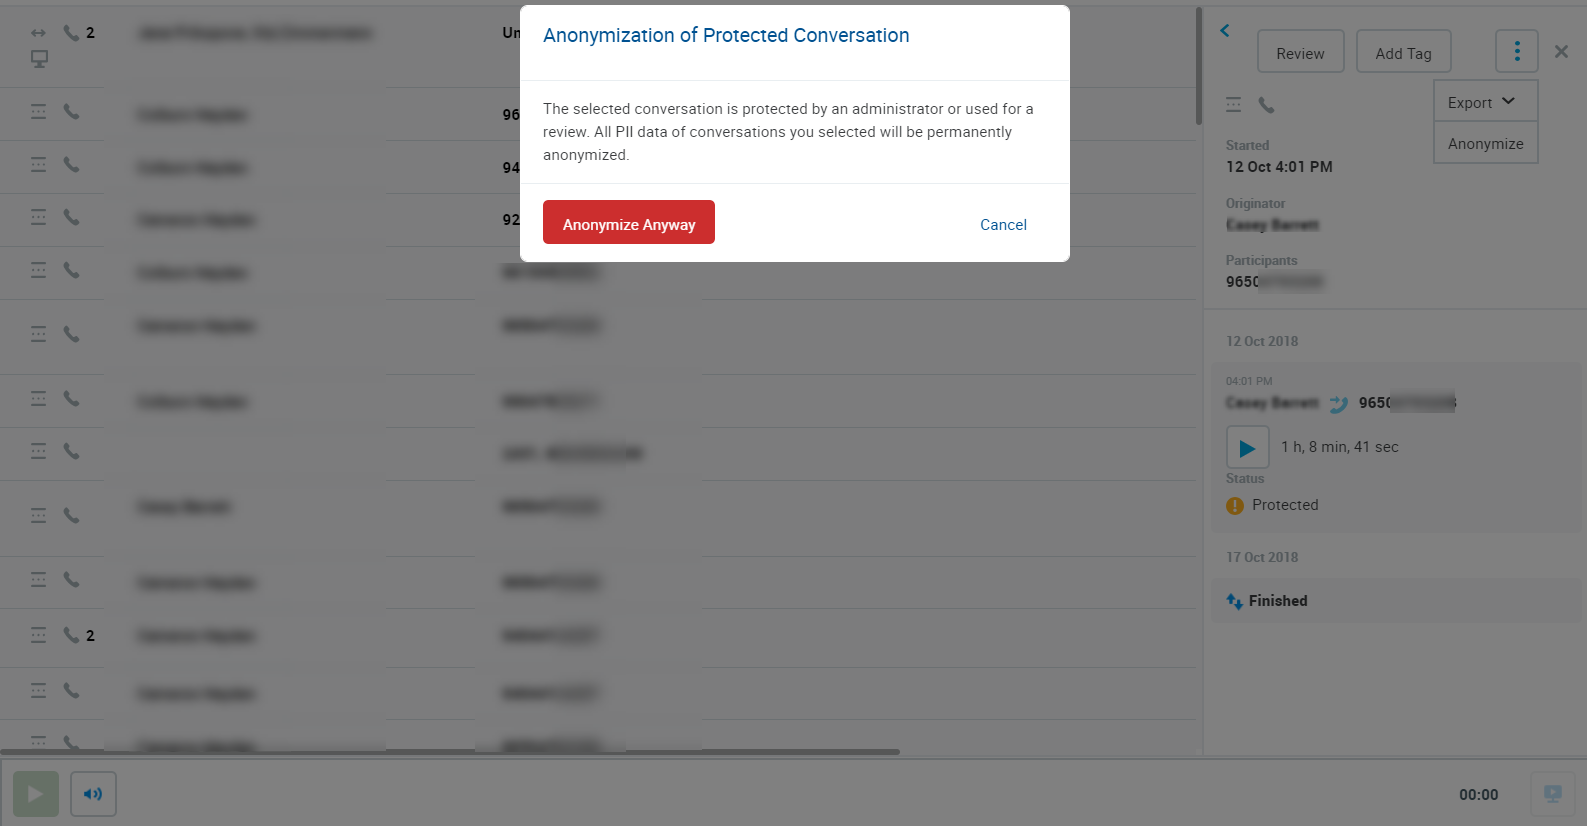
Example:
-
Let's imagine you have a planned review in Quality Management and a conversation is assigned for a review. Then all call segments of the conversations are marked as protected.
-
If you have proper permissions to anonymize such protected conversation, all the conversation's segments will be unprotected if you confirm the warning prompt pictured above. The following happens:
-
Conversation metadata will be anonymized (those that are marked to be anonymized).
-
Conversation´s segments will be marked for deletion (if media files should be deleted, see Compliance Setup) unless they are protected by a Compliance Rule.
-
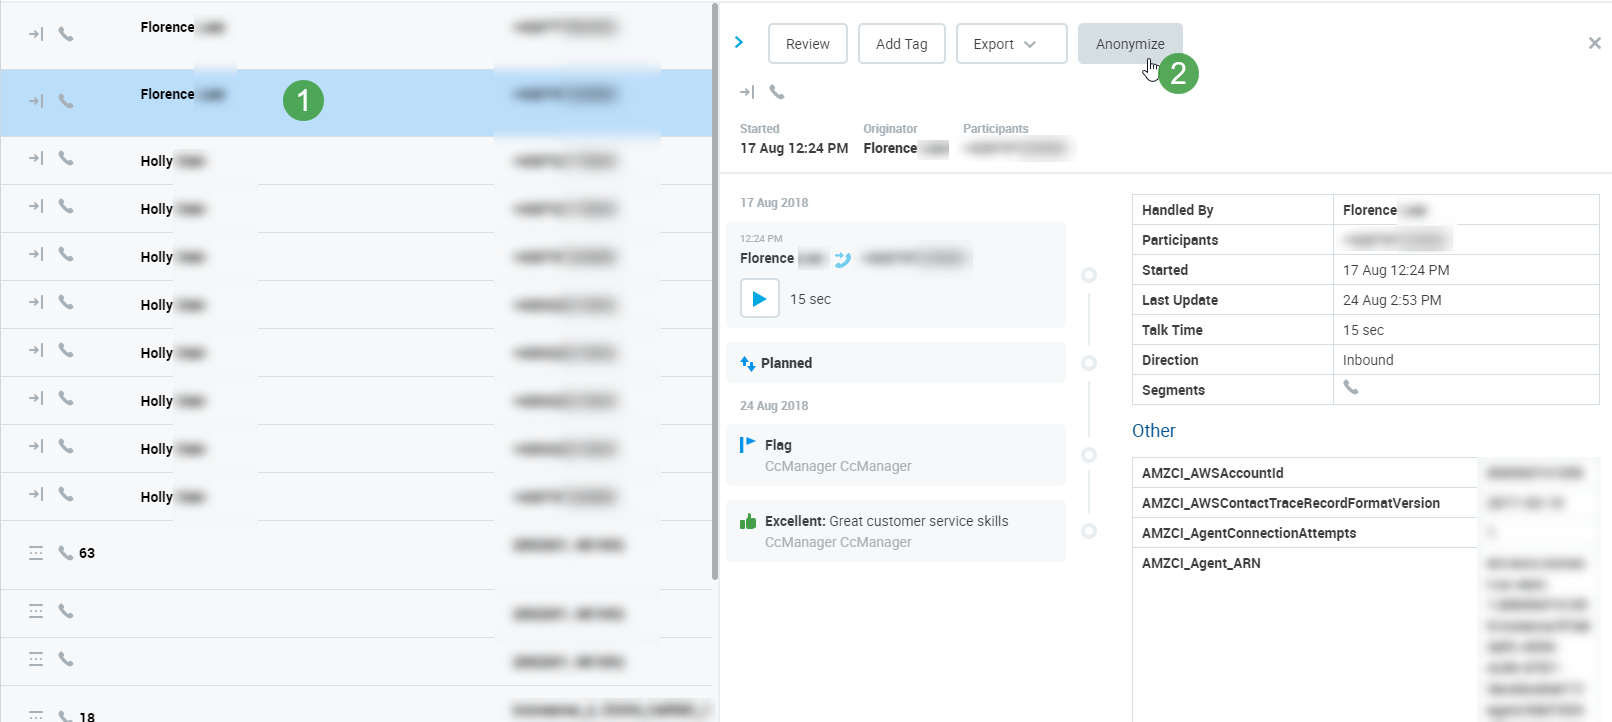
To Anonymize Personally Identifiable Information (PII)
-
Find and select the conversation on the Conversation Explorer that you wish to anonymize.
-
Click Anonymize to anonymize the select PII data.
-
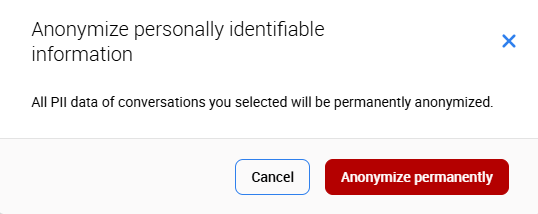
You will be notified that the anonymization is permanent and can not be reverted in the future.
– Anonymization will be executed for the following:-
Any data field* marked for anonymization will be anonymized in the source database.
-
Call Data anonymization will occur in all databases.
-
External databases are not affected by the anonymization process. These include, for example, emails from SalesForce.
-
-
Once you confirm by Clicking Anonymize Permanently and Anonymization is successfully performed you will see a confirmation message. An alert will display in case of an anonymization process failure.
-
The selected conversation will refresh and the anonymized data will be replaced by a placeholder indicating that the data was anonymized.
Various data fields can be selected for anonymization (see the Compliance Setup page).
PII data which can be anonymized includes Basic Data(such as phone number, email address or texts within email subject and body, chat room name and messages, etc.).
CustomData (which includes all metadata configured as filters in the Conversation Explorer) and Other metadata, such as external data.
Protected Conversations Against Anonymization
Certain conversations may be protected against anonymization and deletion, by the Quality Management toolset, using protected saved filters or by Retention Policies. Any conversation matching the protected saved filter criteria will be protected against anonymization. Call conversations marked by MiFID II TAG are already protected against deletion.
This feature only protects media from being deleted by the Quality Management toolset (which is designed primarily for the removal of non-call conversations) AND against anonymization triggered by Quality Management. This is separate from the Media Lifecycle Management (MLM) Tools.
If media is deleted by the MLM tool or Retention Policies then it will also be deleted from Quality Management. Data protection configured on Data Lifecycle screen will also be respected by Retention Policies!
Users with the "MANAGE_DATA_LIFECYCLE" permission (by default assigned to CC Managers) can set protection by using saved filters.
CAUTION
Please check the default Reviewable Conversations filter when creating saved filters. To change it, choose All Conversations from the Resource flags filter.
The example below shows how to save a search which will then be set for protection against anonymization. In this example we will protect Internal calls.
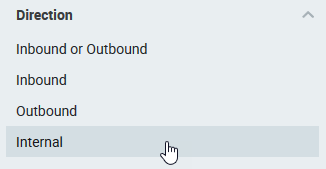
-
On Conversation Explorer choose the Internal option from the Direction filter.
-
Click Save Filters to save the filtered conversations (Internal calls).
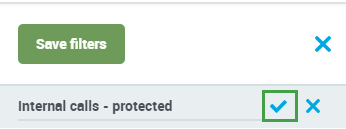
-
Name the Saved Filter as needed, e.g. "Internal calls - protected" and confirm saving.
-
This newly saved filter can be set as protected under the Data Lifecycle section in Quality Management, accessed via Administration > Data Lifecycle. Learn more on the Data Lifecycle page.
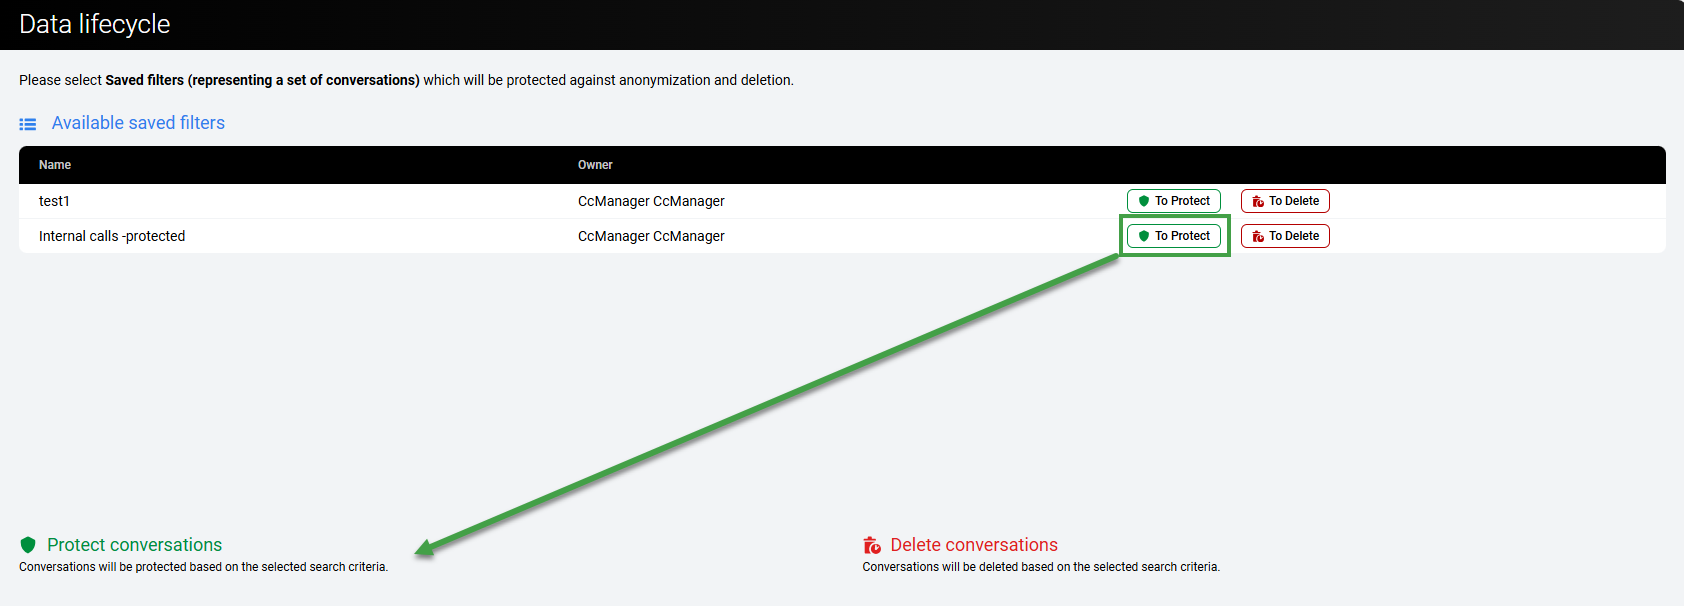
-
After clicking To protect, the filter will move to the lower section. In the future when you try to anonymize an Internal call, you will be notified that the conversation is protected and cannot be anonymized.
This means that the internal calls that match the protection criteria are protected, preventing all the matching conversations from anonymization. If needed, you can cancel the protection on the Data Lifecycle page.
Deletion of Content Created by Speech Recognition/Speech Generative AI
Content generated by the Speech Recognition / Speech Generative AI services (Transcriptions, AI Rating, Flags, Topics, Summaries, Highlights) will be permanently deleted when the associated conversation is deleted from the database.