
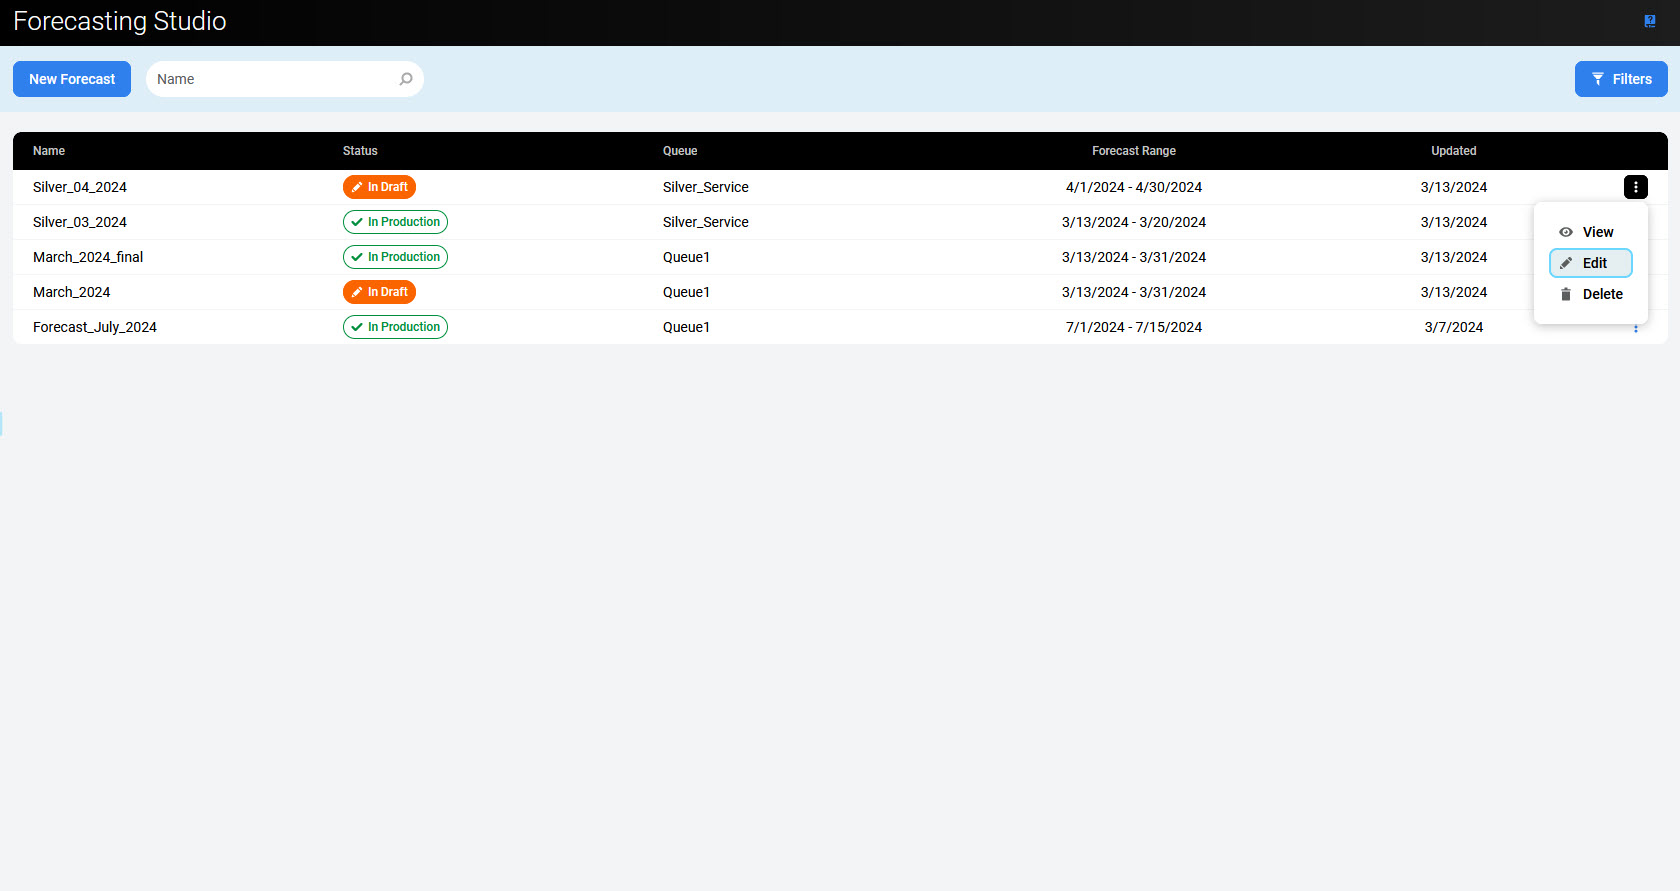
To edit a draft forecast, expand the menu on the right and click the Edit button.
A forecast may be recalculated after a change of the time zone of the queue. Both the forecast range and the historical data range are recalculated based on the queue's time zone to start at midnight. If the new historical data range is out of the available data range (the range of imported data for ACD queue/s which the queue is using) and the initially selected range (the range selected during forecast creation) is less than two weeks, an error message will display when trying to edit such forecast: "The forecast cannot be recalculated with time zone assigned to the queue due to missing historical data."
To resolve this issue, go back to the queue settings (Managing Queues) and modify the time zone of the queue. Otherwise, create a new forecast using a different historical data range.
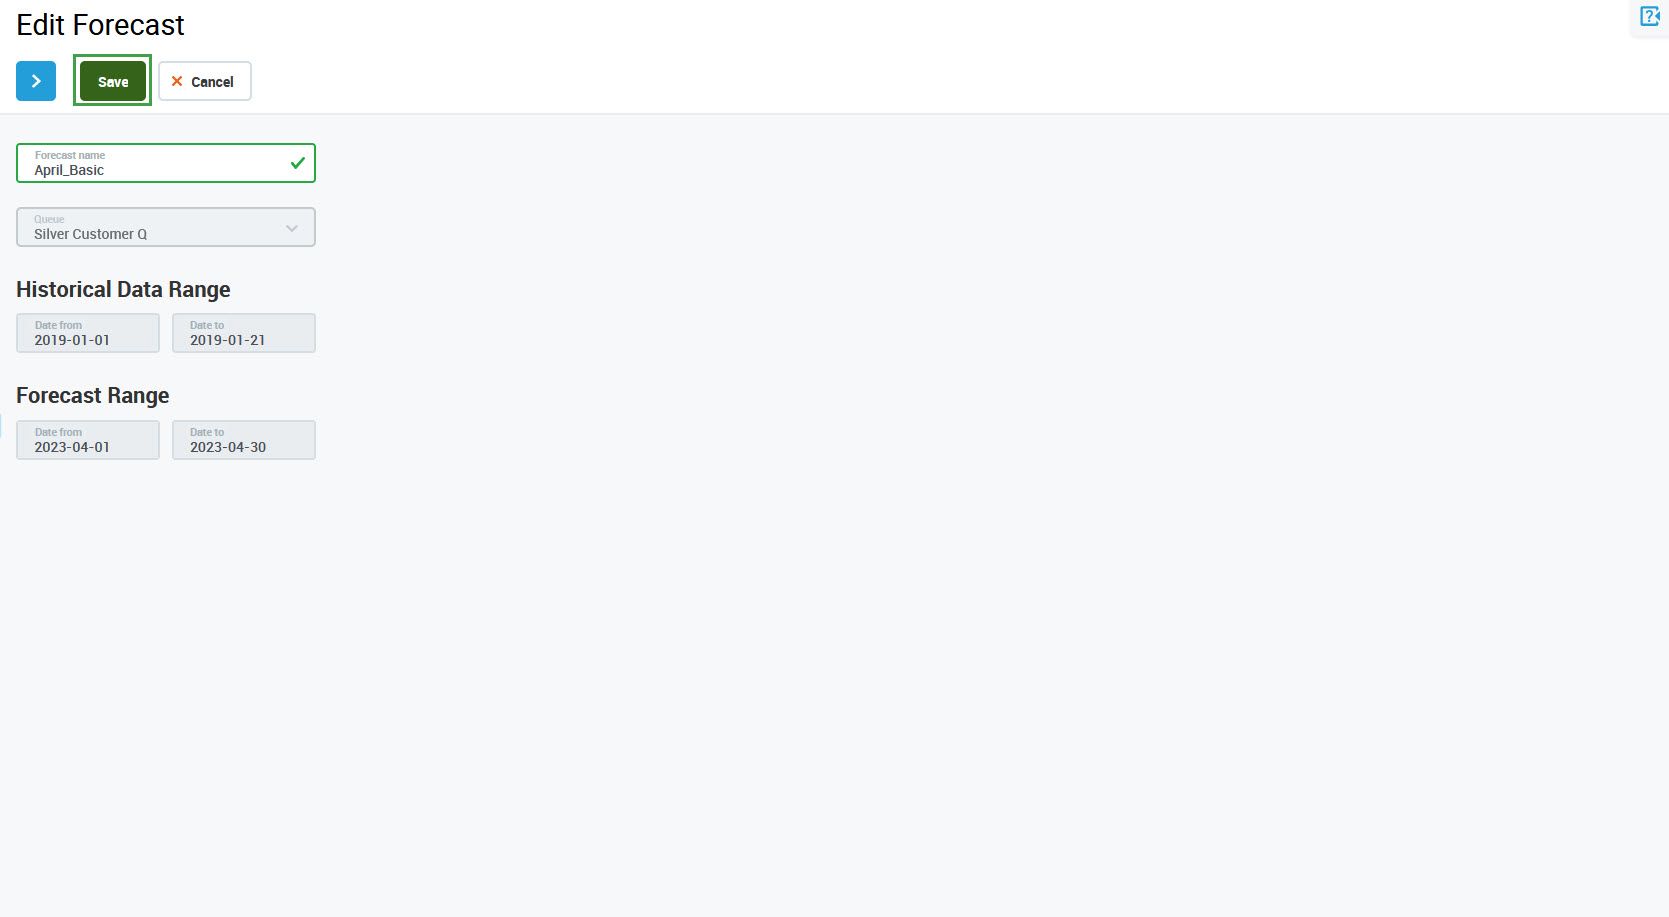
The Edit Forecast screen will display. Only the Forecast name parameter can be modified in the first step of the forecast wizard. Click Save to update the forecast without having to proceed to the second step.
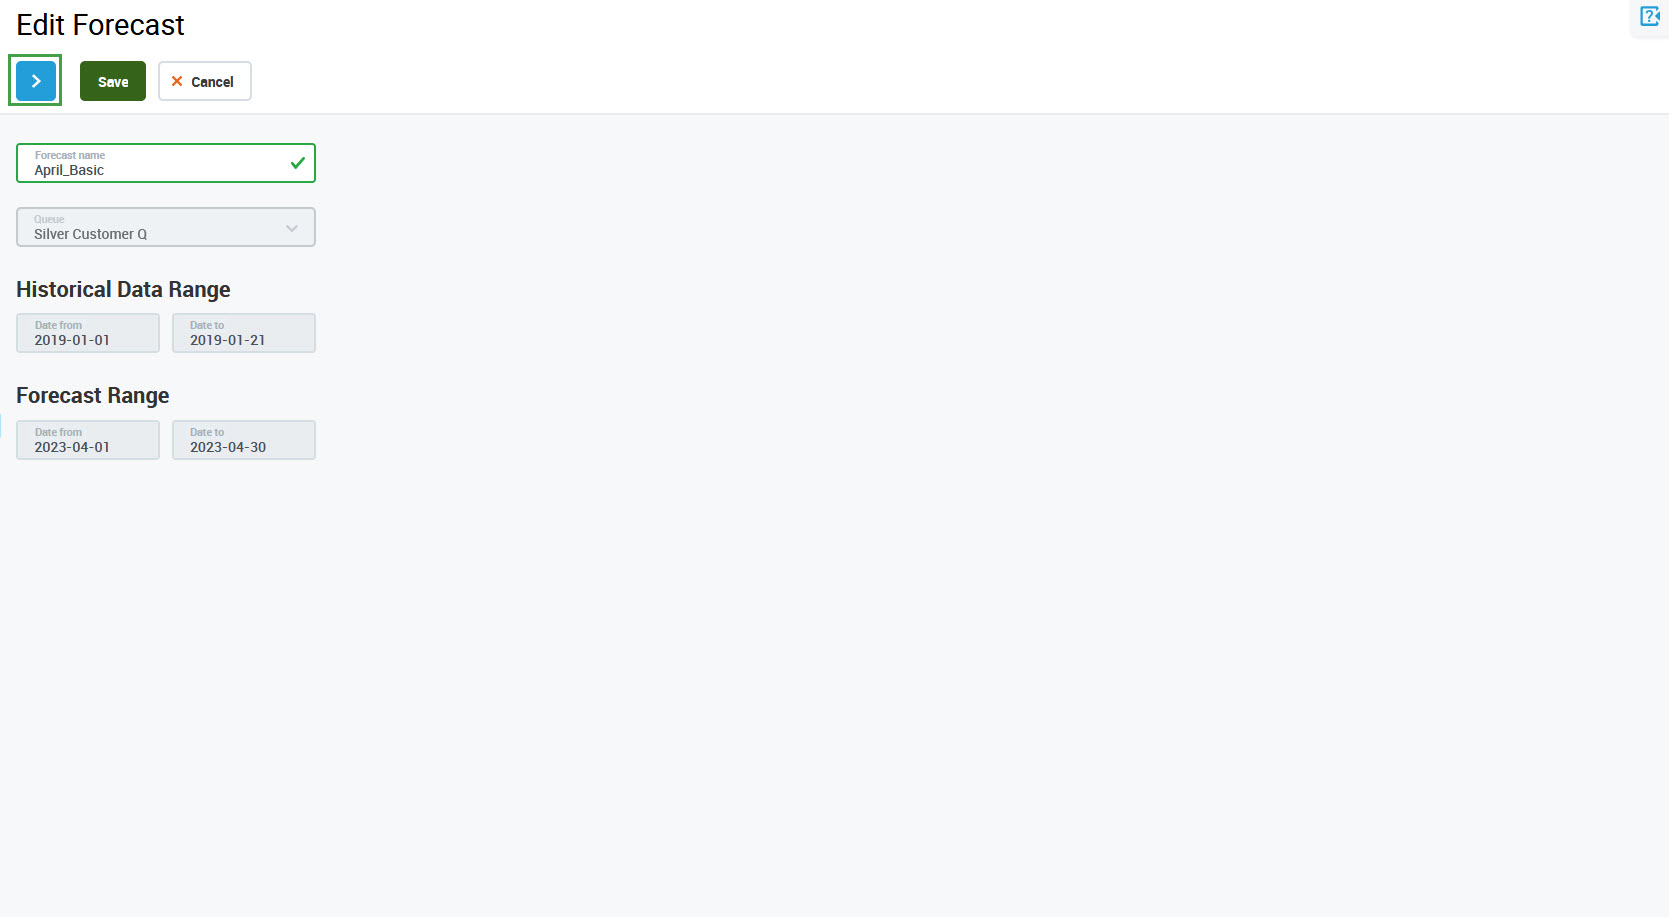
Alternatively, click the Next step button to proceed to the second step.
The second step of the wizard allows for the modification of Forecast Adjustments. Click the Forecast Adjustments button to modify them. More information about the forecast configuration can be found on the page Adding a New Forecast.
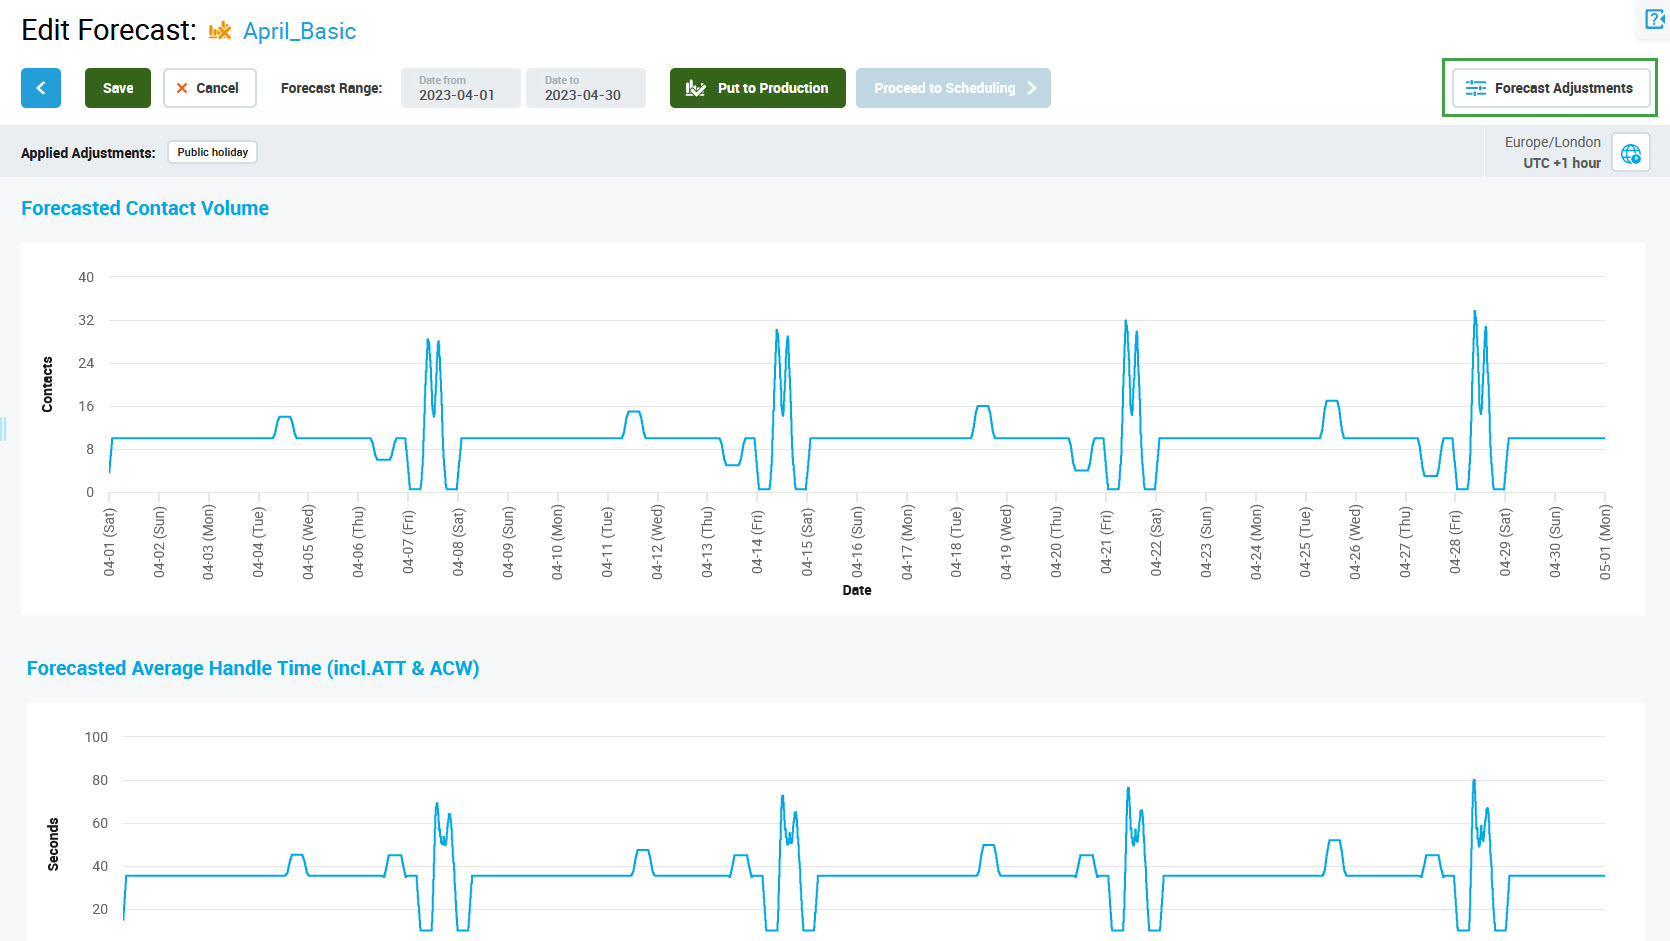
The time zone in which the forecast is displayed can be changed in the top right corner of the screen. By default, the time zone of the queue is used.
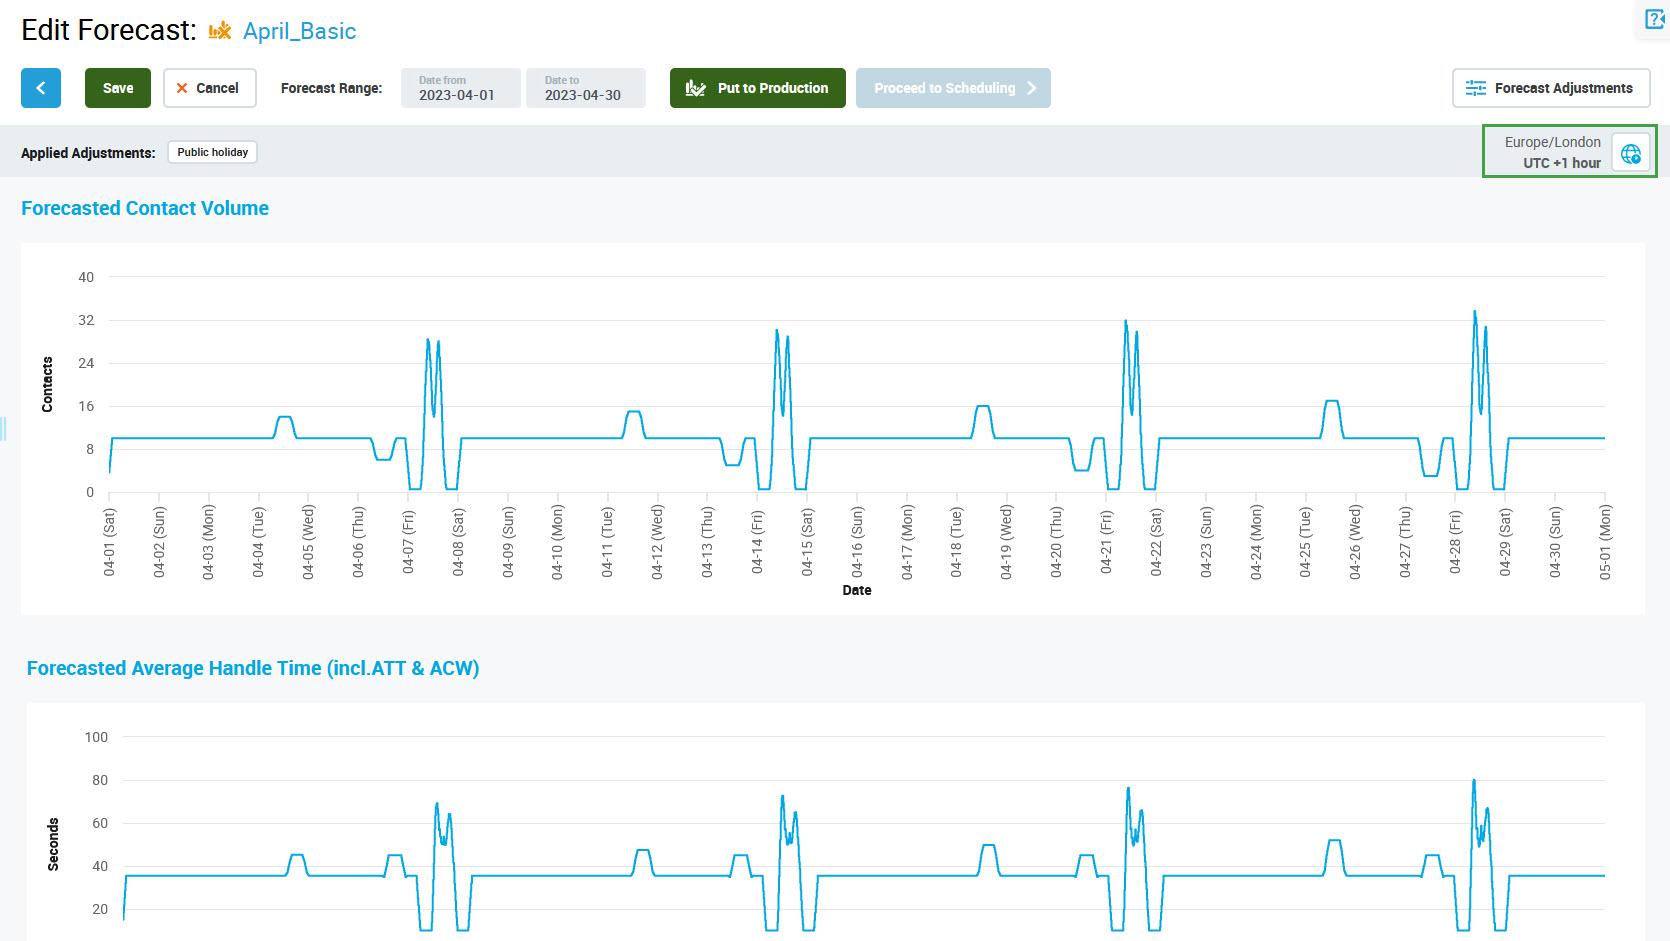
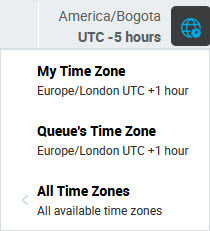
Click on the time zone icon to select other time zones from the drop-down menu. The possible options are:
-
My Time Zone – time zone that the user browsing the forecast has set in User Management
-
Queue's Time Zone – time zone set for the queue for which the forecast was created
-
All Time Zones – any other time zone (selectable from a drop-down menu)
The forecast will be automatically displayed in a newly selected time zone.
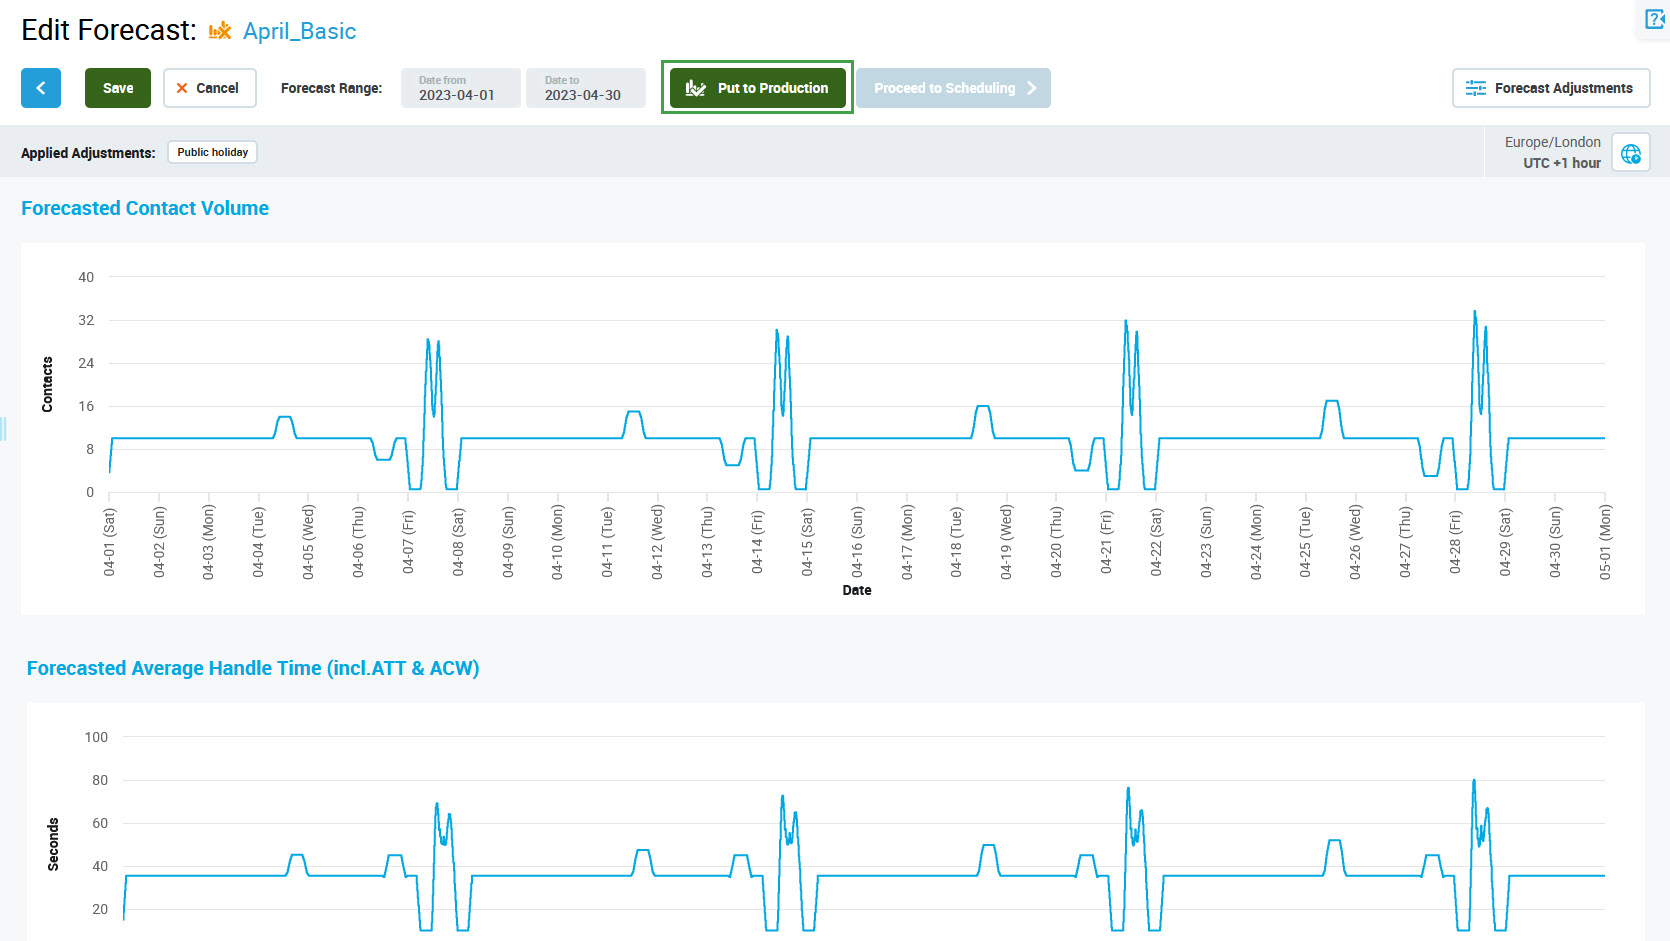
The second step of the wizard also allows putting the forecast in production. In order to do it, click the Put to Production button. More information about working with the production forecast can be found on the page Working With Production Forecasts.
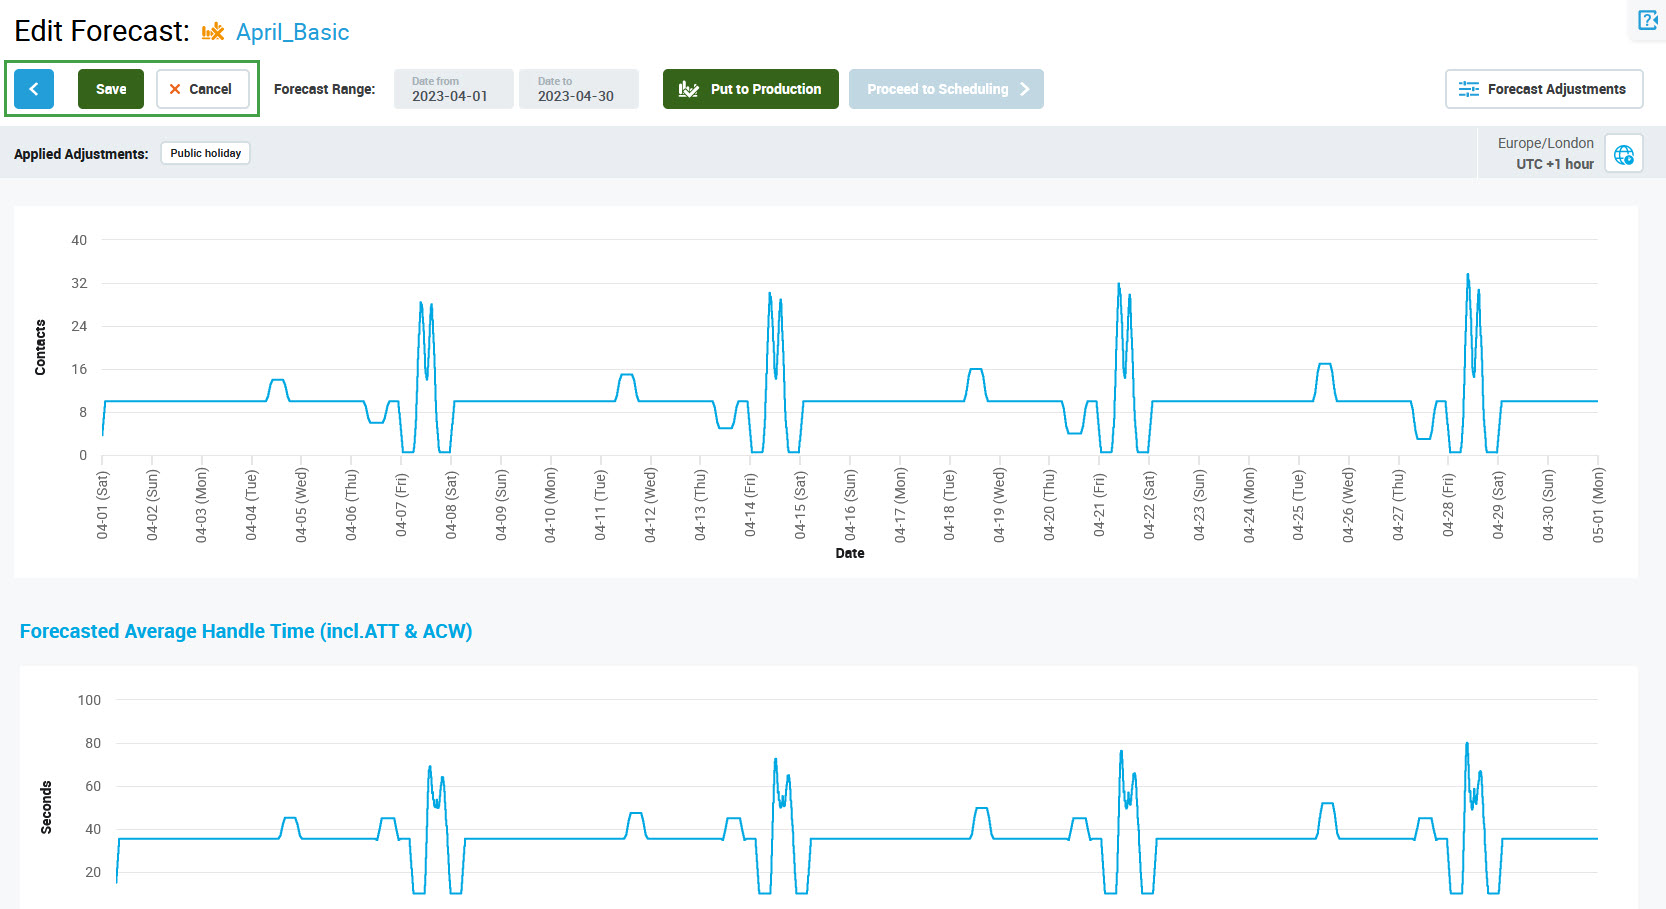
If any further corrections to the name are needed, click the Previous step button to go back. Otherwise, click Save to save it or click Cancel to leave without saving changes.
A dialog window will indicate any unsaved changes. Click Save and leave to save changes before leaving the Edit Forecast page or Leave to abandon changes. Click Cancel to close the dialog window and continue working with the forecast.

Note that after clicking the Update Forecast button you will stay on the Create New Forecast screen. Use the navigation tree on the left to go back to the Forecasting Studio screen or other screens.
The forecasts which are already used in a production forecast cannot be edited! The Save and Forecast Adjustments buttons are not active.