
Overview
Importing historical data into the Eleveo WFM solution is the first step in the forecasting and scheduling creation process. Historical data, generated by the ACD system, contains information about the number of contacts (calls) made during a specific time period in the past, as well as the average handling time. This information is utilized to create an estimation of the expected workload in the future. This estimation is used as the basis for schedule creation.
Note that only users with the WFM_ANALYST role assigned are able to upload data into the Eleveo WFM using UI! Read more about Managing Roles.
Alternatively, historical data can be uploaded automatically - learn more here: Automatic Import of Historical, Adherence and Real-Time Data.
Using the UI
Ensure that the following prerequisites are met before starting a manual upload:
-
CSV file is correctly formatted (read more about File Format)
-
user has the WFM_ANALYST role assigned
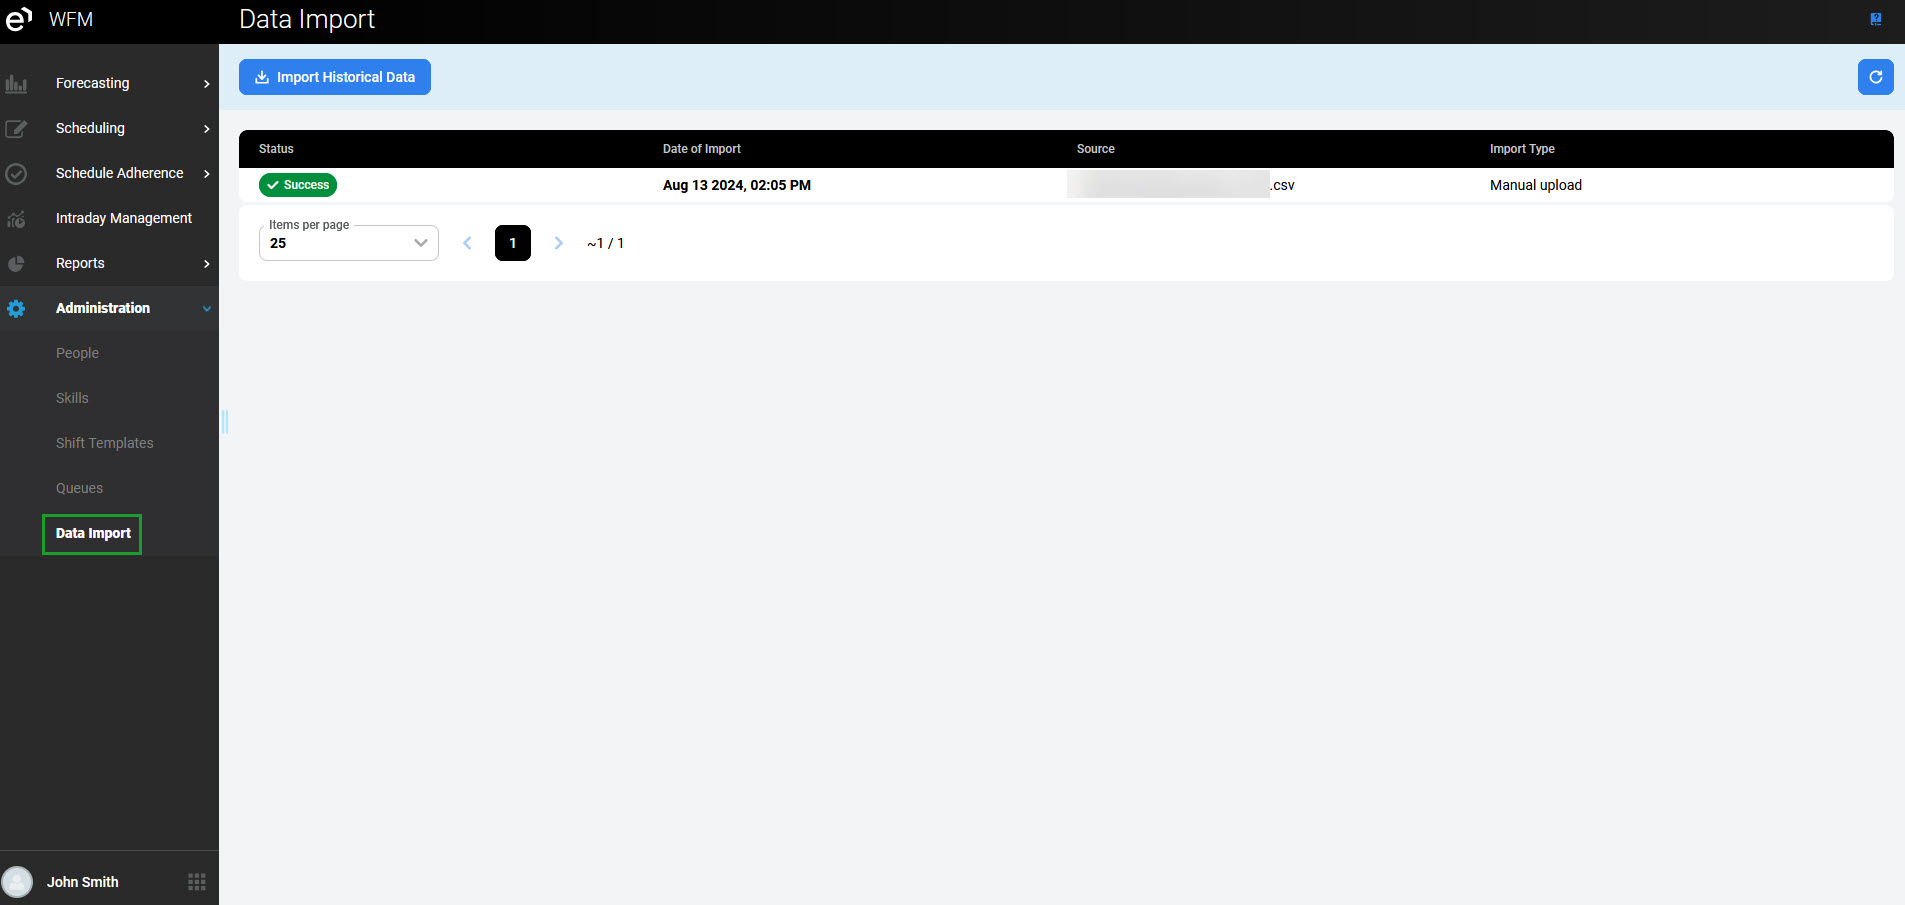
To import the CSV file into the application, expand the Administration module within the navigation tree and click Data Import. The Data Import screen will display.
Click Import Historical Data to expand the pane.
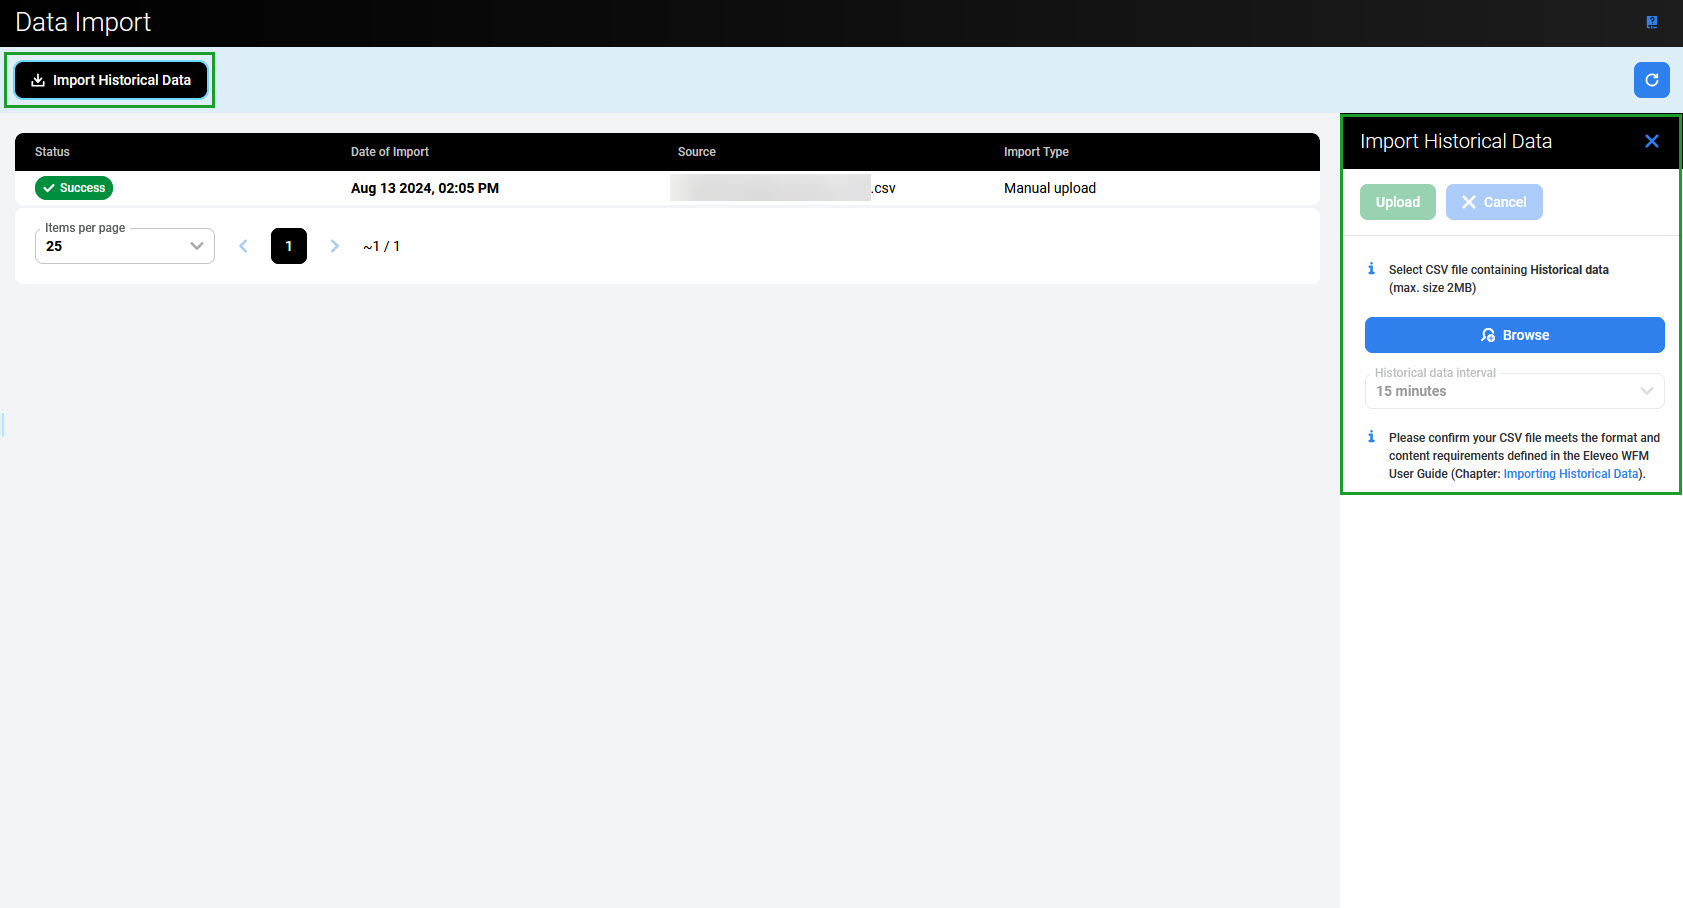
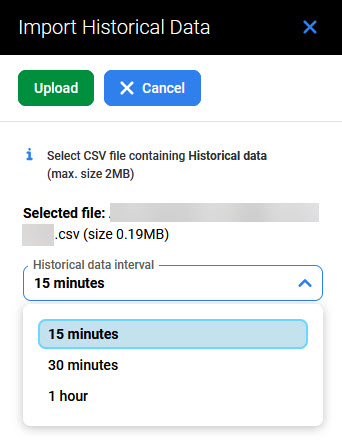
Click Browse and select a file from the local computer. Then select Historical data interval from a drop-down menu based on the interval used in the CSV file (for voice queues it is usually 15 minutes).
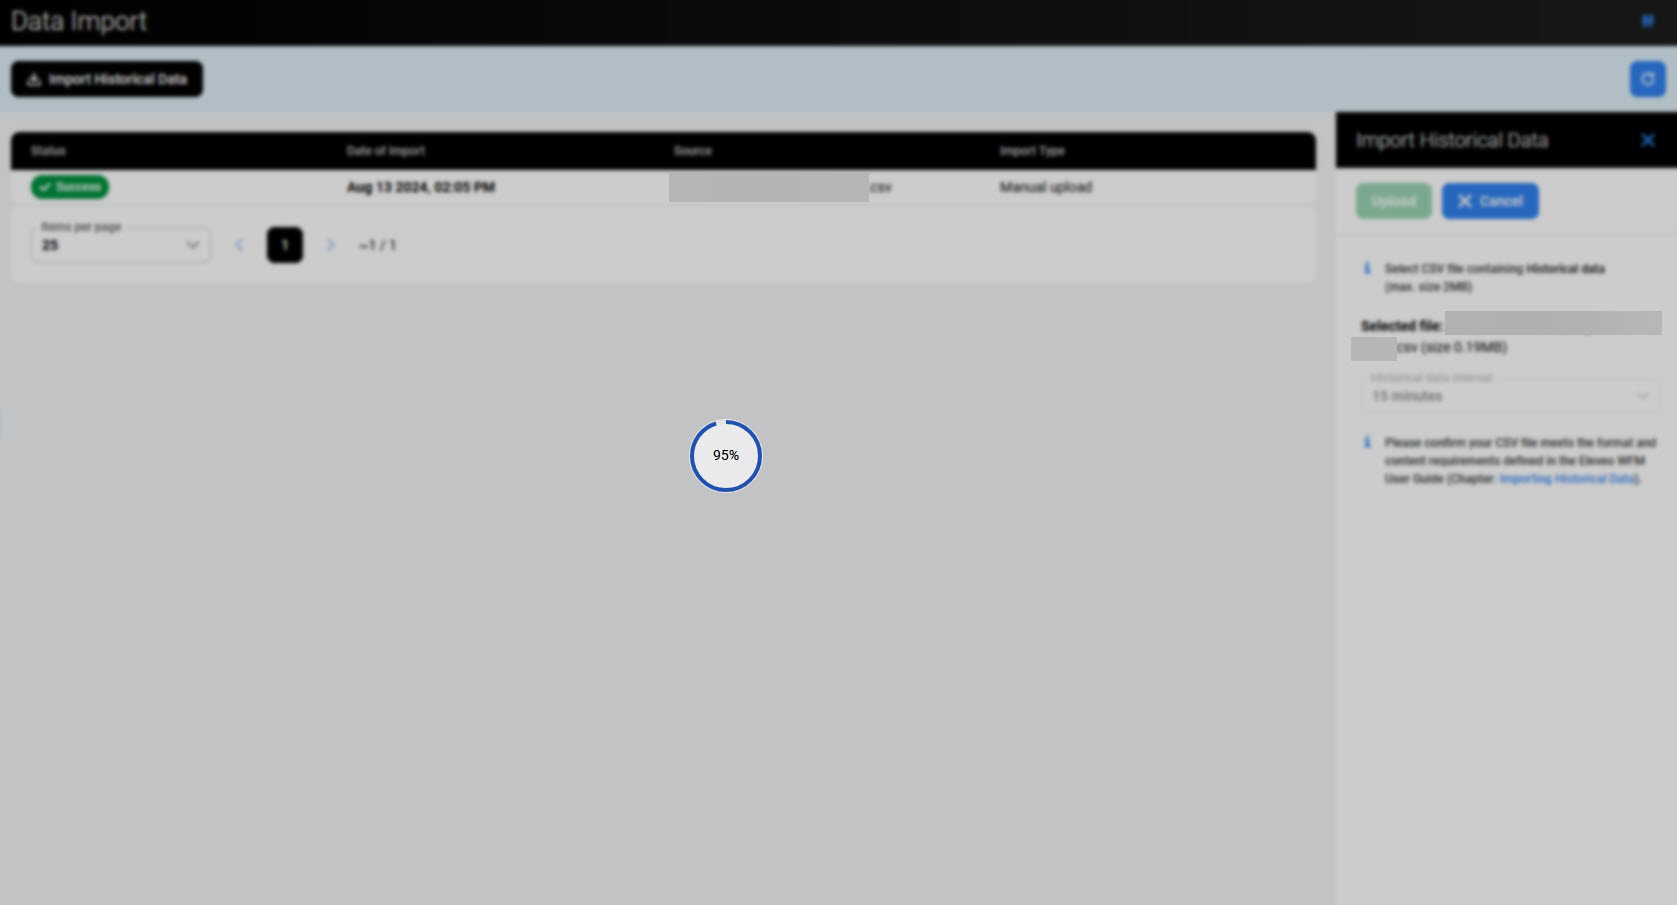
Click Upload to upload the file or click Cancel to select a different file.
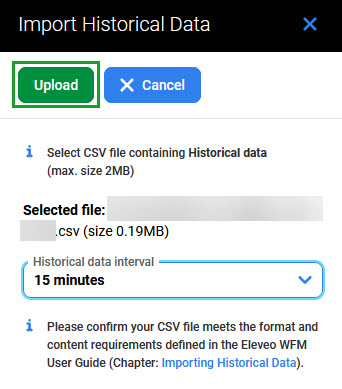
The upload progress will be displayed in percent.
When the file is successfully uploaded, the confirmation will display in the top right corner of the screen.
Note that if the selected file is not in a CSV format or doesn't meet the content requirements and format, it will not be uploaded. The warning messages will display. In such a case, select a different file and proceed with an upload again. If the selected Historical data interval does not match the interval used in the CSV file, the file also will not be uploaded and the warning message will display. In such a case, check the interval and select the correct value, then try to upload the file again.
Import Results
After the upload is finished (successfully or not), it is visible in the upload history table.

The table contains the following information:
-
Status – status of the import: Success or Failed
-
Date of import
-
Source – name of the imported file (for a manual upload of a CSV file) or the name of the data provider* (for an automatic upload)
-
Import Type – if the import was manual or Automatic Import of Historical, Adherence and Real-Time Data
*The name of the data provider is a parameter that is set in the UCCE/X Data Provider configuration, for example, ACD_1.