-
Purpose of this guide: This page is a part of the procedure required to configure Webex Contact Center as an Identity Provider for User Management (enable Webex Contact Center SSO). This configuration should be done in User Management.
-
Audience: A user with access and credentials for User Management.
-
Previous steps: Ensure that the secure connection is enabled on User Management and that certificates used by Webex Contact Center are trusted/imported.
-
When: When configuring Webex Contact Center as an Identity Provider for User Management (enabling Webex Contact Center SSO).
-
Next steps: This is the only step.
Follow the steps to add a new Identity Provider in User Management:
-
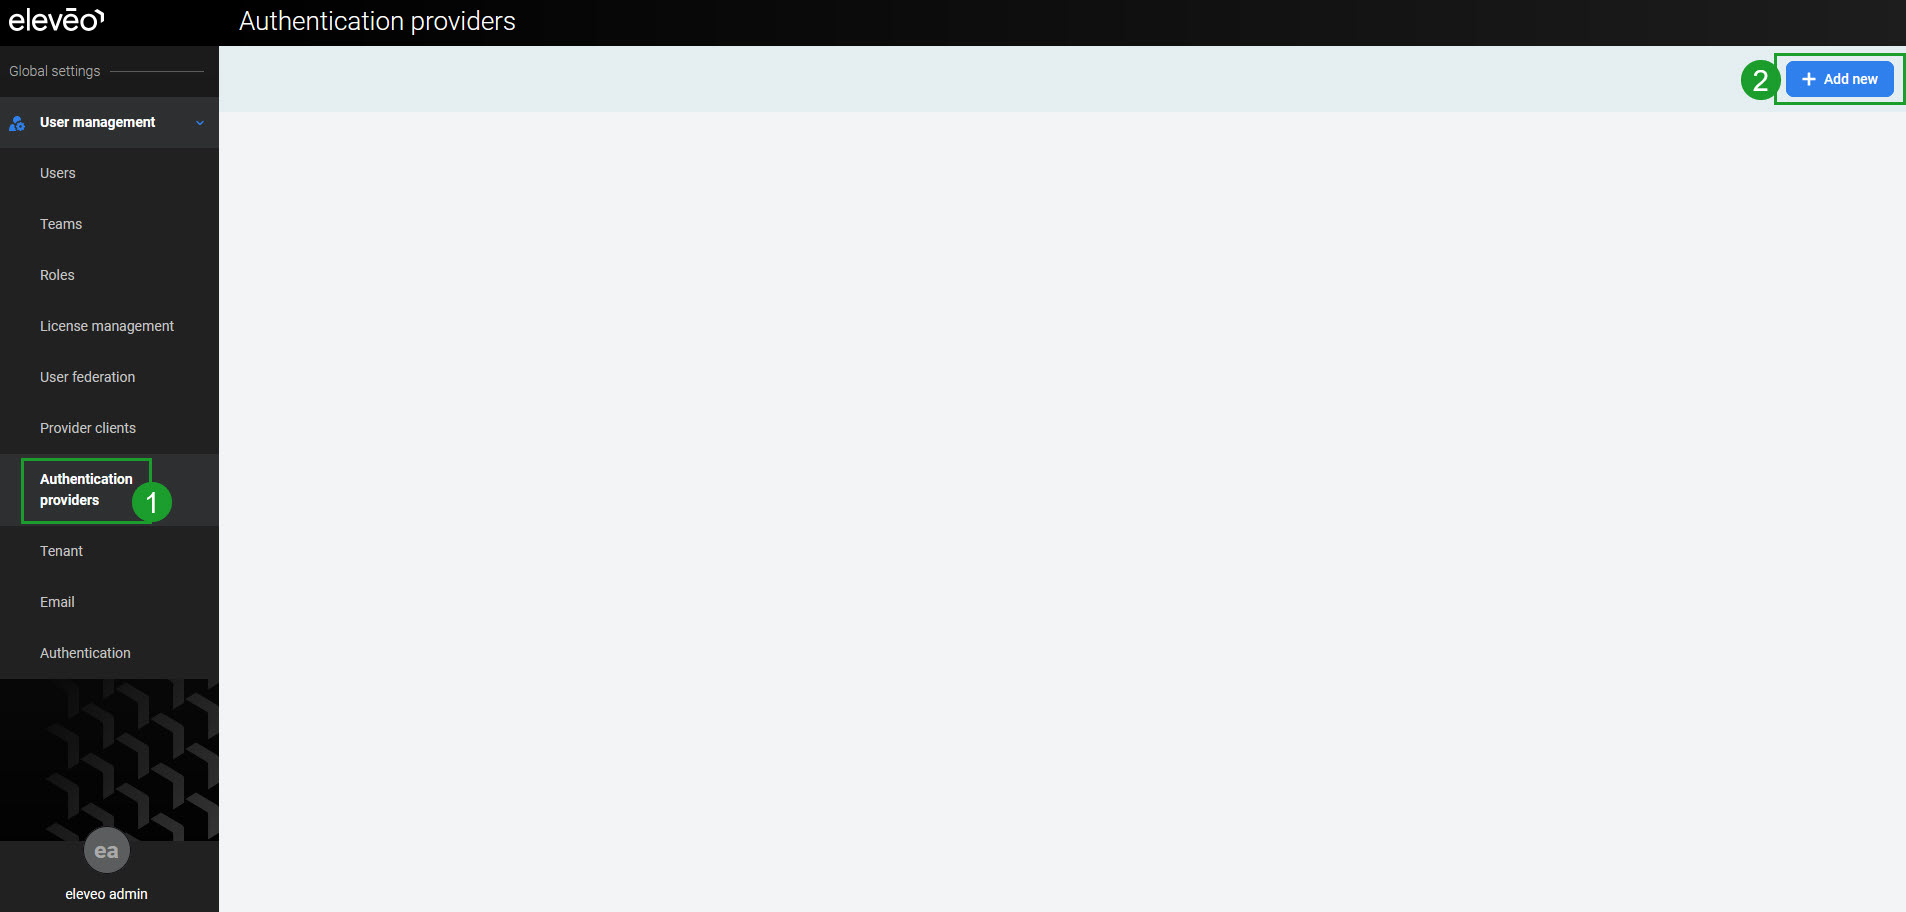
Go to Authentication providers. Then click the Add new button.
-
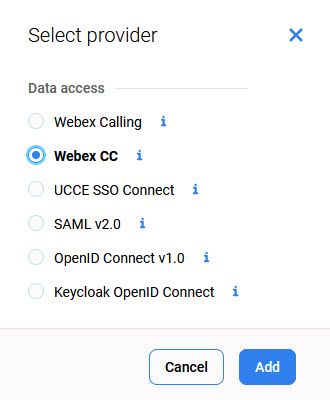
Select the provider type Webex CC and click Add.
-
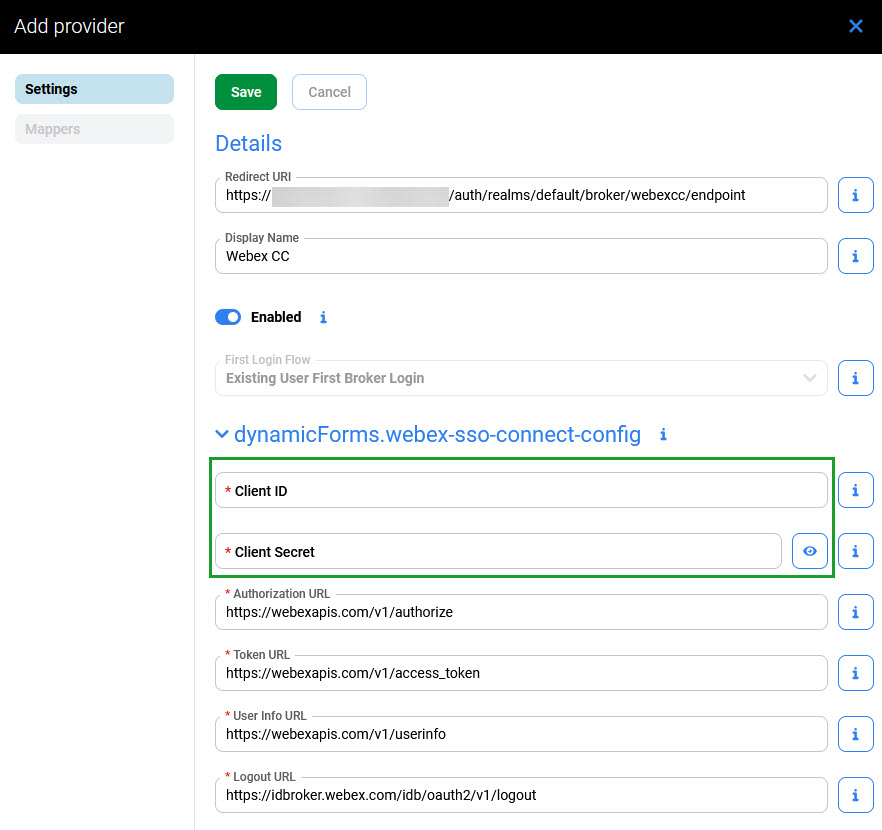
The Add provider pane will open. Copy the Redirect URI, which will be needed in the next step(this Redirect URI is described on the page Preparing Cisco Webex Contact Center for Integration). Do not close this screen, as it cannot be saved without first providing further data from Webex Contact Center.
Optionally, provide a Display Name. This name will be displayed on the new login button. If left empty, the default 'Webex CC' name will be used.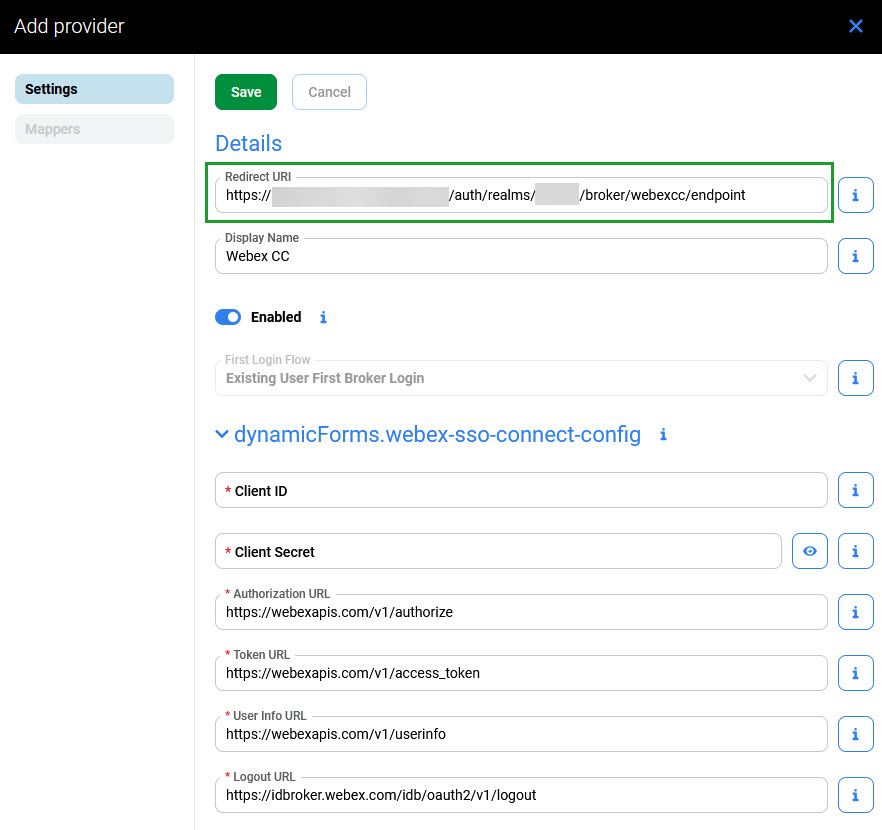
-
Log in to the Webex Contact Center application registration console to register a new client – follow the instruction on the Preparing Cisco Webex Contact Center for Integration page, then return here and continue on this page with point 5.
-
Fill in the Client ID and Client Secret copied from the Webex Contact Center application registration console:
-
The following URLs are used by User Management to authorize Webex Contact Center users:
|
URL |
Values for the US and EU regions |
|---|---|
|
Authorization URL |
|
|
Token URL |
|
|
User Info URL |
|
|
Logout URL |
|
-
Click Save to add the Identity Provider. The login via Webex Contact Center is ready to use.
-
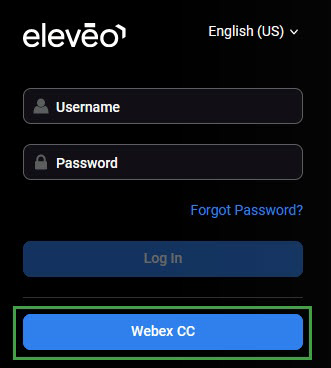
When accessing the Eleveo application, the Webex CC button in the login dialog should be visible to users.