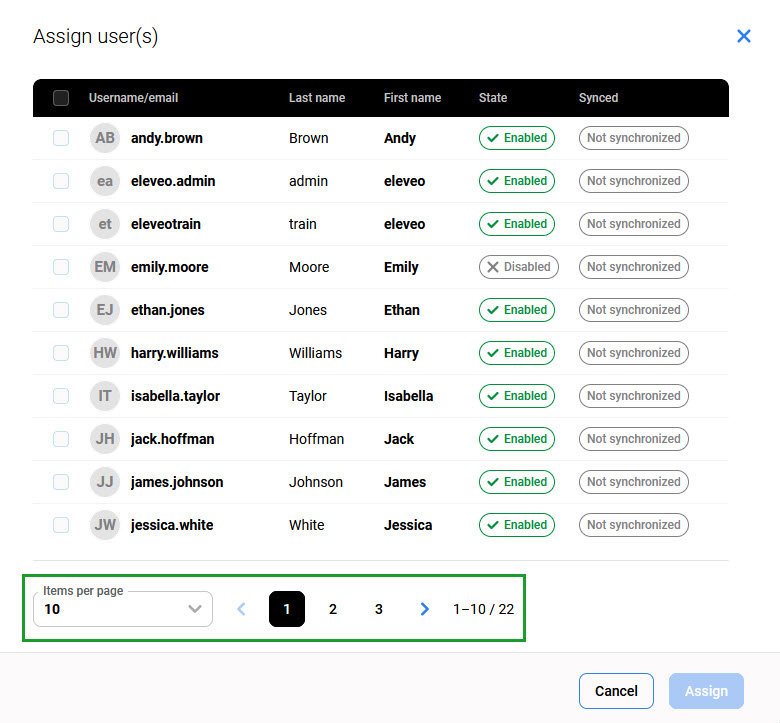
Manual vs Automatic Team Membership
Users can be added to teams in two ways:
-
Manually from within the User Management UI:
-
On the Members tab of the Edit team pane (as described on this page).
-
On the Teams tab of the Edit user pane (as described on the Editing Users page).
-
-
Automatically during the users' import from UCCE/X, CUCM, or Webex Contact Center.
Manually created local users are never overwritten by synchronization: if a local user is added to a team manually, that assignment stays in place after the next sync.
Automatically imported users' assignments work differently: the assignment follows changes from UCCE/X or Webex – including removal or reassignment. If a user is added to a team automatically and then removed manually, the next sync adds the user back.
Assigning Members to Teams
-
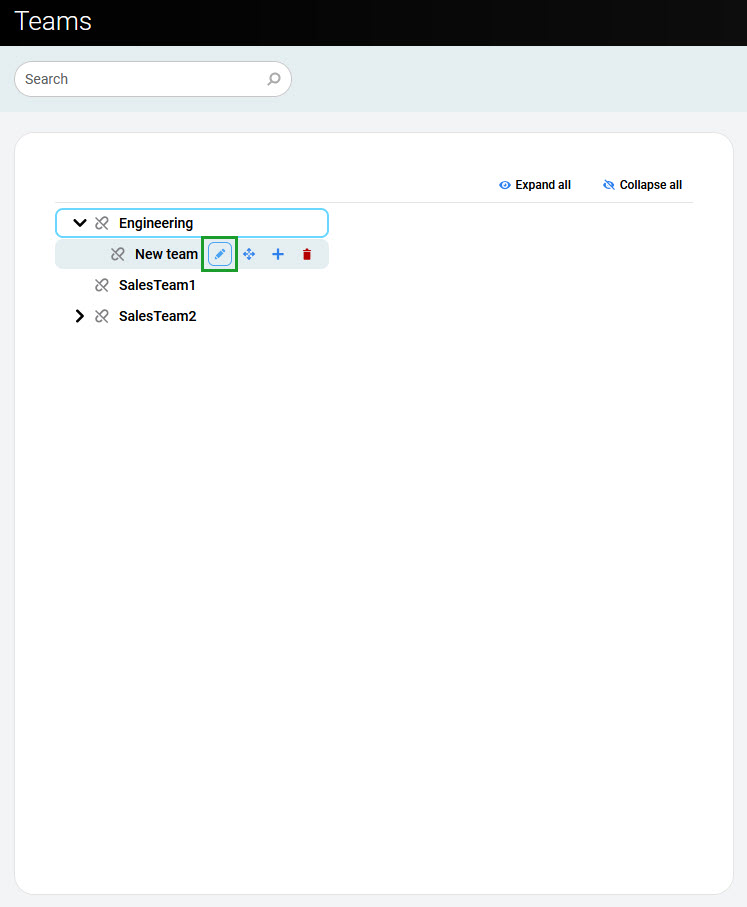
Go to the Teams screen.
-
Select a team and click the Edit

-
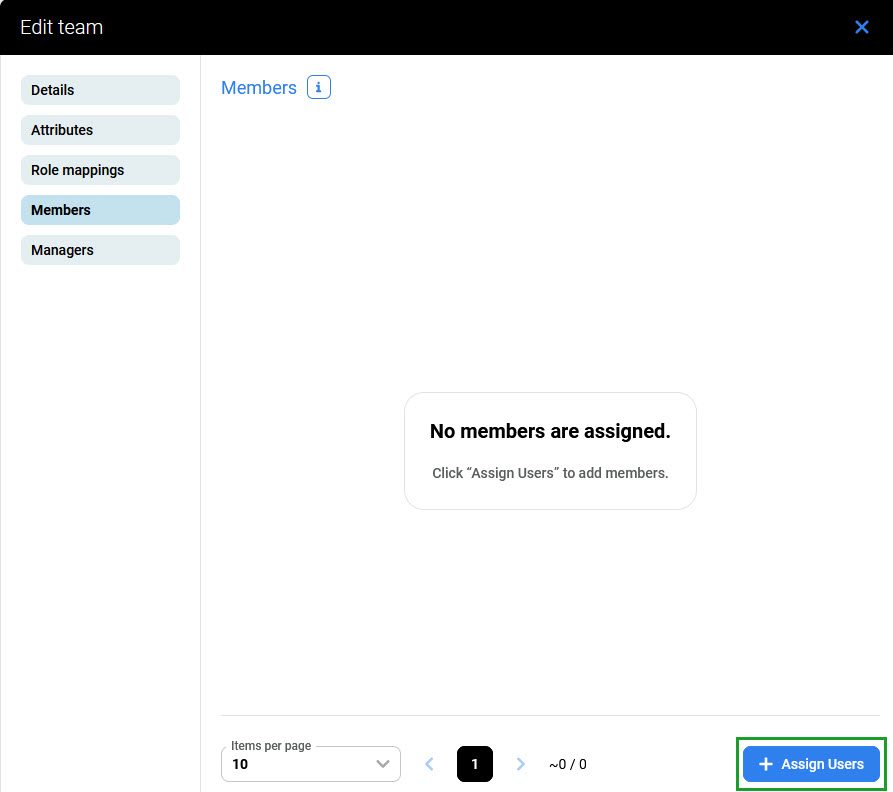
Go to the Members tab. It shows all team members.
-
Click Assign Users in the bottom right corner.
-
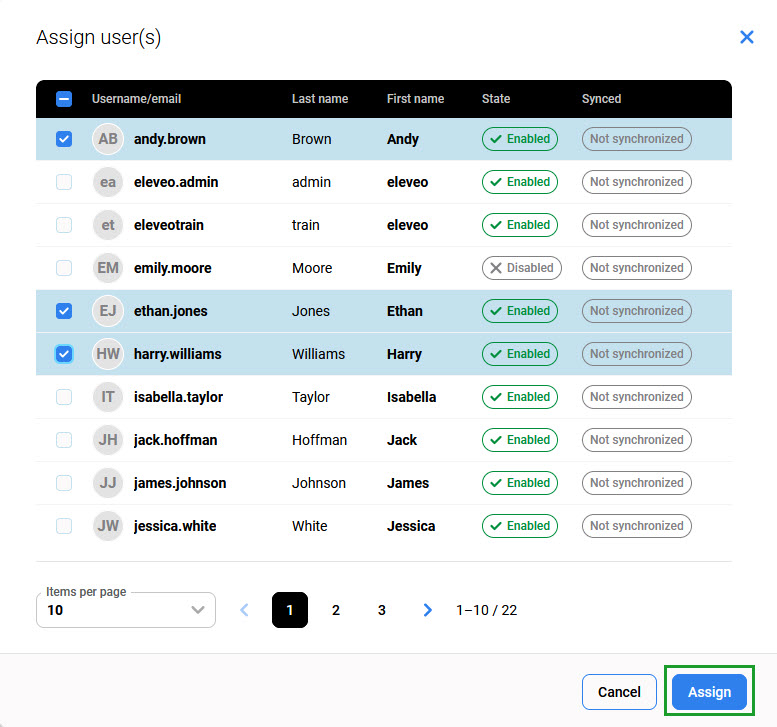
A new window opens, displaying all existing users. Select the users' checkboxes to assign them to the team, then click Assign.
To adjust the number of users displayed per page, use the pagination controls at the bottom. Use the arrows or page numbers to navigate between pages.