
Overview
A schedule can be created in two ways:
-
automatically, as described on the Adding a New Schedule page
-
manually, by assigning schedule elements to people (based on the provided forecast or your judgment).
This page provides technical details on how to manually assign, copy, paste or delete schedule elements. The process of understanding the requirements and evaluating the results is described on the Adding a New Schedule page.
Schedule Elements
The schedule elements represent work, other activities, or non-working times, for example: lunch, break, training, meeting, or sick. Each element has a default length assigned (for example: Voice - 2 hours, Lunch - 30 minutes, etc.). Hover the mouse cursor over elements to see their default duration.
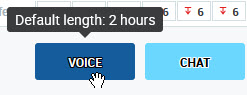
More information about schedule elements and their configuration can be found on the page Managing Schedule Elements.
Assigning Schedule Elements
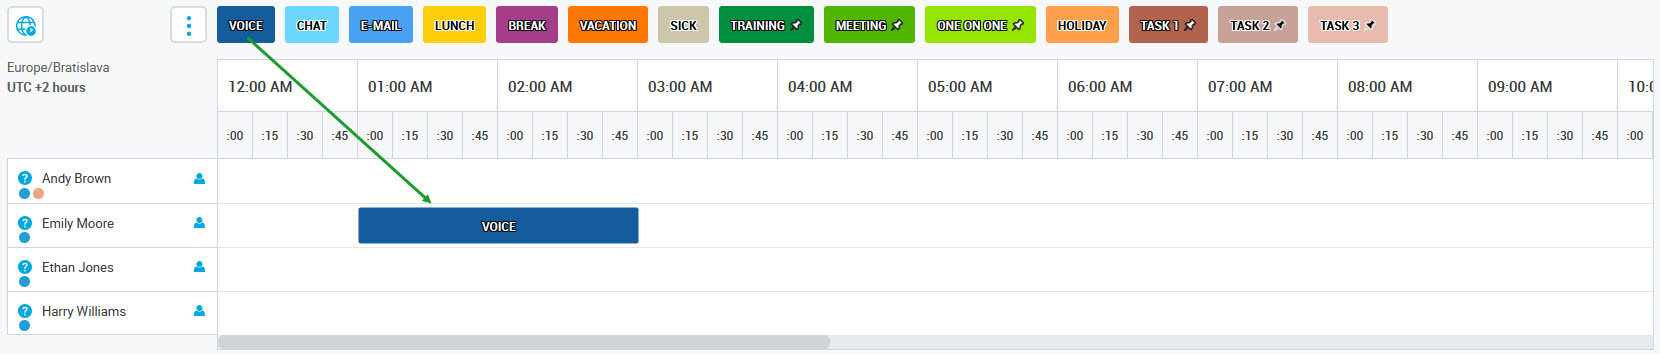
Drag and drop the element to assign it to the selected person for the selected time. It will appear on the timeline in the relevant row:
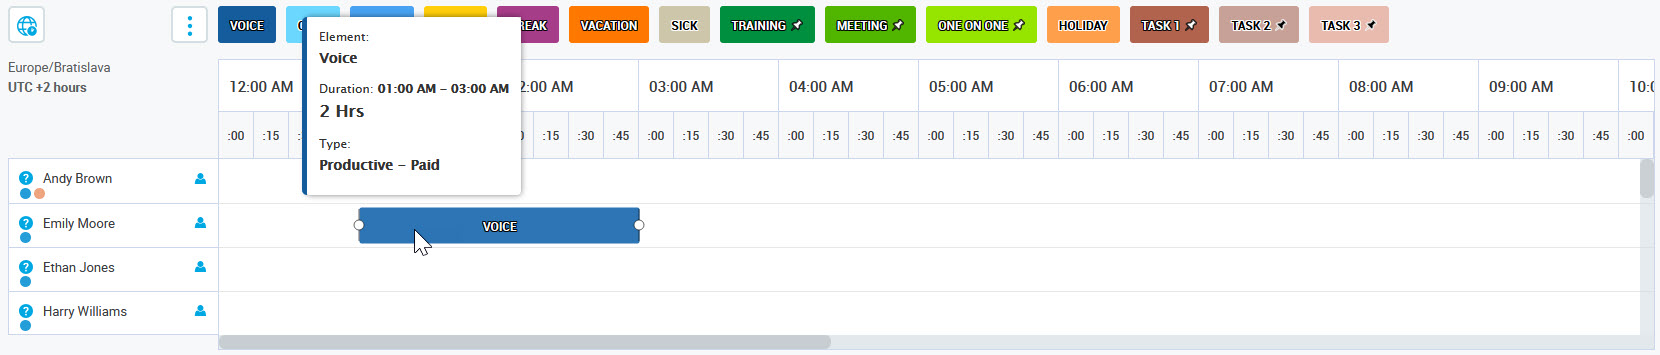
Hover the mouse cursor over the element to view details. A tooltip will appear, containing the following details:
-
name of the element
-
duration of the element
-
type of the element
Click inside the element to drag and move it to a different time or assign it to someone else. The selected element is highlighted with a black frame.
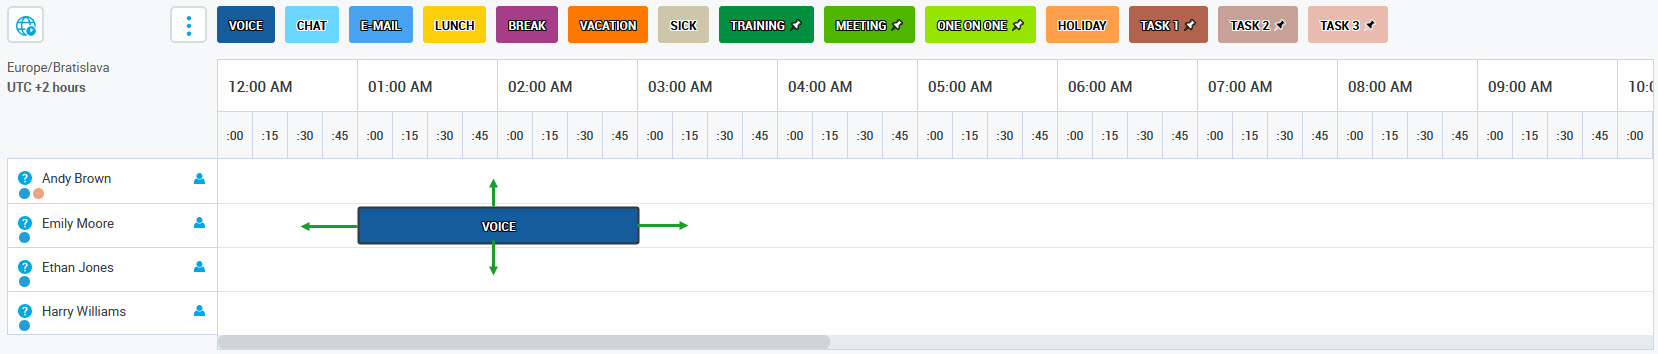
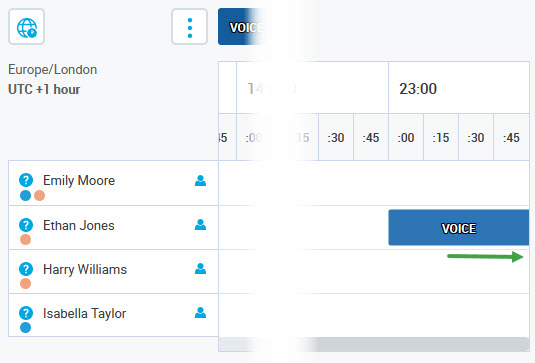
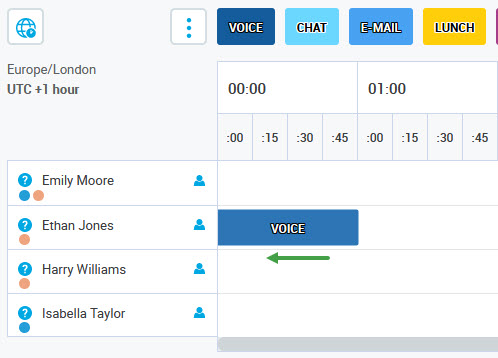
The schedule element can begin on one day and continue overnight, ending the next day (for example from 22:00 to 02:00). Drag and drop the element to move it along the timeline.
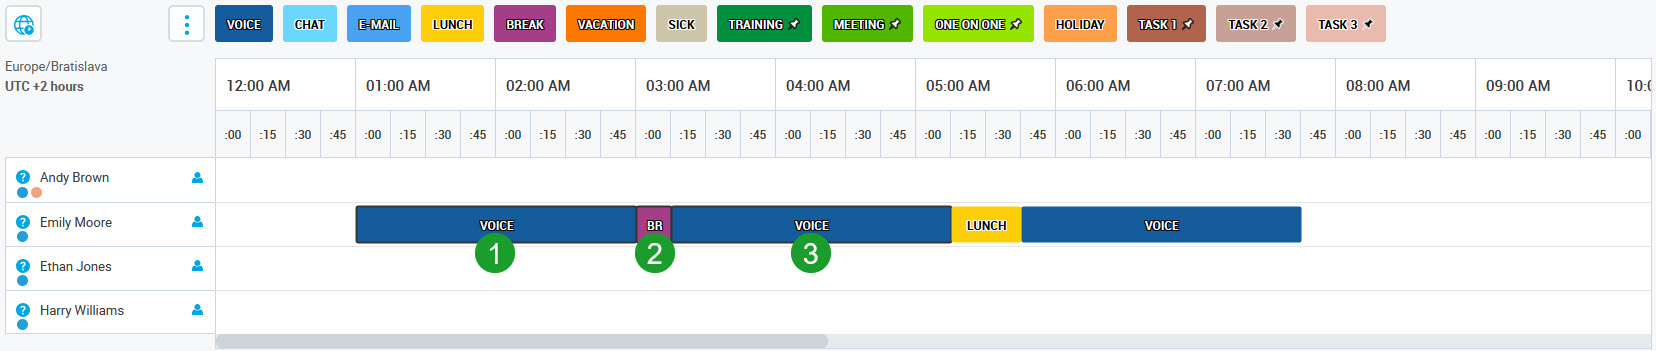
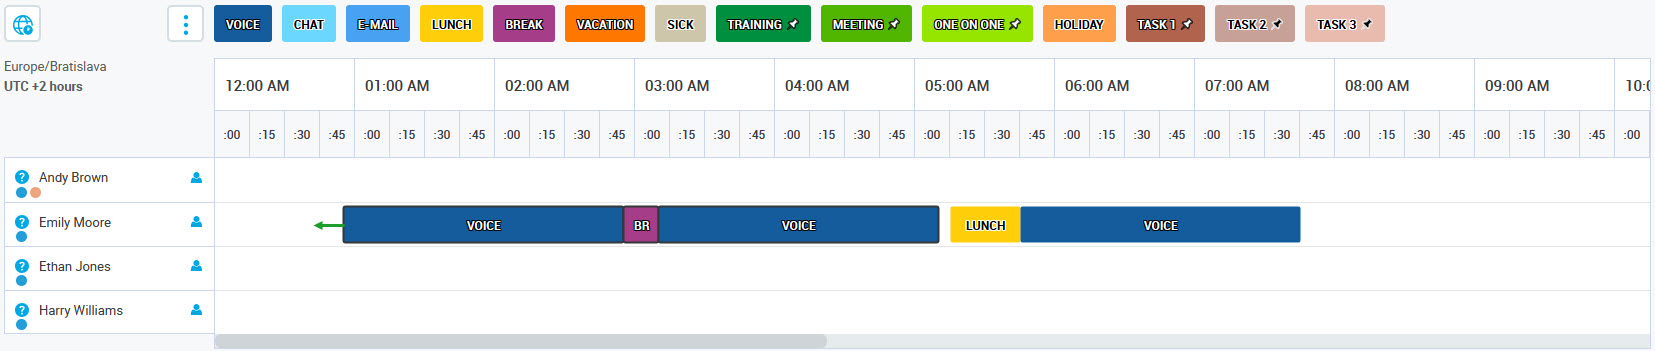
Hold the CTRL key to select multiple elements, which you can drag and move together. All selected elements are highlighted with a black frame. It is possible to move them to a different place on the timeline or assign them to someone else.
To select all elements assigned to a person at once:
-
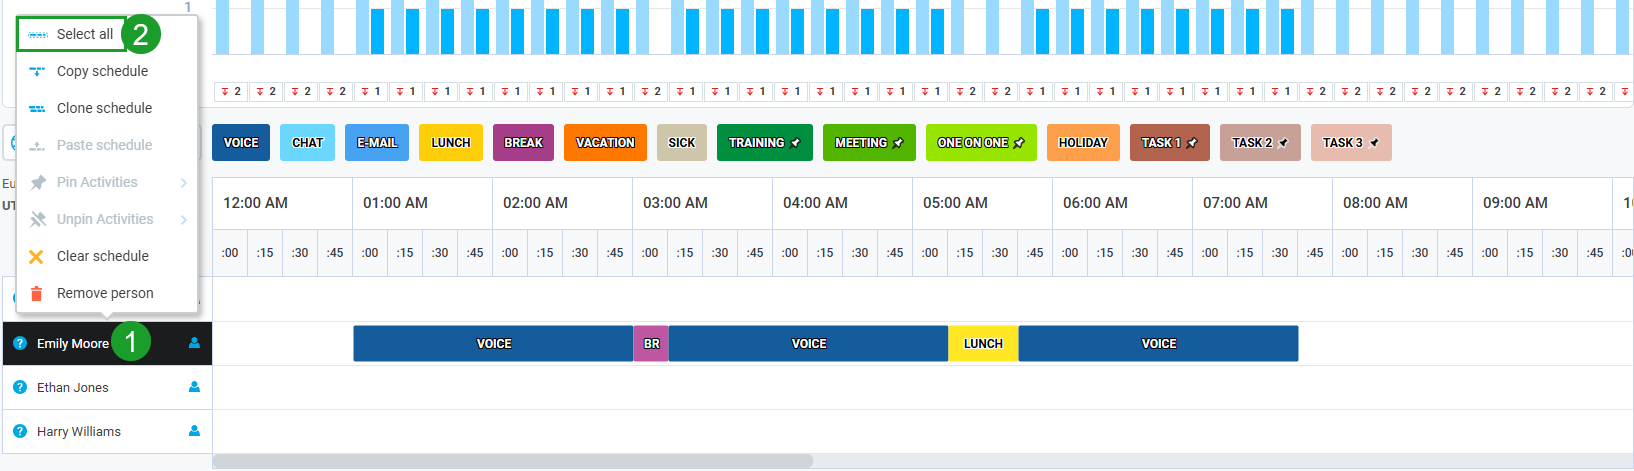
Right click with the mouse on the person's name. A tooltip will display.
-
Click Select all.
-
All elements assigned to the person will be selected. Move them backward or forward in time, as needed.
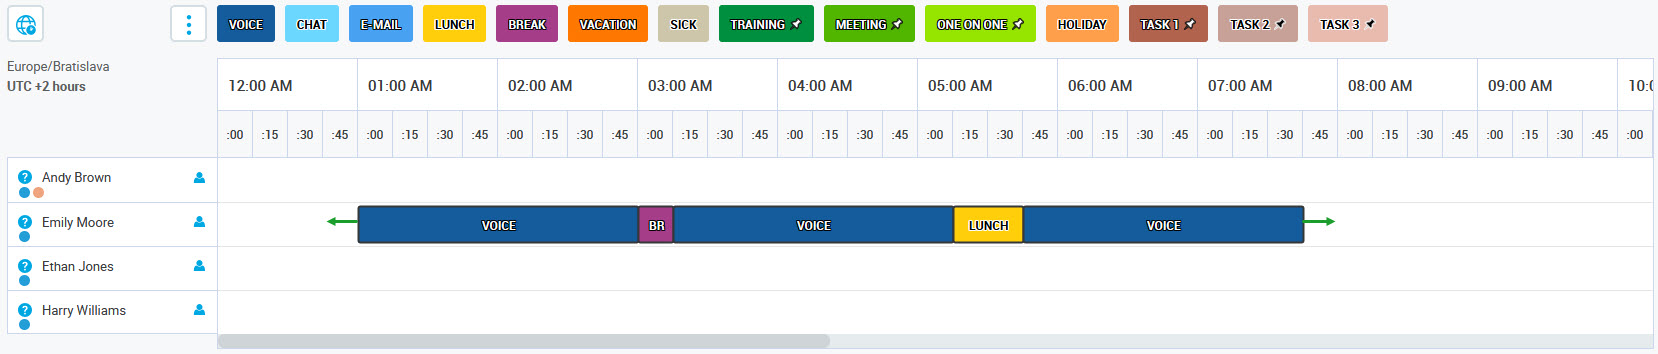
The Select all feature (in scheduling) applies to the currently selected day only. It doesn't influence other days of the schedule.
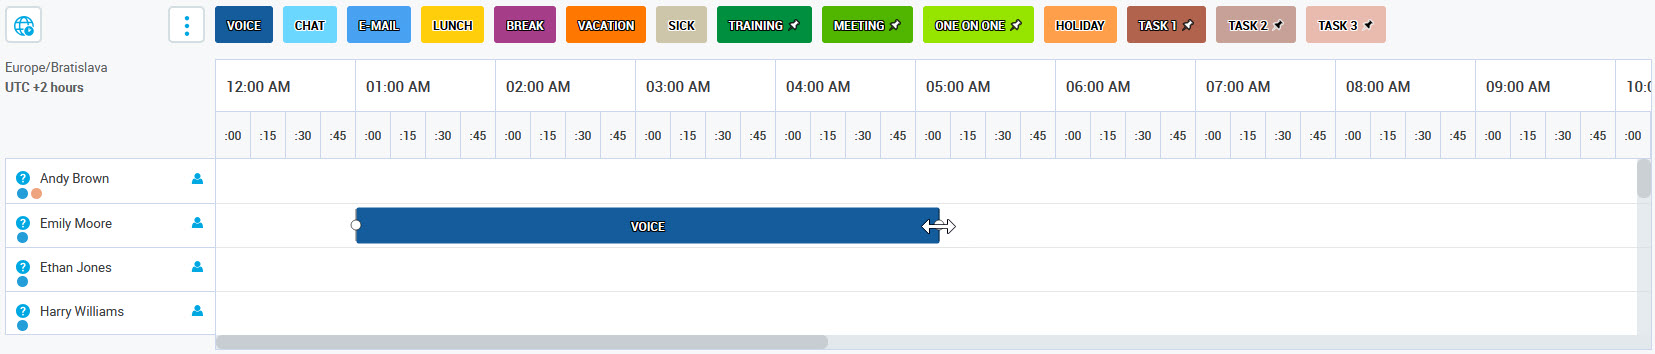
Drag the bar to extend or shrink the duration of the element:
To remove the element from the person's timeline, click on it to select it, and then click the DELETE key (if using a PC) or BACKSPACE key (if using a Mac) using your keyboard.
Copying and Pasting the Schedule
To copy the schedule assigned to one person and assign it to another person:
-
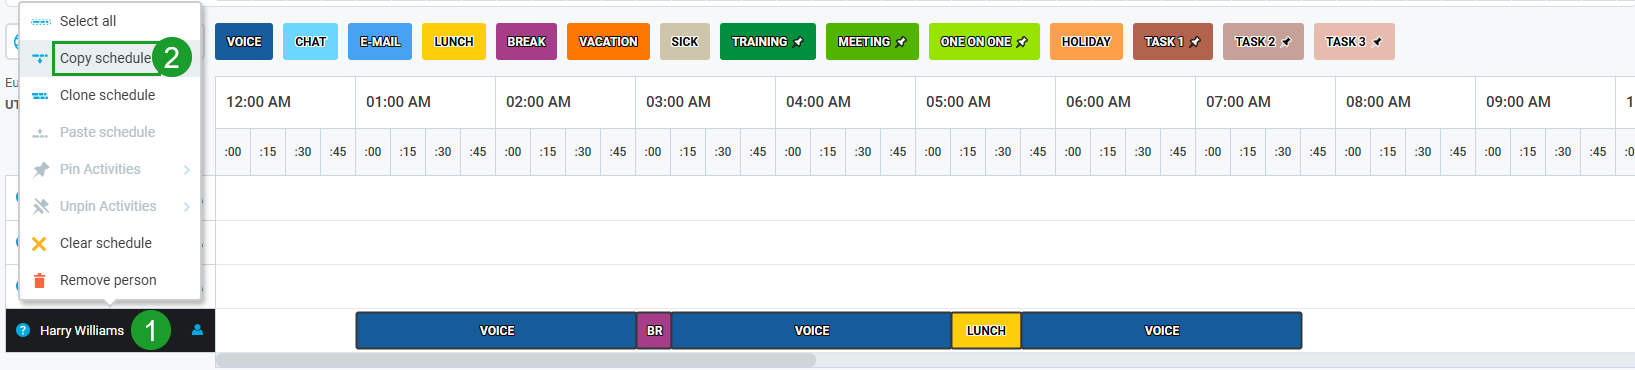
Right click with the mouse on the first person's name. A tooltip will display.
-
Click Copy schedule.
-
Right click with the mouse on the second person's name. A tooltip will display.
-
Click Paste schedule.
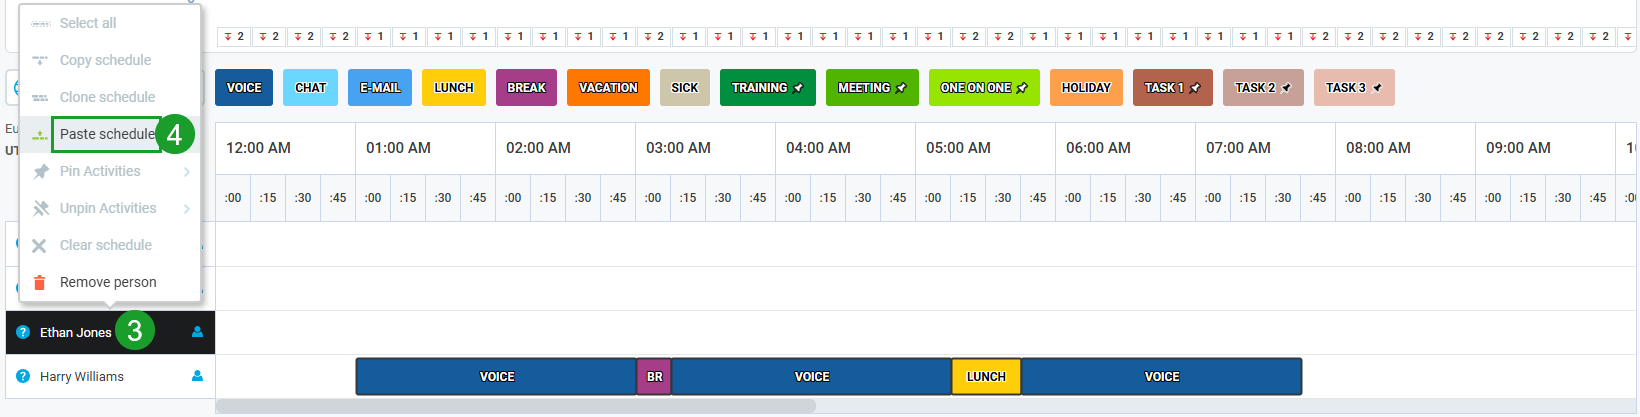
-
The schedule will be assigned to the second person.
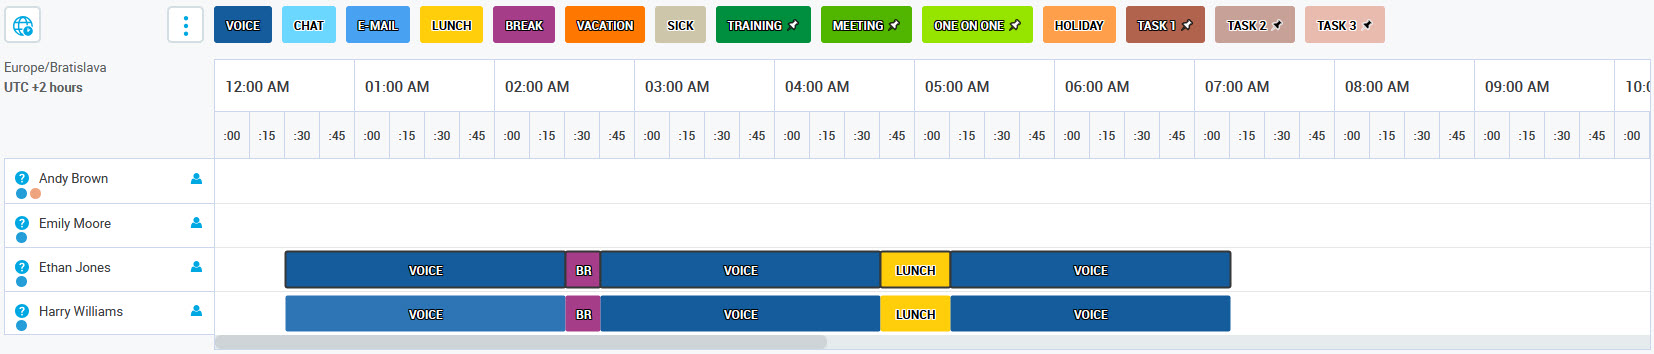
Any preexisting activities assigned to the person will be overwritten if the content is pasted. The Working in Office/Working Remotely status will be overwritten as well, so re-check if the number of people working in the office matches the Available Seats value.
The Copy/Paste feature (in scheduling) applies to the currently selected day only. It doesn't influence other days of the schedule.
Any elements that start one day and end the next day (for example from 22:00 to 02:00) will be cut during the Copy/Paste operation. Only the part of the element that falls within the currently selected day will be pasted.
Cloning the Schedule for One Person
Agents who belong to the teams that the current user has assigned in User Management → Can Review section are available. Details can be found in the Can Review section of the Editing Users page.
To copy the schedule assigned to a person for the currently displayed day and paste it to another day(s):
-
Right click with the mouse on the person's name. A tooltip will display.
-
Click Clone schedule.
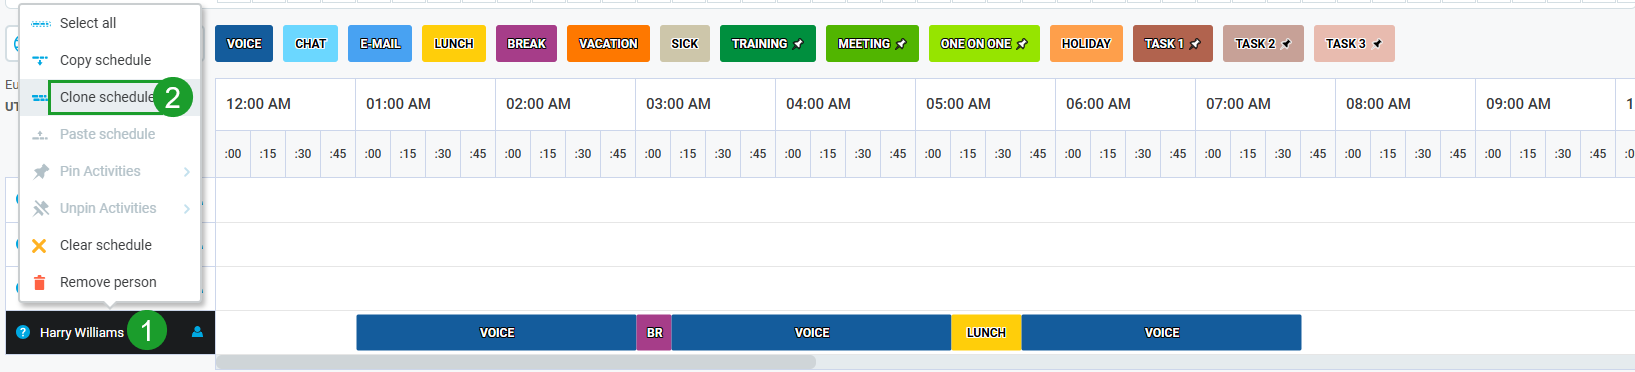
-
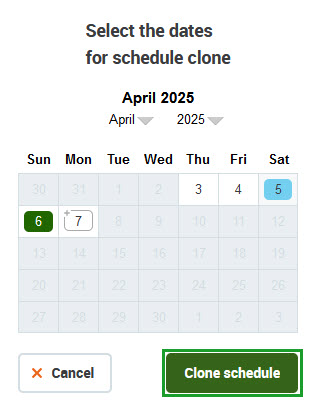
A calendar will display. The current day is marked in blue. Select which day(s) it should be cloned. Multiple days can be selected at once.
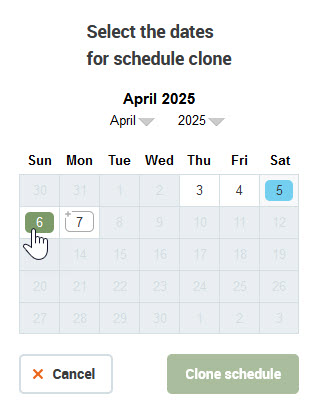
-
Click Clone schedule.
-
The schedule for the currently displayed day will be copied to other selected days.
Cloning the Schedule for All People
To copy the schedule assigned to all people for the currently displayed day and paste it to other day(s):
-
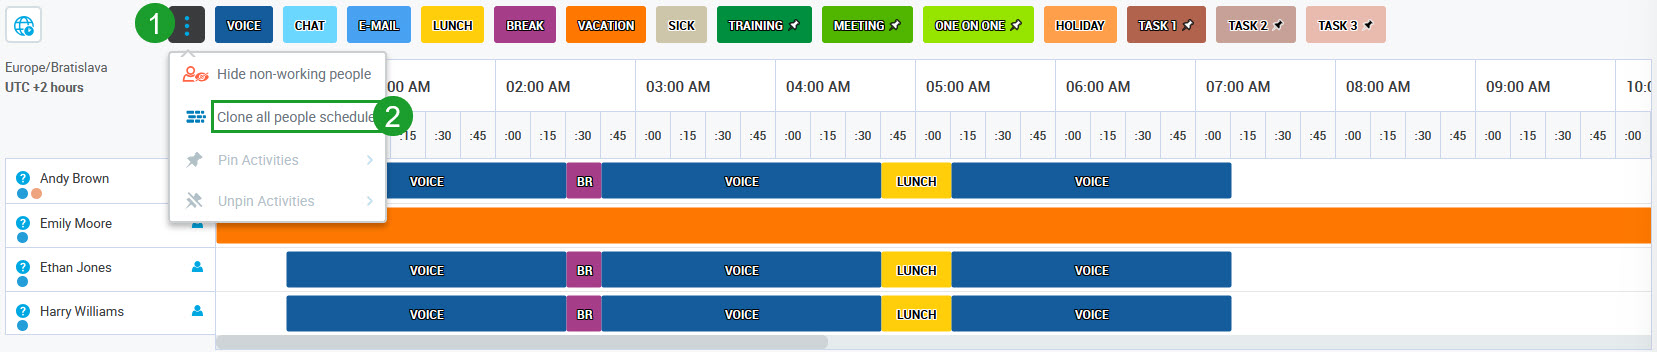
Click the Settings button on the left side of the table. A tooltip will display.
-
Click Clone all people schedule.
-
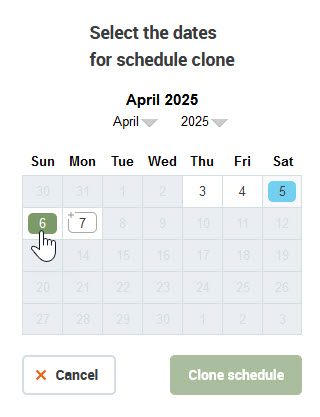
A calendar will display. The current day is marked in blue. Select to which day(s) it should be cloned. Multiple days can be selected at once.
-
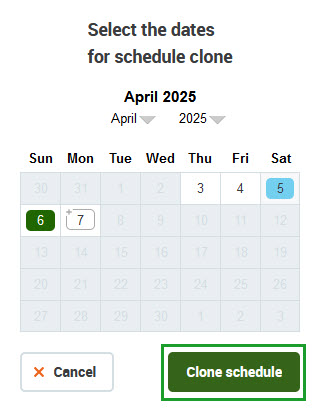
Click Clone schedule.
-
The schedules for the currently displayed day will be copied to other selected days.
Any elements that start one day and end the next day (for example from 22:00 to 02:00) will be cut during the Clone schedule operation. Only the part of the element that falls within the currently selected day will be pasted.
Clearing the Schedule
To clear the schedule assigned to a person:
-
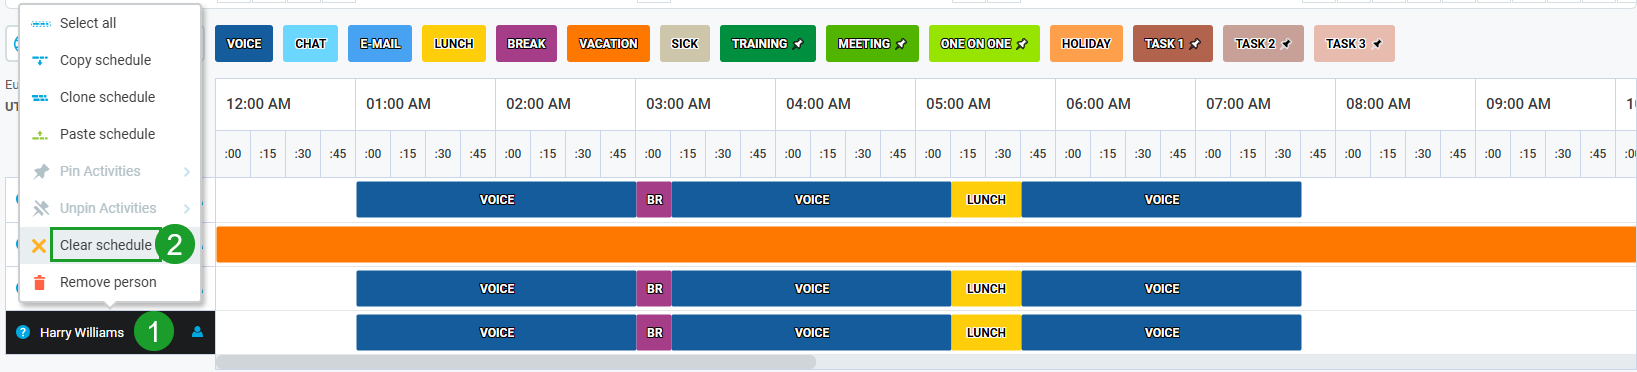
Right click with the mouse on the person's name. A tooltip will display.
-
Click Clear schedule.
-
All activities assigned to the person will be removed, however, the person will remain assigned to the schedule.
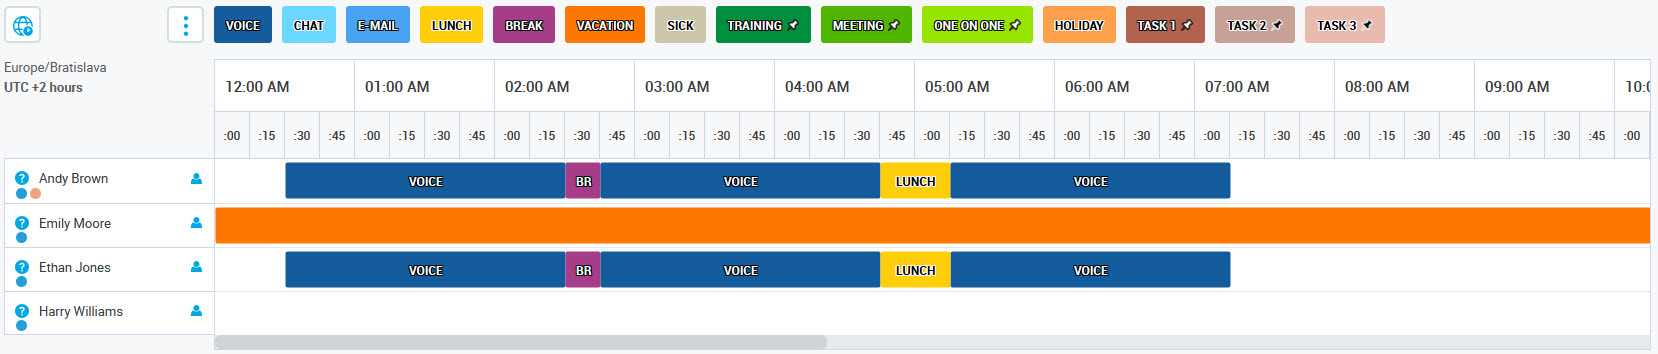
This feature (in scheduling) applies to the currently selected day only. It doesn't influence other days of the schedule.
Next Steps
After creating the schedule, proceed to evaluate the results as described on the Adding a New Schedule page.