
Overview
A production schedule is a final schedule that is used by the contact center. Any previously created draft schedules can be put to production.
The WFM_VIEW_SCHEDULE role is required to view production schedules. This role is included by default in the WFM_ANALYST and WFM_SCHEDULER composite roles. The WFM_EDIT_SCHEDULE role is required to put a schedule into or remove it from production. The WFM_DELETE_SCHEDULE role is required to delete a schedule. Both roles are included by default in the WFM_SCHEDULER composite role. Read more about Workforce Management Roles.
Checking Production Schedules
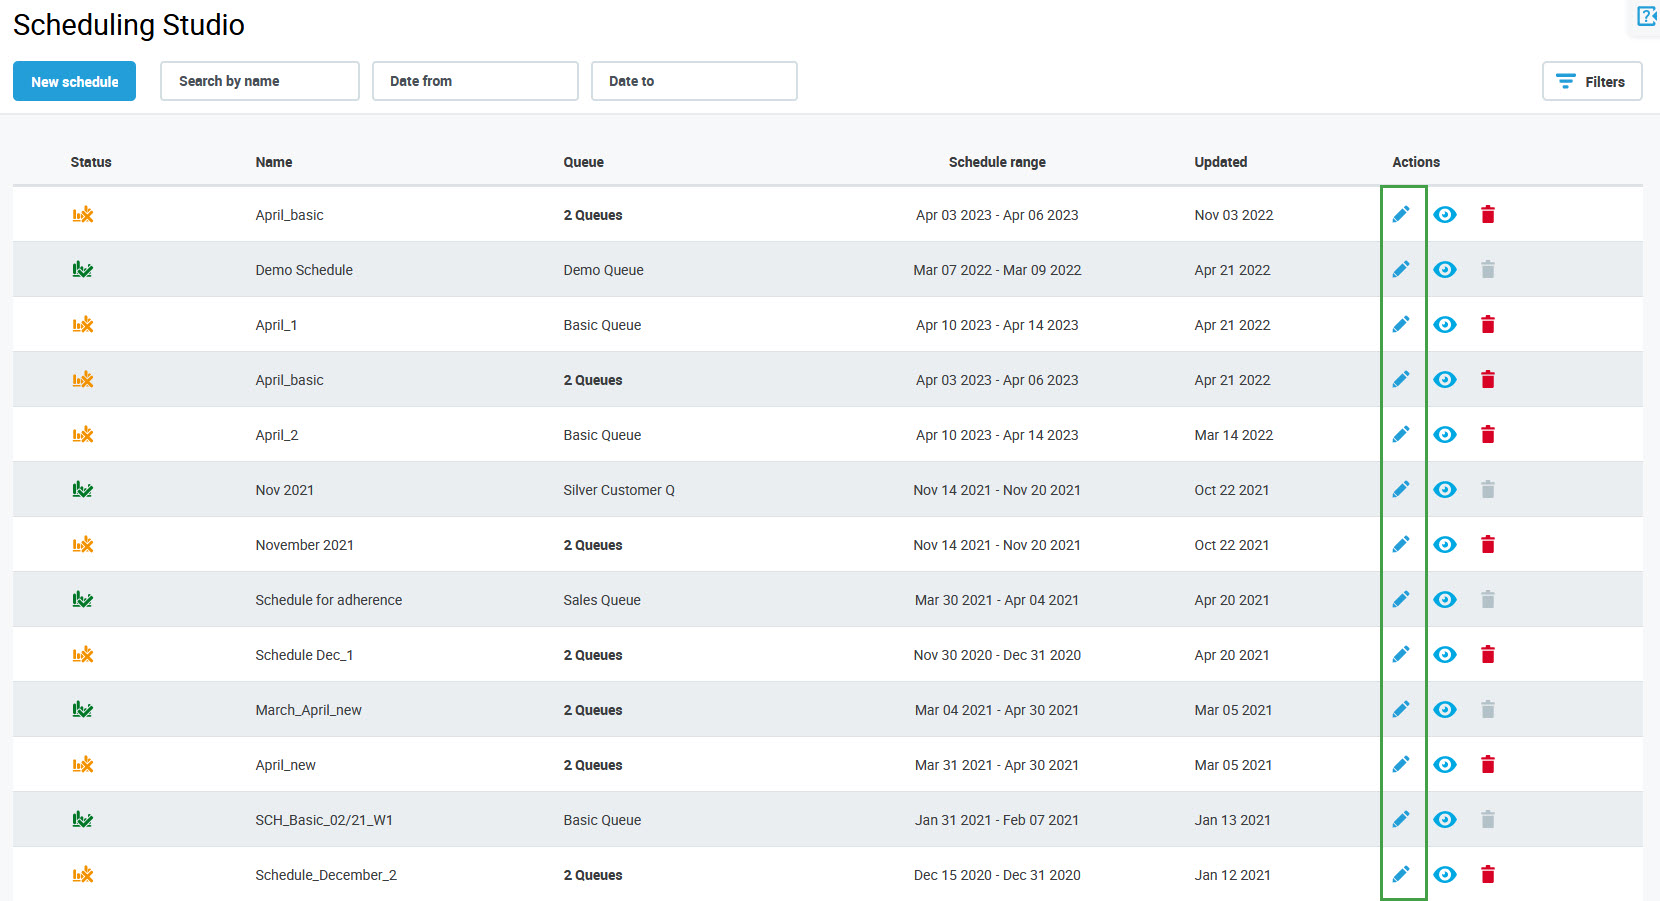
To display an existing production schedule, expand the Scheduling module within the navigation tree and click Studio. The Scheduling Studio screen will display.
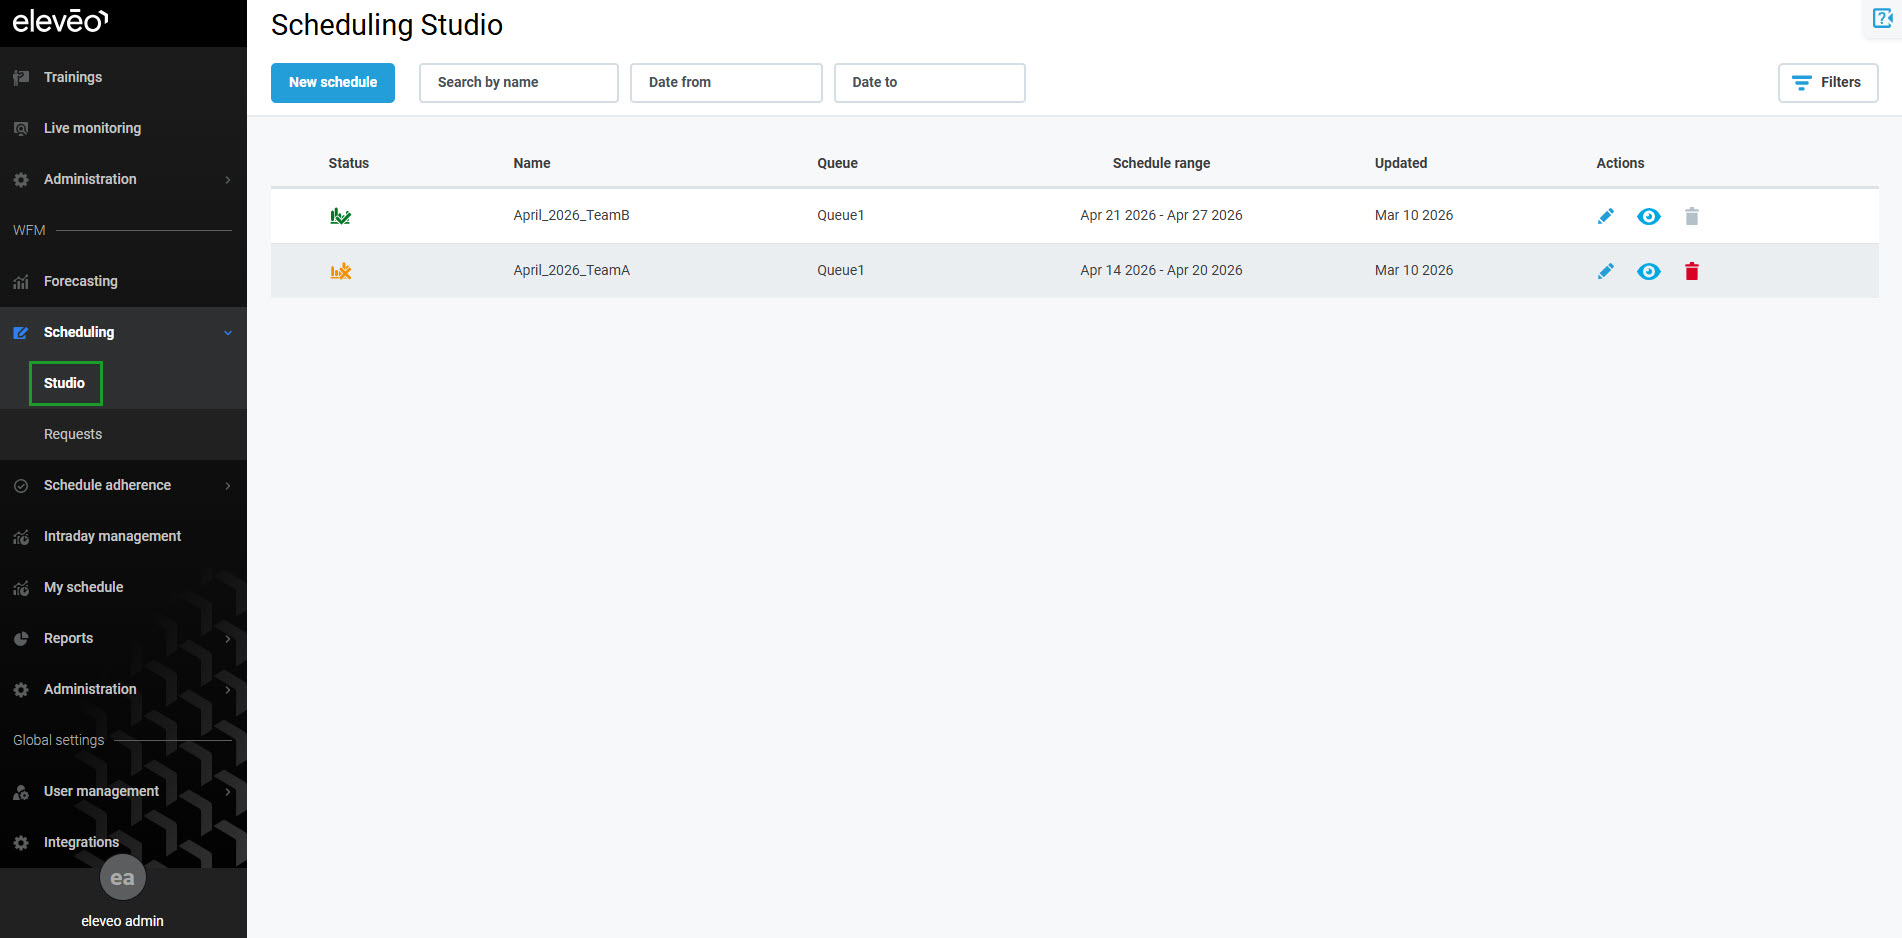
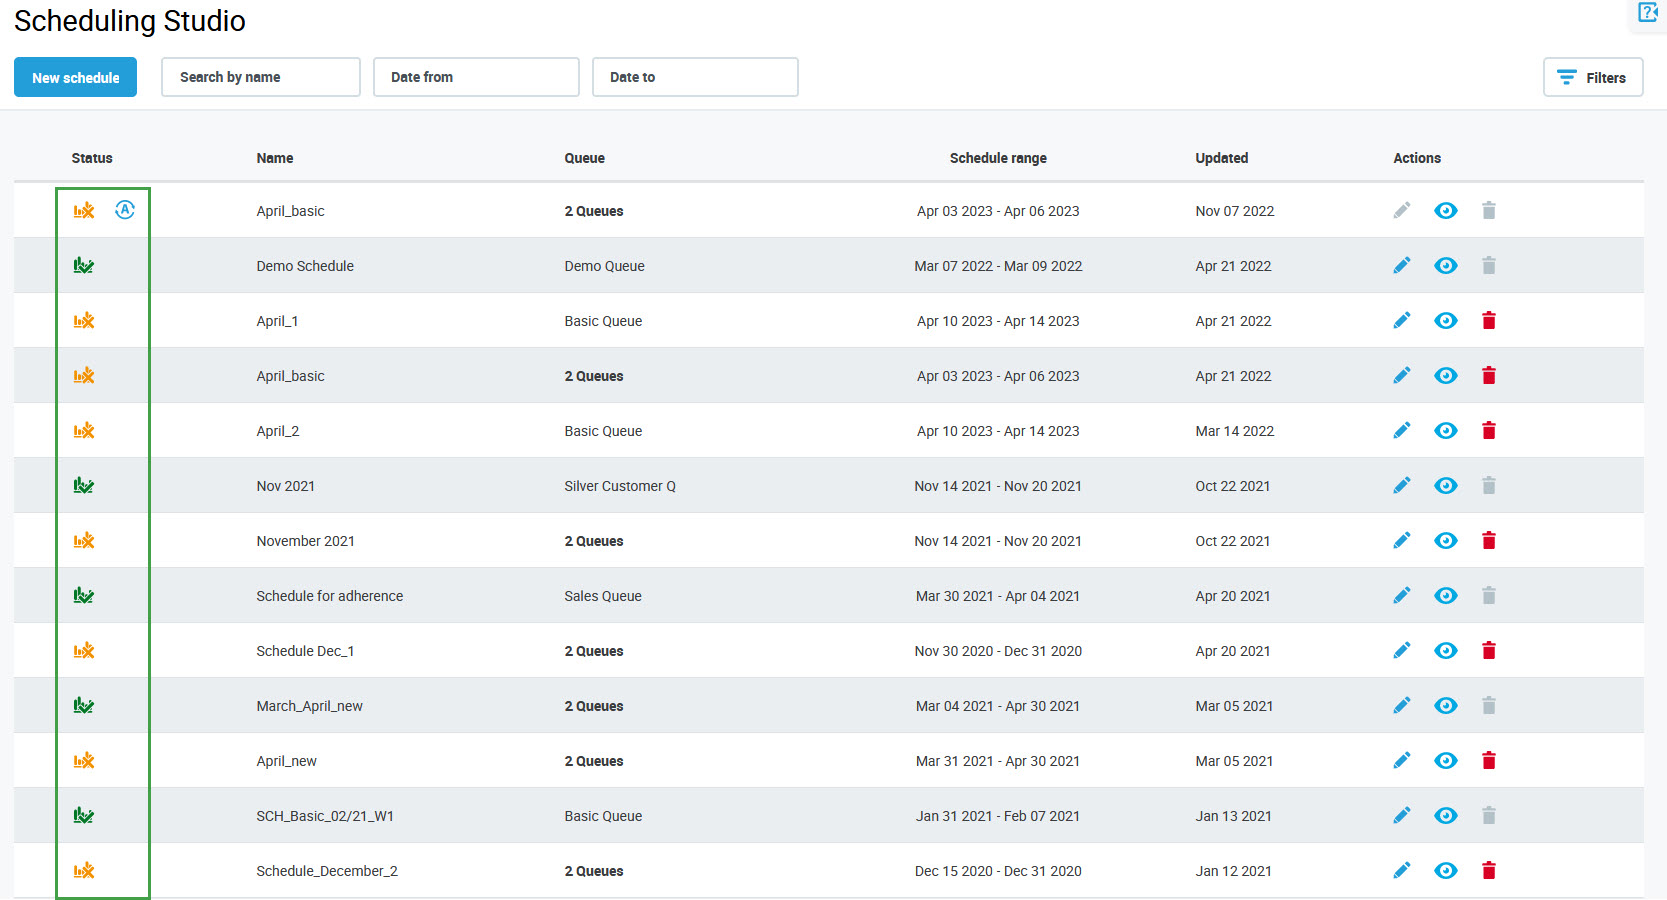
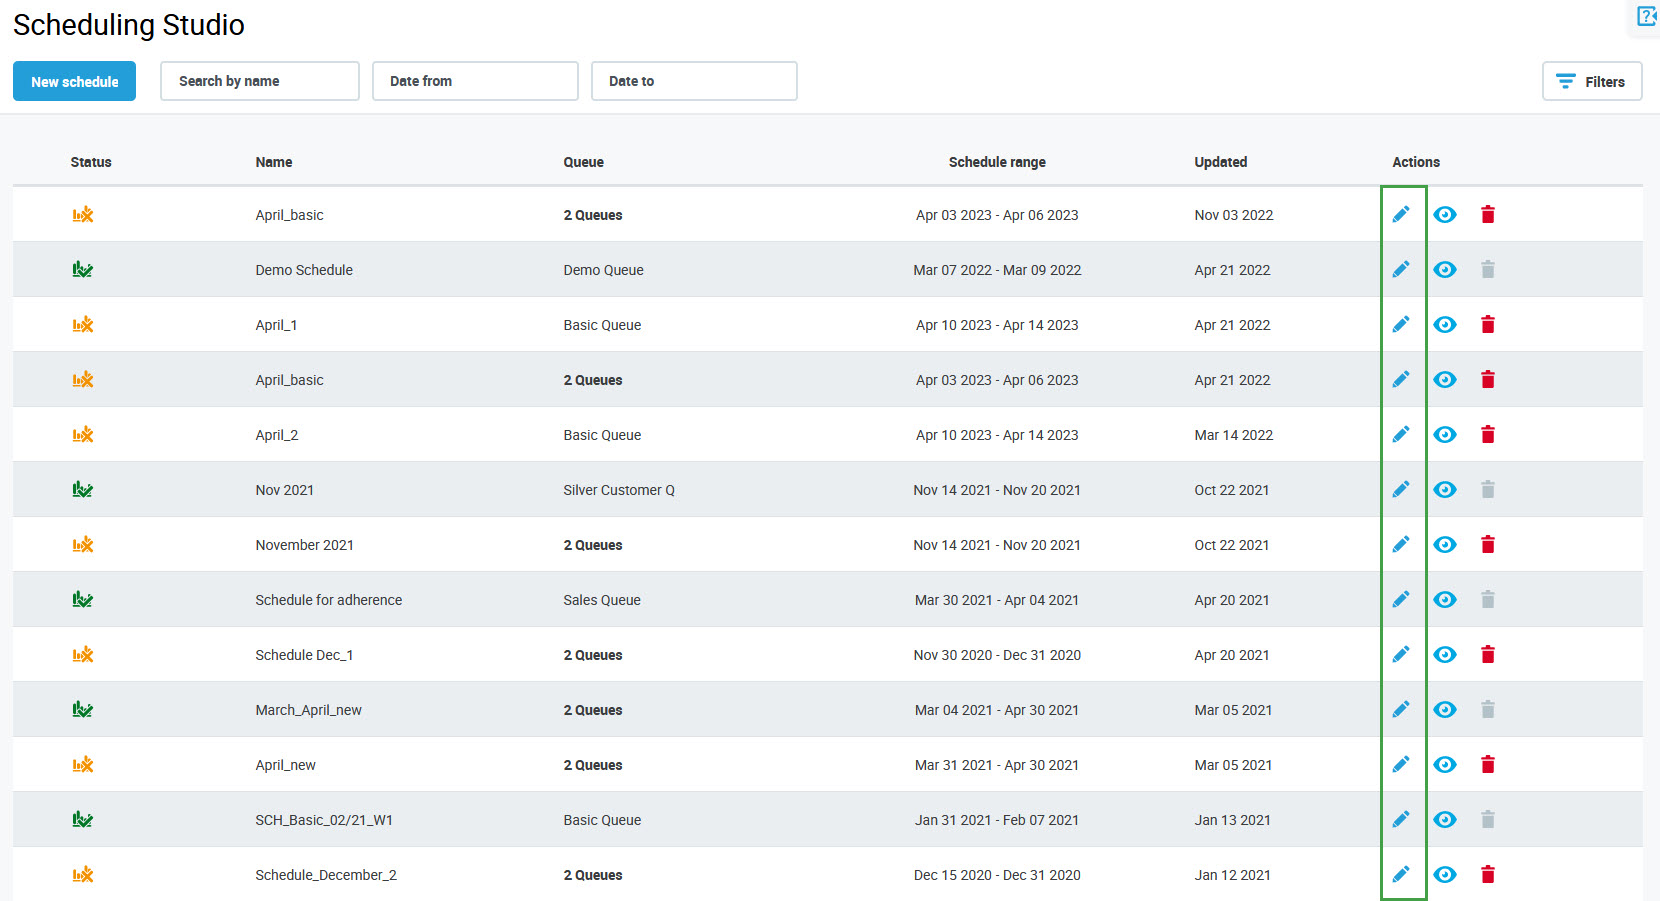
The status of the schedule (In Draft, In Production or Auto Scheduling in progress) is displayed in the Status column:
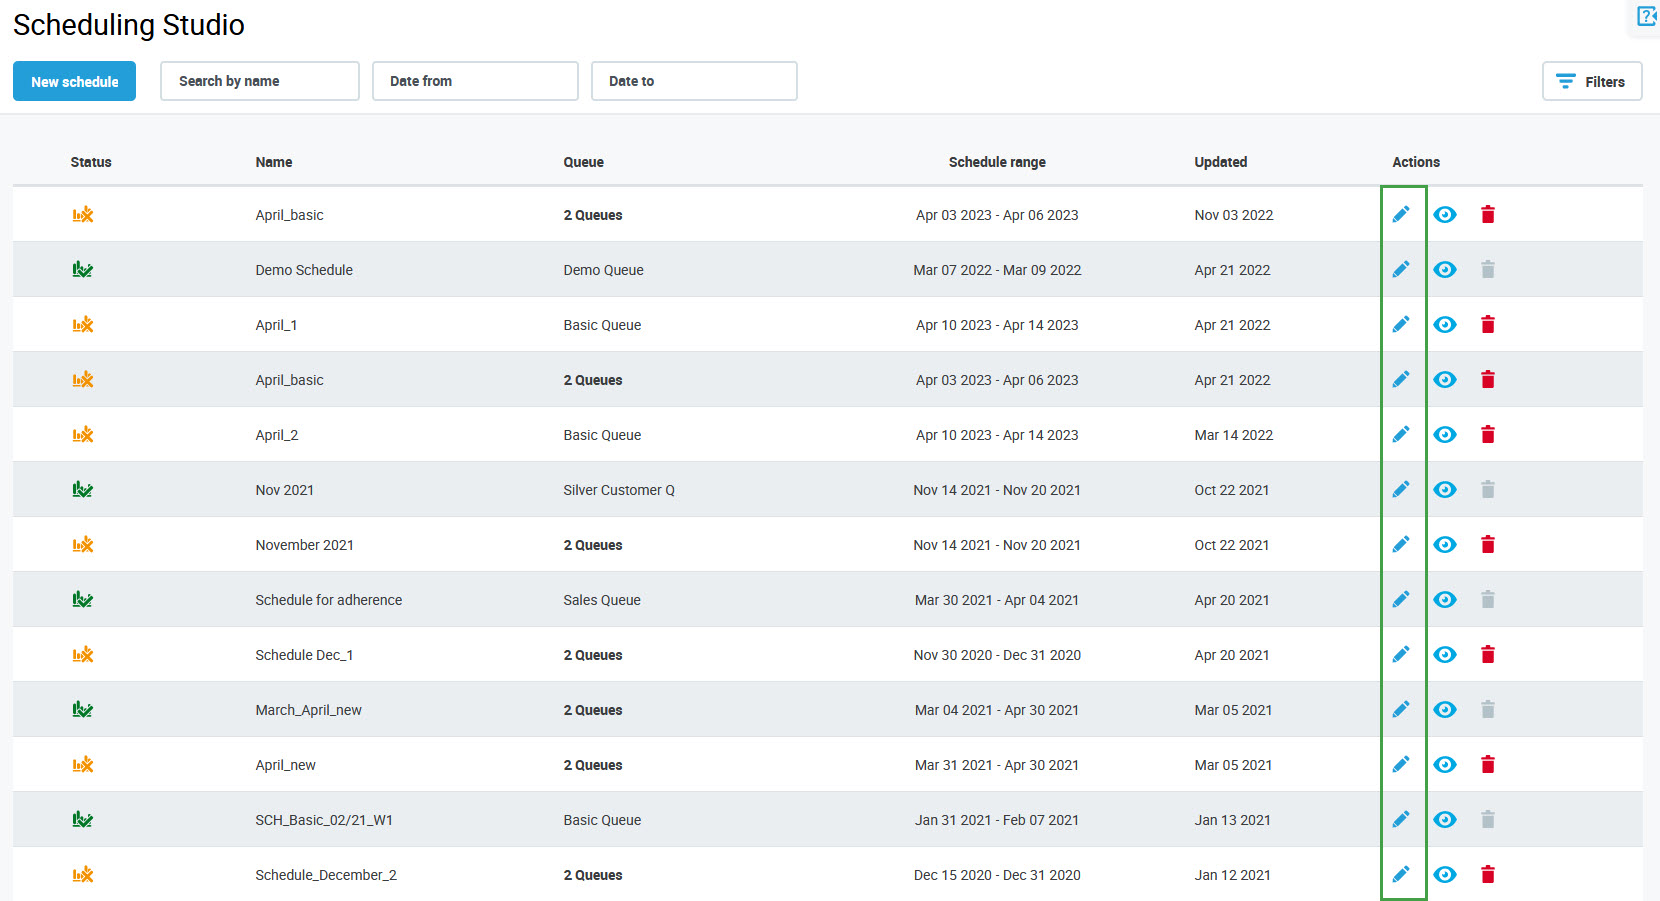
The menu on the right allows further actions in regard to the production schedule:
-
View – Allows the schedule to be reviewed without modification.
-
Edit – Allows the schedule to be modified, but it must first be changed from Production to Draft.
-
Delete – Not active for production schedules.
The production schedule cannot be edited or removed.
Selecting a New Production Schedule
To put a schedule into production, click the Edit button in the Actions column for the schedule that you wish to put into production.
Click the Next step button to navigate to the second step of the wizard. Click the Put to Production button to put the schedule into production.
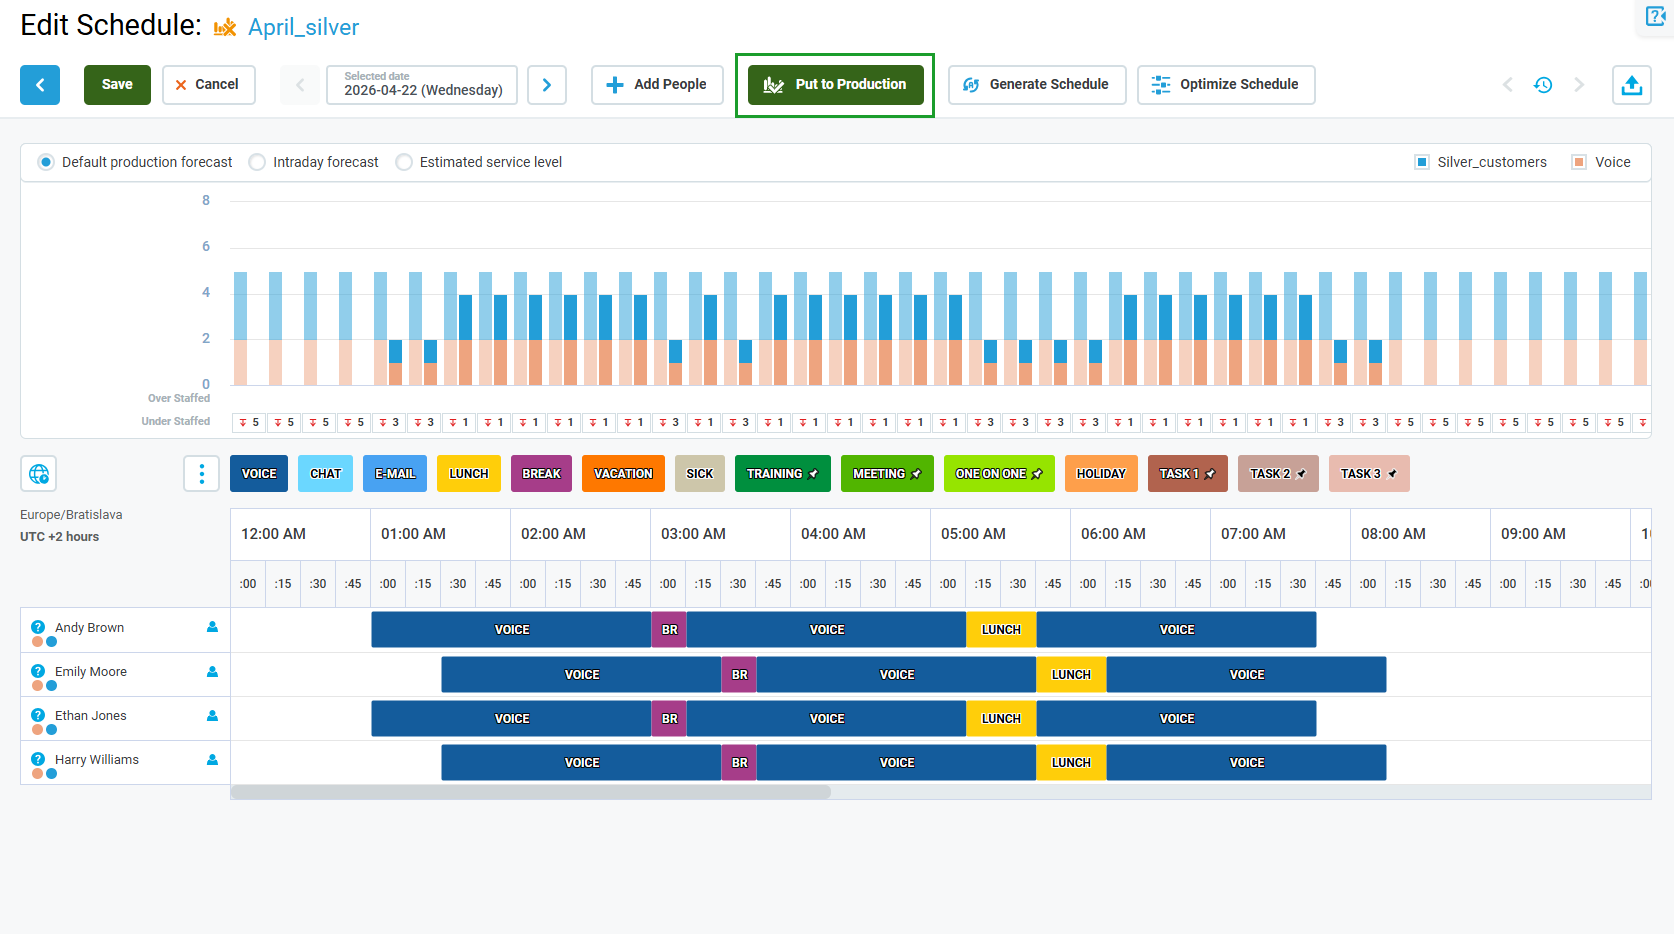
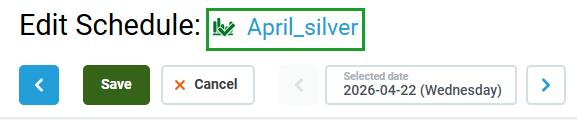
The In Production icon next to the schedule's name indicates that this schedule is in production.
All people affected by this schedule will be notified by email about the new production schedule.
Note, that each person needs to have an email address configured from within User Management first (more details can be found on the Managing Users page). People who don't have an email address configured will not be notified.
If any person is already used in another production schedule for the same time range, but for different queues (there are no queue(s) is common with the new schedule), an error message will display. However, if the new schedule has at least one queue in common with the schedule that the person is already used in, the person can be successfully assigned and their schedule will be overwritten with the new one.
When the schedule is successfully put into production and emails are sent, a confirmation will display in the top right corner of the screen.
If the emails cannot be sent correctly, an alert will display. However, the schedule will still be published as expected.
Editing the Production Schedule
To edit a production schedule, click the Edit button in the Actions column for the schedule.
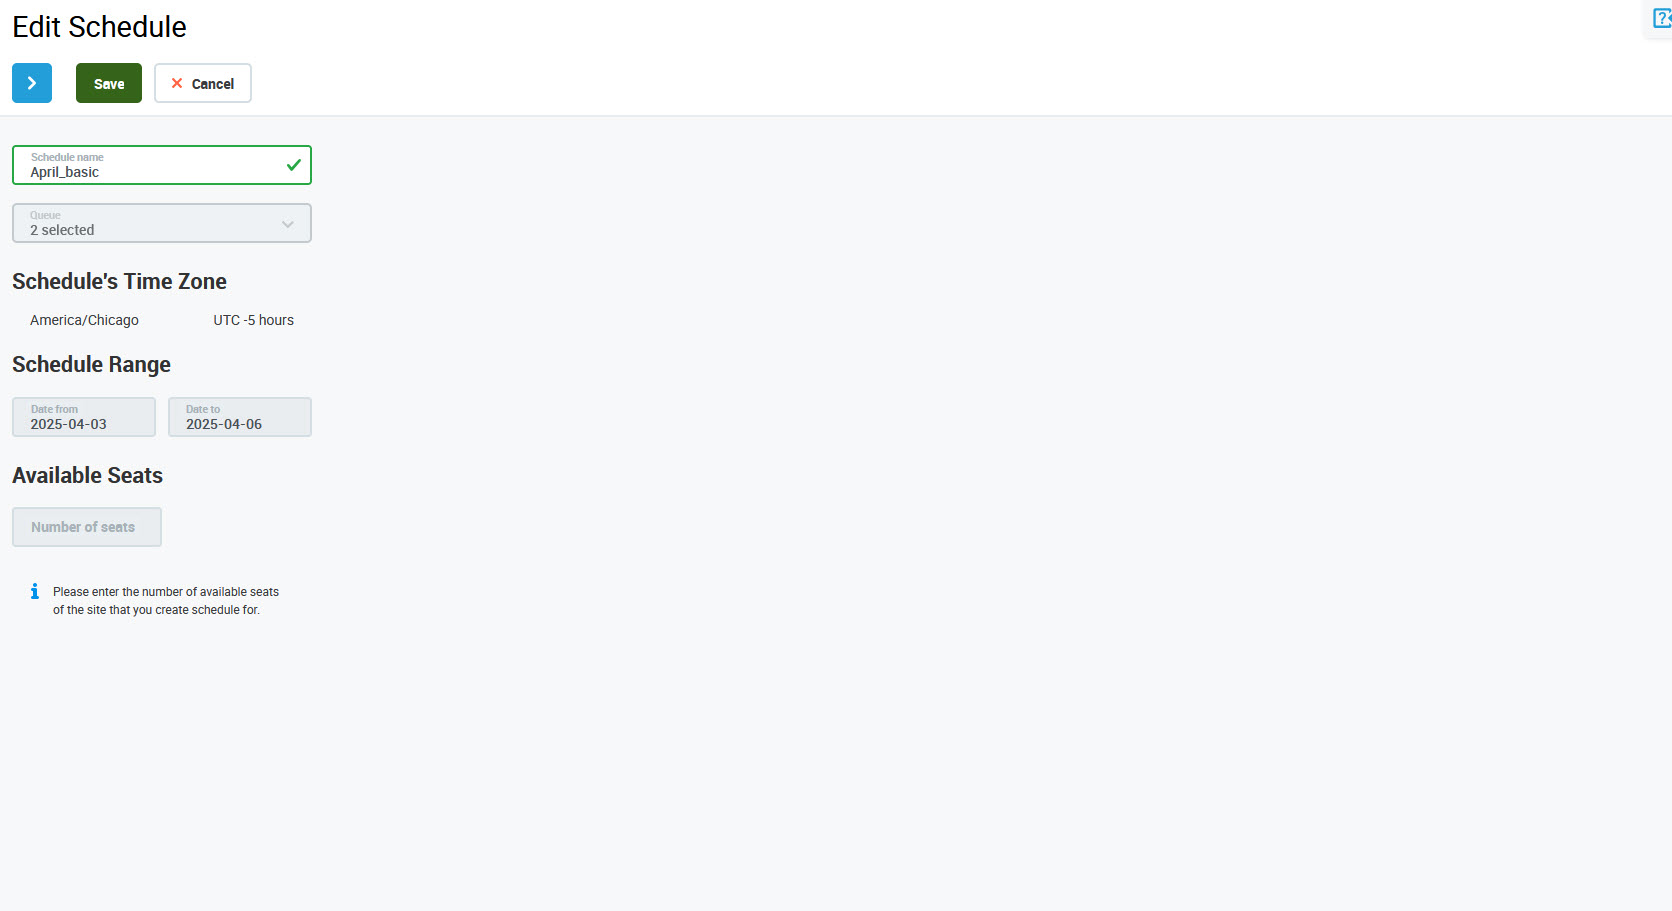
The Edit Schedule screen will display. The Schedule name parameter can be modified in the first step of the schedule wizard.
Click Save to update the schedule without having to proceed to the second step. Alternatively, click the Next step button to proceed to the second step.
The second step of the wizard allows people to be added to the schedule, as well as for changes to the schedule elements assignment and Working in Office/Working Remotely statuses to be modified. More information about schedule configuration can be found on the page Adding a New Schedule.
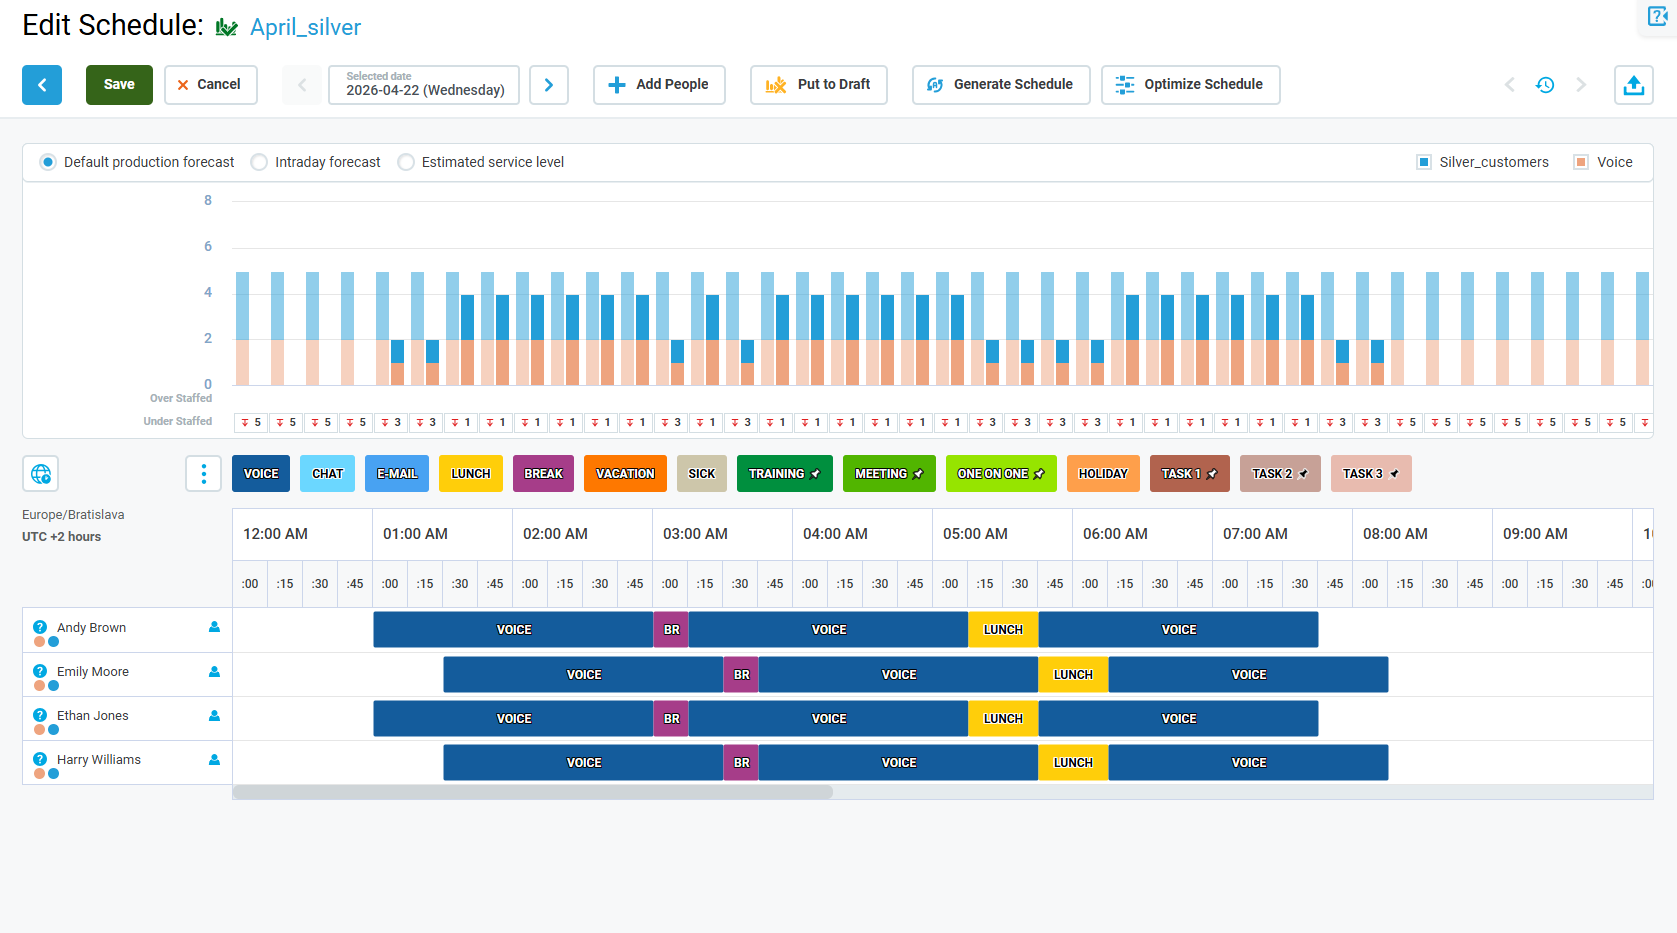
Note that if the schedule is already in production, only the current day and all days in the future can be modified. It is not possible to modify dates in the past. Also, it is not possible to remove people assigned to the production schedule.
Click Save to apply changes. Click Cancel to abandon changes or Previous step to go back.
A dialog window will indicate any unsaved changes. Click Save and leave to save changes before leaving the Scheduling page, or Leave to abandon changes. Click Cancel to close the dialog window and continue working with the schedule.

Note that after clicking the Save button you will stay on the Edit Schedule screen. Use the navigation tree on the left to go back to the Scheduling Studio screen or to another screen.
All people affected by this schedule change will be notified by email about the new production schedule.
Vacation Behavior in Production Schedules
When a person requests paid time off, the system places a Vacation element on the schedule. The exact behavior depends on whether the day already has a scheduled shift and whether the request covers a specific time window or a full day.
Case 1 – Full-day vacation on an unscheduled day
If no shift has been generated for the person yet, the system places a 24-hour non-fixed Vacation placeholder on that day. This placeholder is excluded from working hours and paid-hour calculations until the autoscheduler resolves it. During autoscheduling, the engine determines what shift the person would have worked and replaces the placeholder with a fixed Vacation element. The fixed element:
-
starts at the same time as the calculated shift,
-
covers only the paid activities of that shift (unpaid breaks are excluded),
-
is included in working hours calculations once set,
-
persists through any subsequent rescheduling.
Case 2 – Vacation for a specific time window
If the person requests a vacation for a specific time window (for example, 14:00-16:00), the system immediately adds a fixed Vacation element to that window. No autoscheduler resolution is needed. The element is included in working hours calculations from the moment it is placed.
Case 3 – Multi-day vacation
A 24-hour non-fixed Vacation placeholder is placed on each day of the requested period. All placeholders are excluded from working hours calculations until the autoscheduler processes each day individually:
-
Working days: The placeholder is replaced with a fixed Vacation element sized to the paid activities of that day's shift. The element is then included in working hours calculations.
-
Days off: The placeholder is removed entirely. No Vacation is consumed on days the person would not have worked.
The autoscheduler cannot assign work to the person during the Vacation period.
Example: A person requests Monday–Sunday off. The work plan has Monday–Friday as working days with shifts 08:00–17:00 (one hour of unpaid lunch). After autoscheduling, the person has fixed Vacation elements on Monday–Friday from 08:00–16:00 (8 hours of paid activities each), and no Vacation elements on Saturday or Sunday.
On days when s daylight saving time (DST) changes occurs, a full-day Vacation element may span 23 or 25 hours instead of exactly 24 hours.
Removing a Schedule From Production
To remove a schedule from production, click the Edit button in the Actions column for the schedule that is in production.
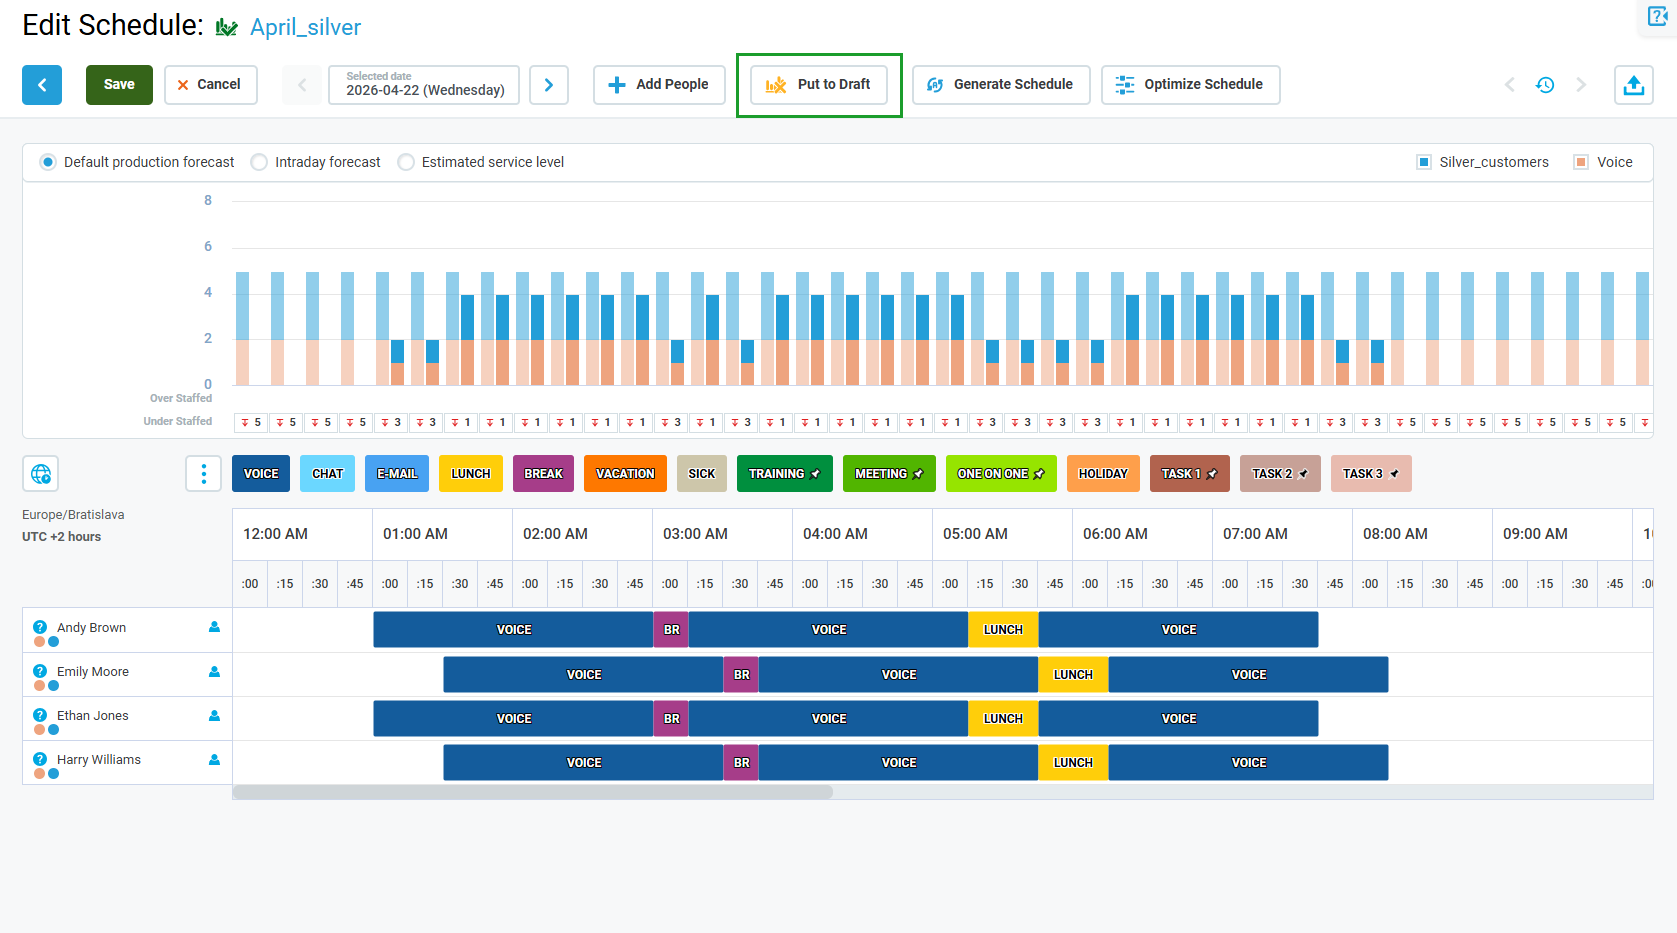
Click the Next step button to navigate to the second step of the wizard. Click the Put to Draft button to remove the schedule from production.
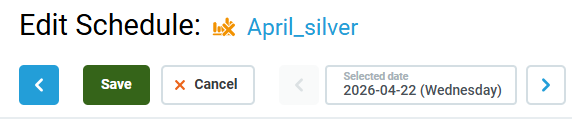
The In Draft icon next to the schedule's name indicates that this schedule is no longer in production.
All people affected by this schedule will be notified by email about the removal of the production schedule.
Note that each person needs to have an email address configured from within User Management first (more details can be found on the Managing Users page). People who don't have an email address configured will not be notified.
When the schedule is successfully removed from production and emails are sent, a confirmation will display in the top right corner of the screen.
If that email cannot be sent correctly, an alert will display. However, the schedule will still be removed as expected.