The WFM_EDIT_SCHEDULE role is required to create new forecasts. This role is included by default in the WFM_SCHEDULER composite role. Read more about Workforce Management Roles.
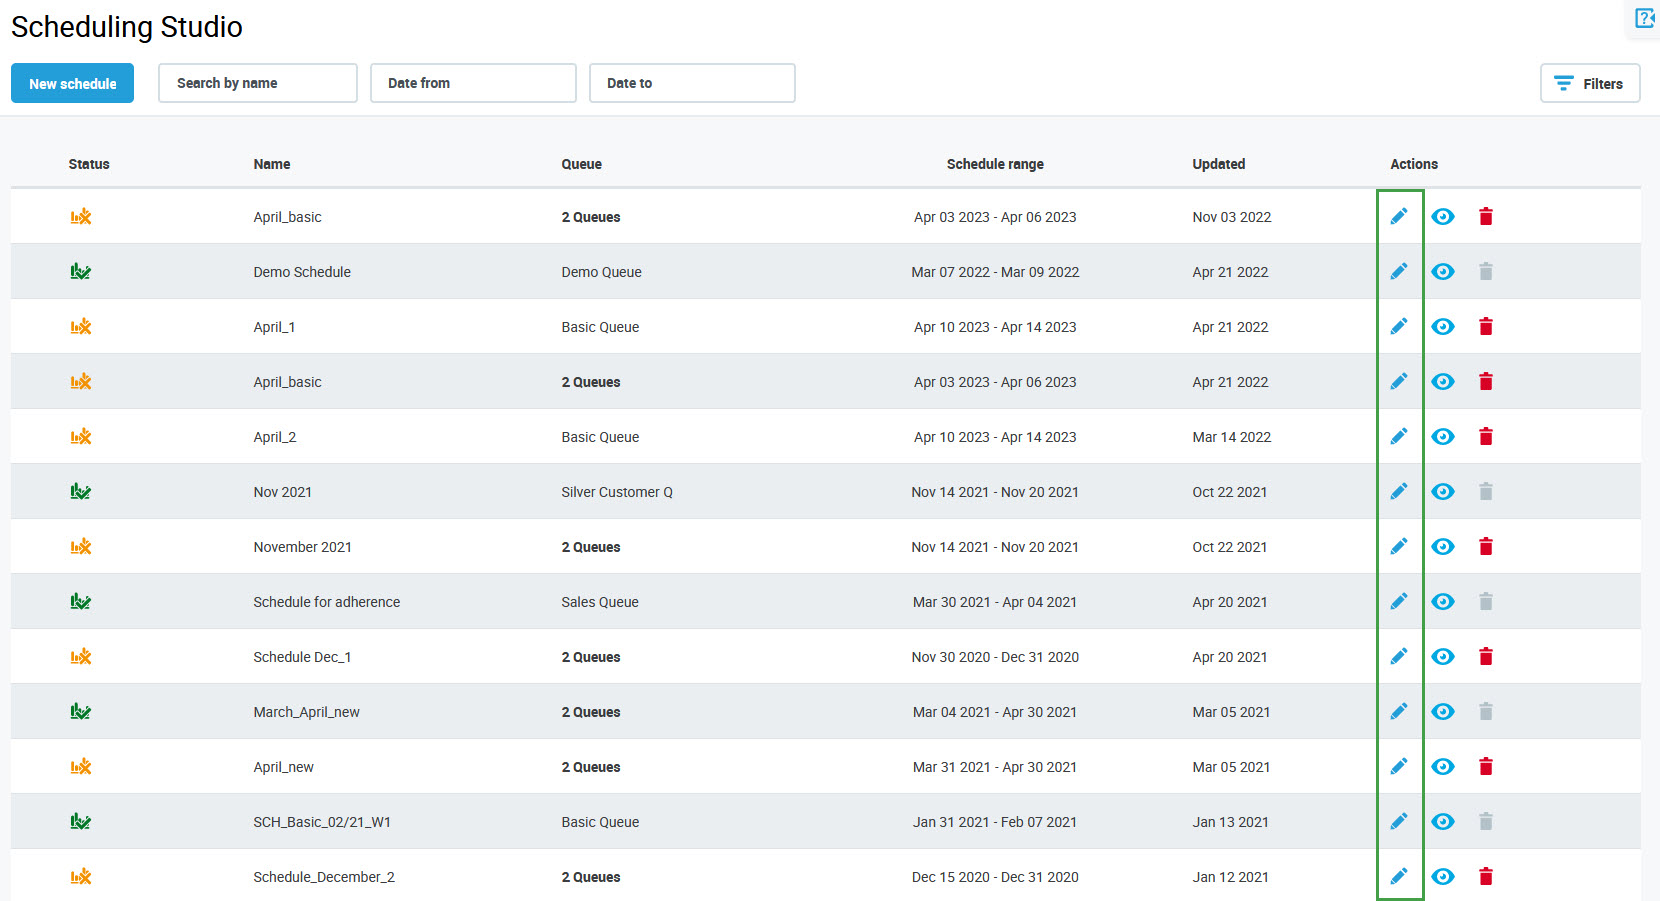
To edit a schedule, click the Edit button in the Actions column for the schedule.
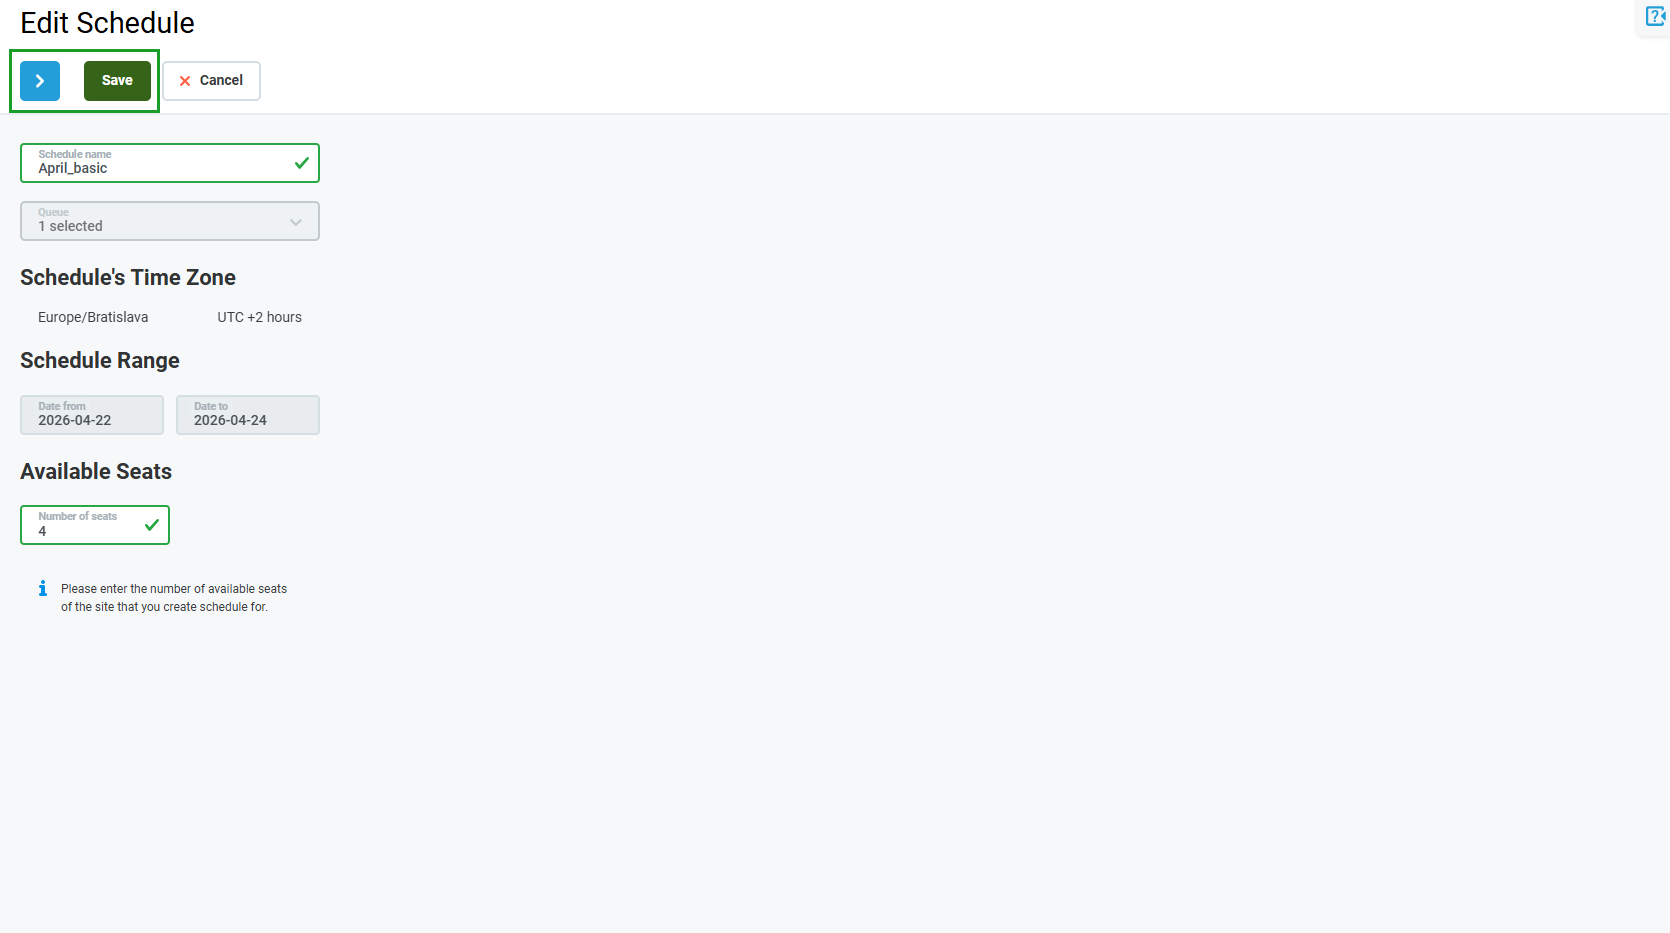
The Edit Schedule screen will display. If the schedule is not in production yet, the Schedule name and Available Seats parameters can be modified in the first step of the schedule wizard.
Click Save to update the schedule without proceeding to the second step. Alternatively, click Next step to proceed to the second step.
In the second step of the wizard, a person's assignment to the schedule, as well as schedule elements assigned to the people, and Working in Office/Working Remotely status can be modified. More information about schedule configuration can be found on the pages Adding a New Schedule and Manual Scheduling.
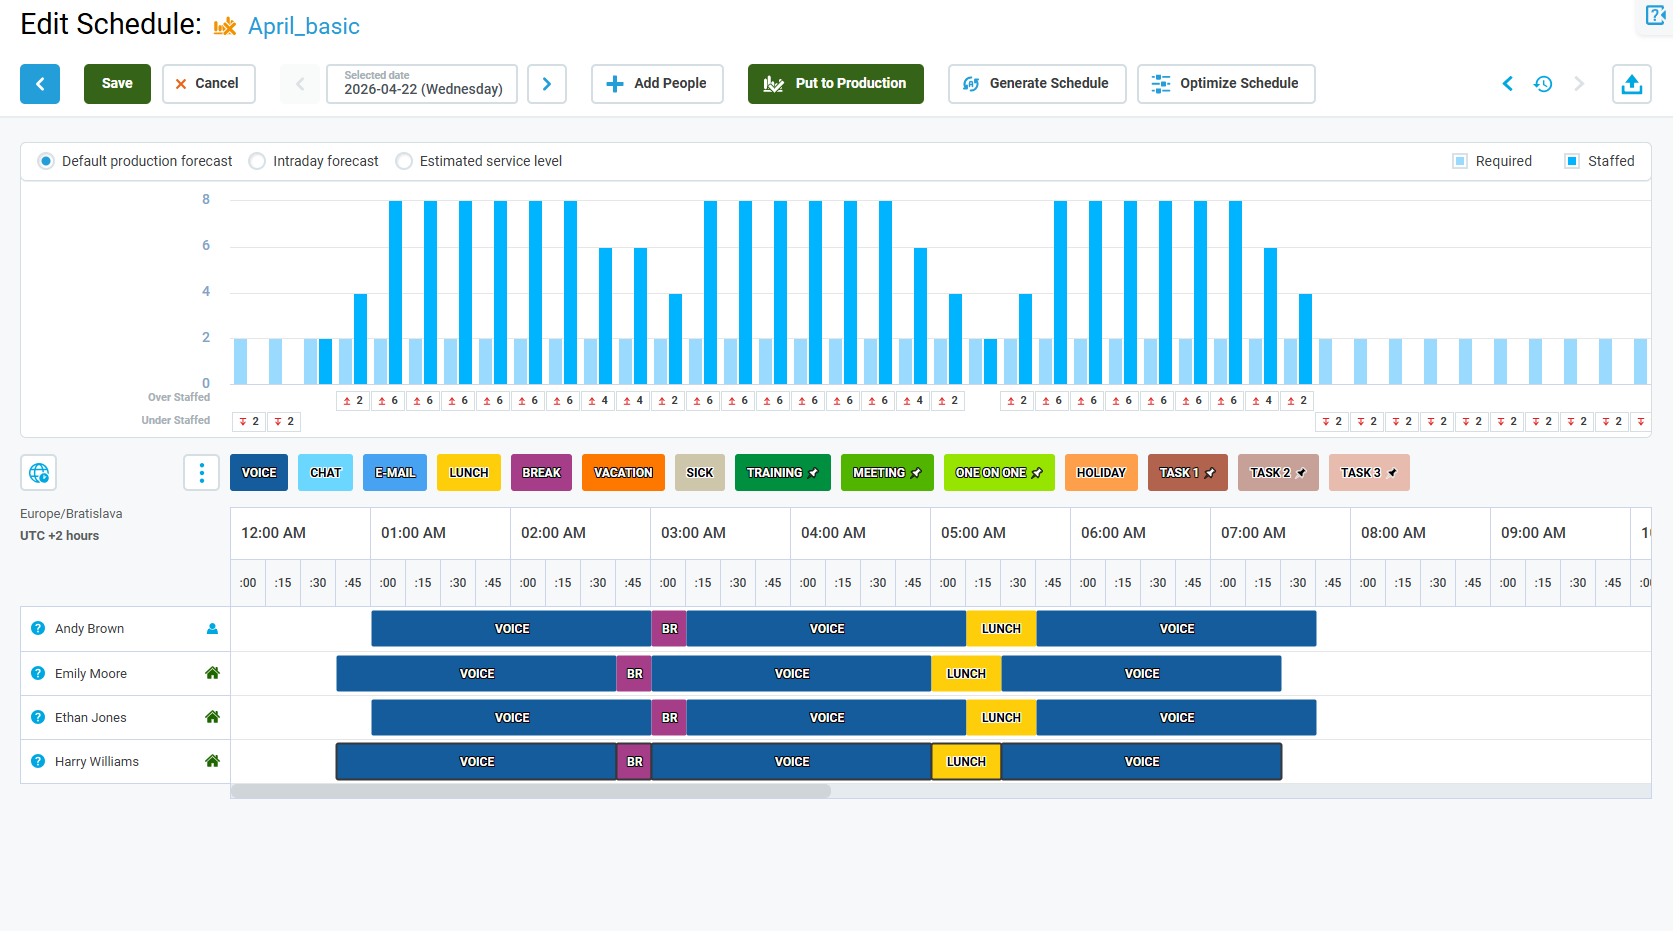
Click Save to apply changes. Click Cancel to abandon changes or Previous step to go back.
A dialog window will indicate any unsaved changes. Click Save and leave to save changes before leaving the Scheduling page or Leave to abandon changes. Click Cancel to close the dialog window and continue working with the schedule.

Note that after clicking the Save button you will stay on the Edit Schedule screen. Use the navigation tree on the left to go back to the Scheduling Studio screen or another screen.
Missing Forecasts
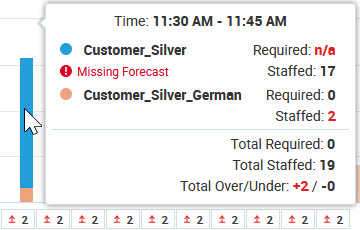
If one or more forecasts used in a multi-queue schedule are set to Draft after the schedule is saved, the work contribution will not be calculated correctly for the time intervals where the production forecasts are missing.
The tooltip highlights missing forecasts under the relevant queue. To see the tooltip, hover the mouse pointer over the schedule chart.