
Import Overview
Importing historical data into the Eleveo WFM solution is the first step in the forecasting and scheduling creation process. Historical data, generated by the ACD (Automatic Call Distributor) system, contains information about the number of contacts (calls) made during a specific time period in the past, as well as the average handling time. This information is utilized to create an estimation of the expected workload in the future. This estimation is used as the basis for schedule creation.
The WFM_FILE_UPLOAD role is required to upload a CSV file with historical data. This role is included by default in the WFM_ANALYST composite role. Read more about Workforce Management Roles.
Historical data can also be uploaded automatically. Learn more: Historical and Adherence Data Import From UCCE, UCCX.
Import Using the UI
Ensure that the following prerequisites are met before starting a manual upload:
-
CSV file is correctly formatted (read more about File Format)
-
The user has the
WFM_ANALYSTrole assigned
To import the CSV file into the application, expand the Administration module within the navigation tree and click Data Import. The Data Import screen opens.
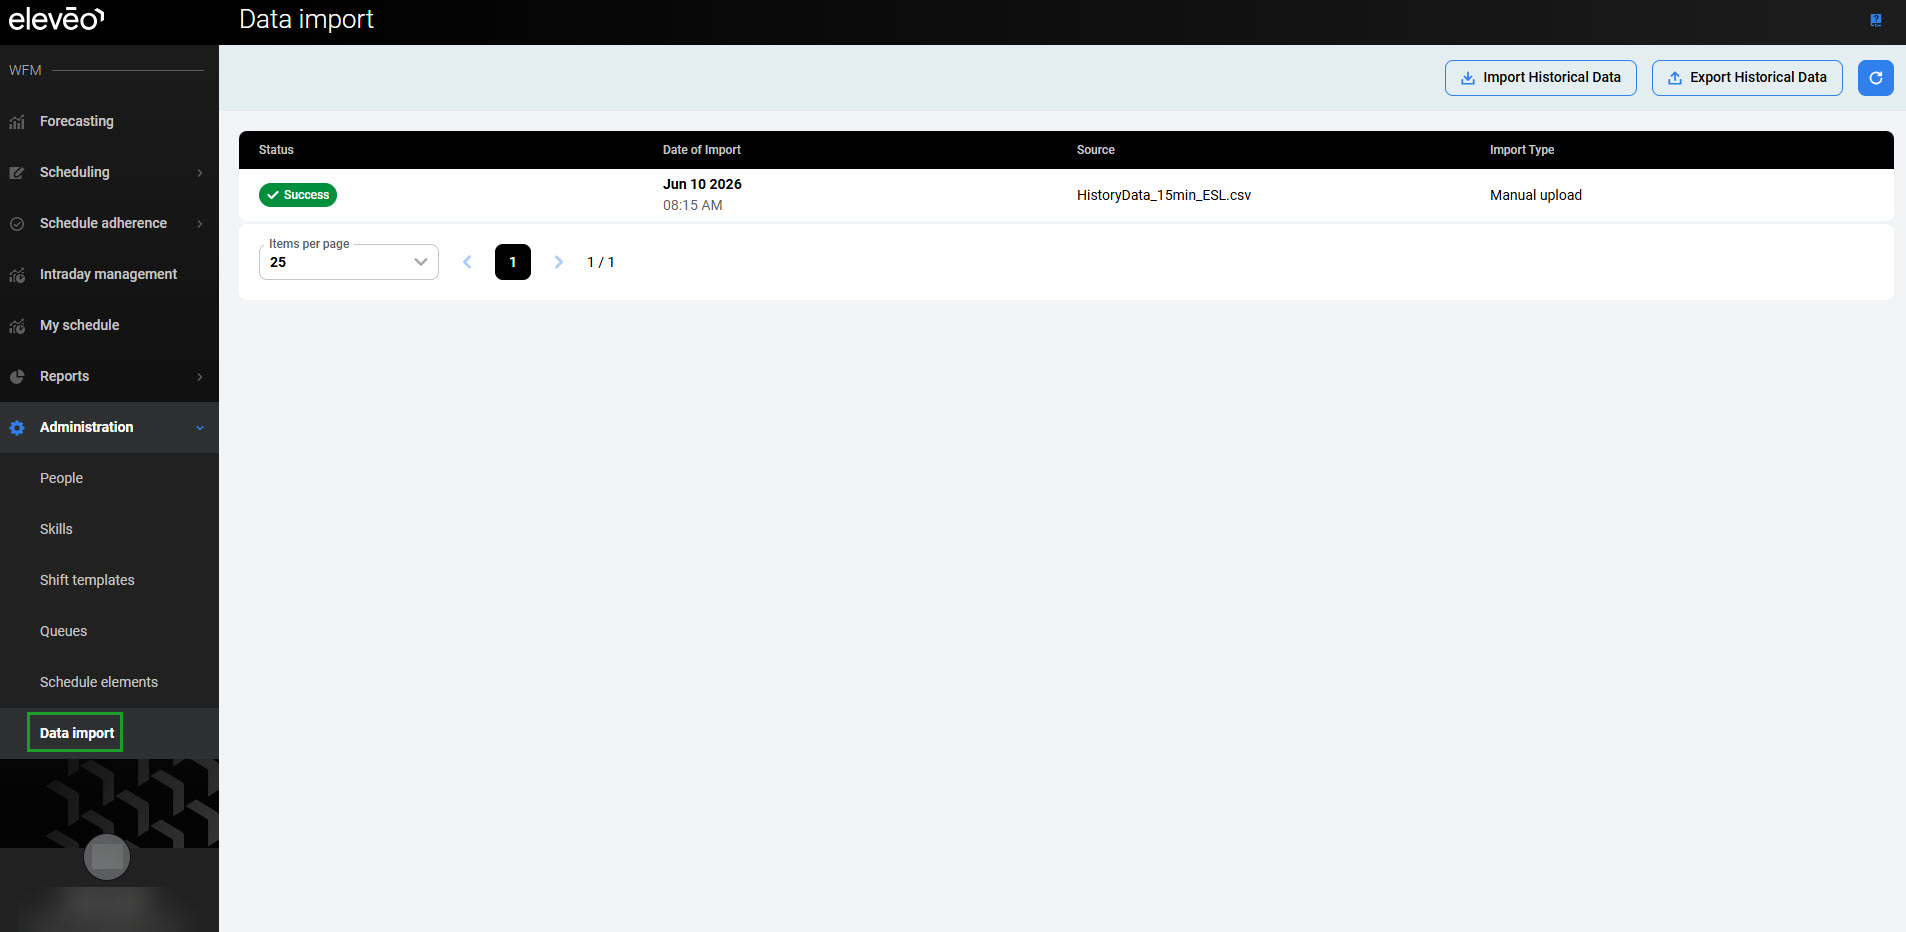
Click Import Historical Data to expand the pane.
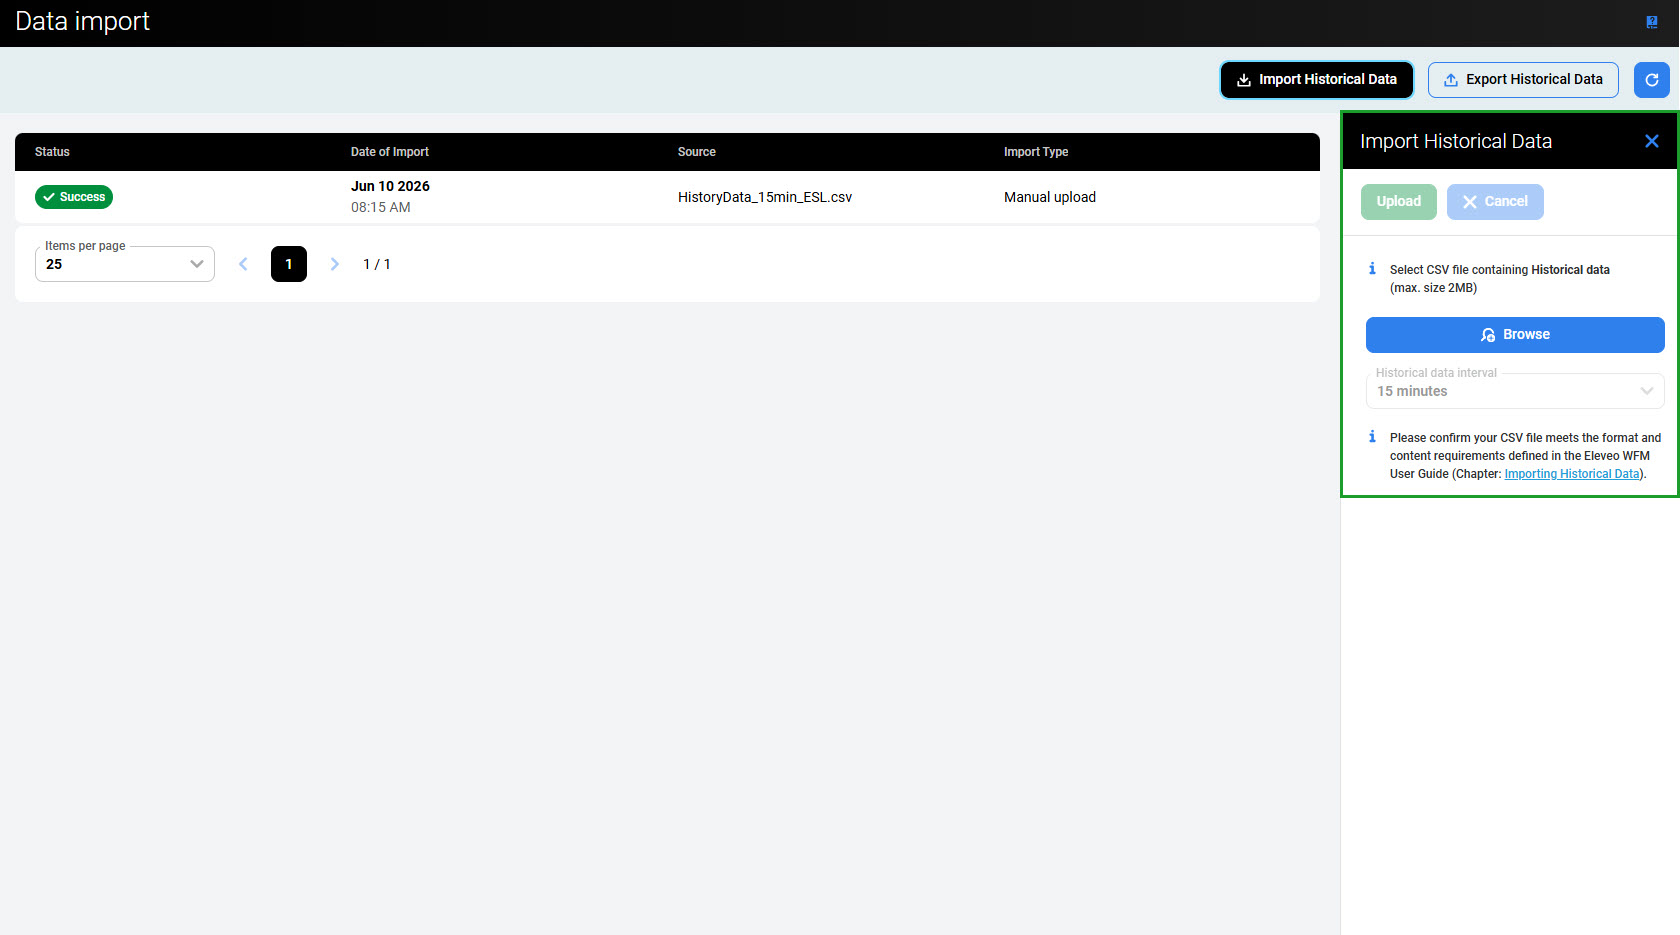
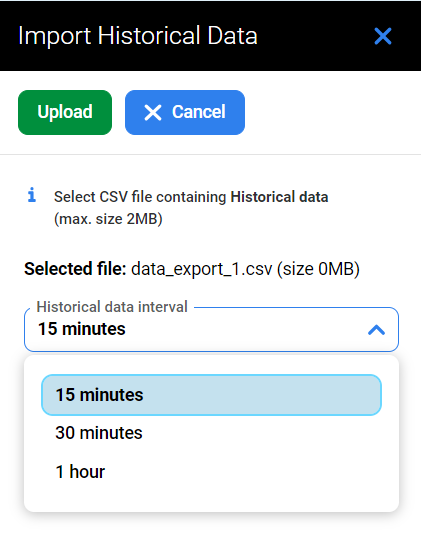
Click Browse and select a file from the local workstation. Then select Historical Data Interval from the dropdown menu based on the interval used in the CSV file (for voice queues, it is usually 15 minutes).
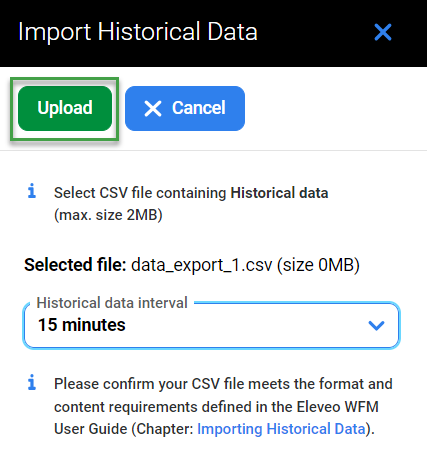
Click Upload to upload the file or click Cancel to select a different file.
The upload progress displays as a percentage.
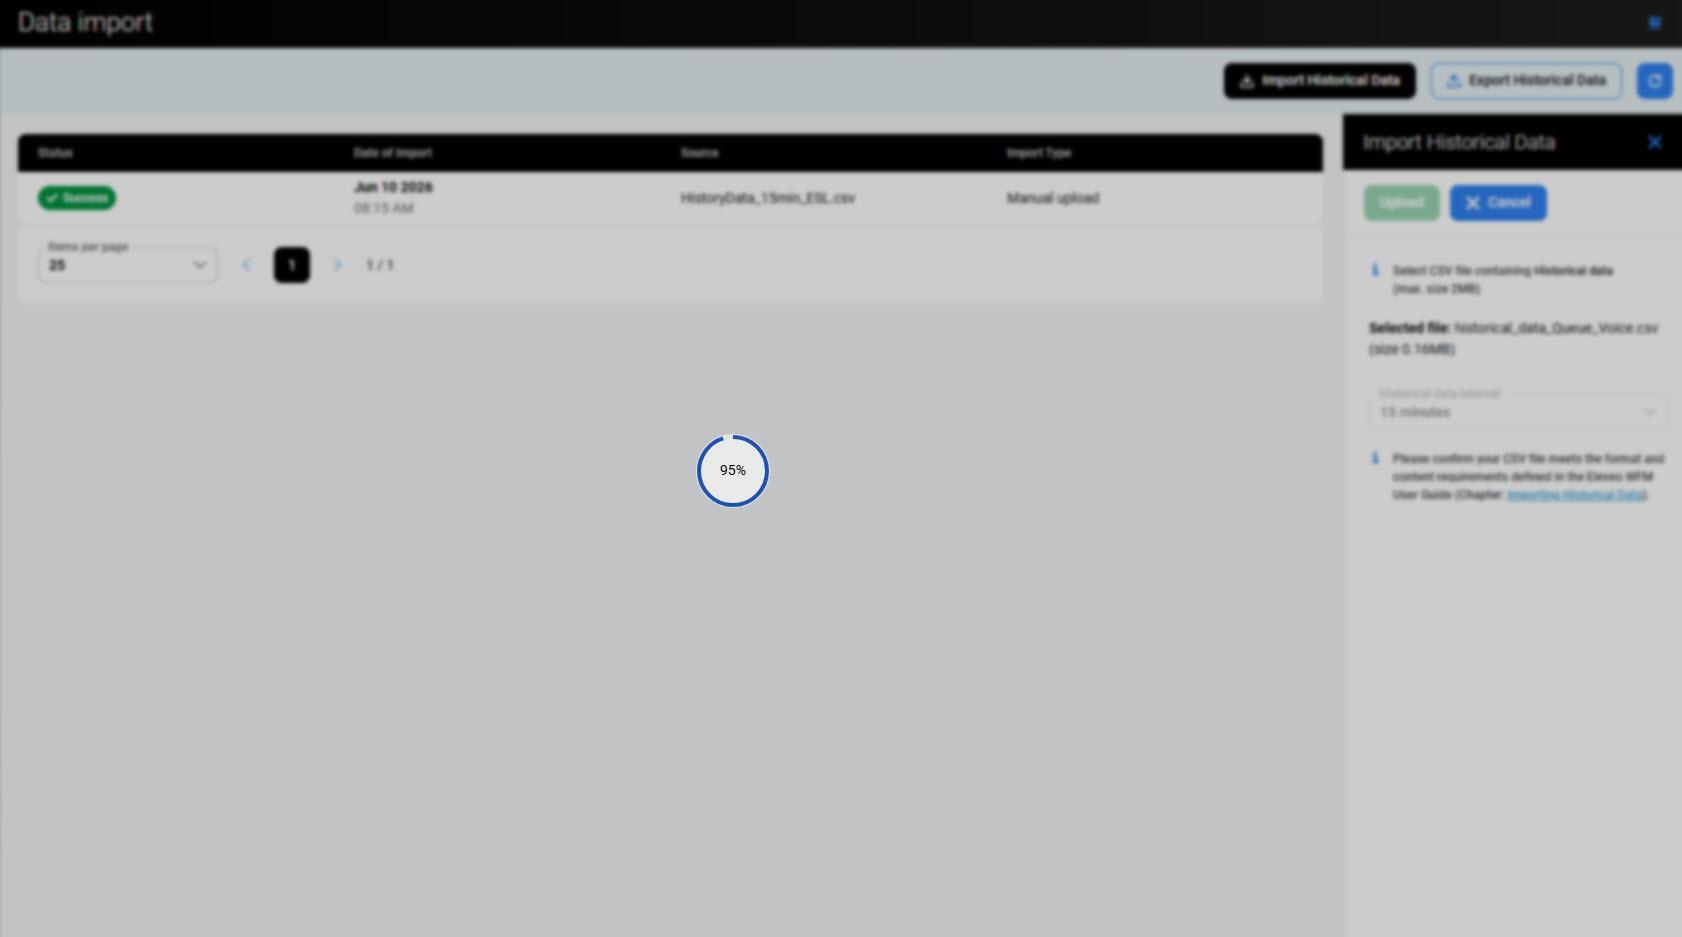
When the file is successfully uploaded, a confirmation message appears in the top right corner of the screen.
-
If the selected file is not in CSV format or does not meet the content requirements, the file is not uploaded and warning messages display. Select a different file and try again.
-
If the selected Historical Data Interval does not match the interval used in the CSV file, the file is not uploaded and a warning message displays. Check the interval, select the correct value, and try again.
Import Results
After the upload is finished (successfully or not), it appears in the upload history table.
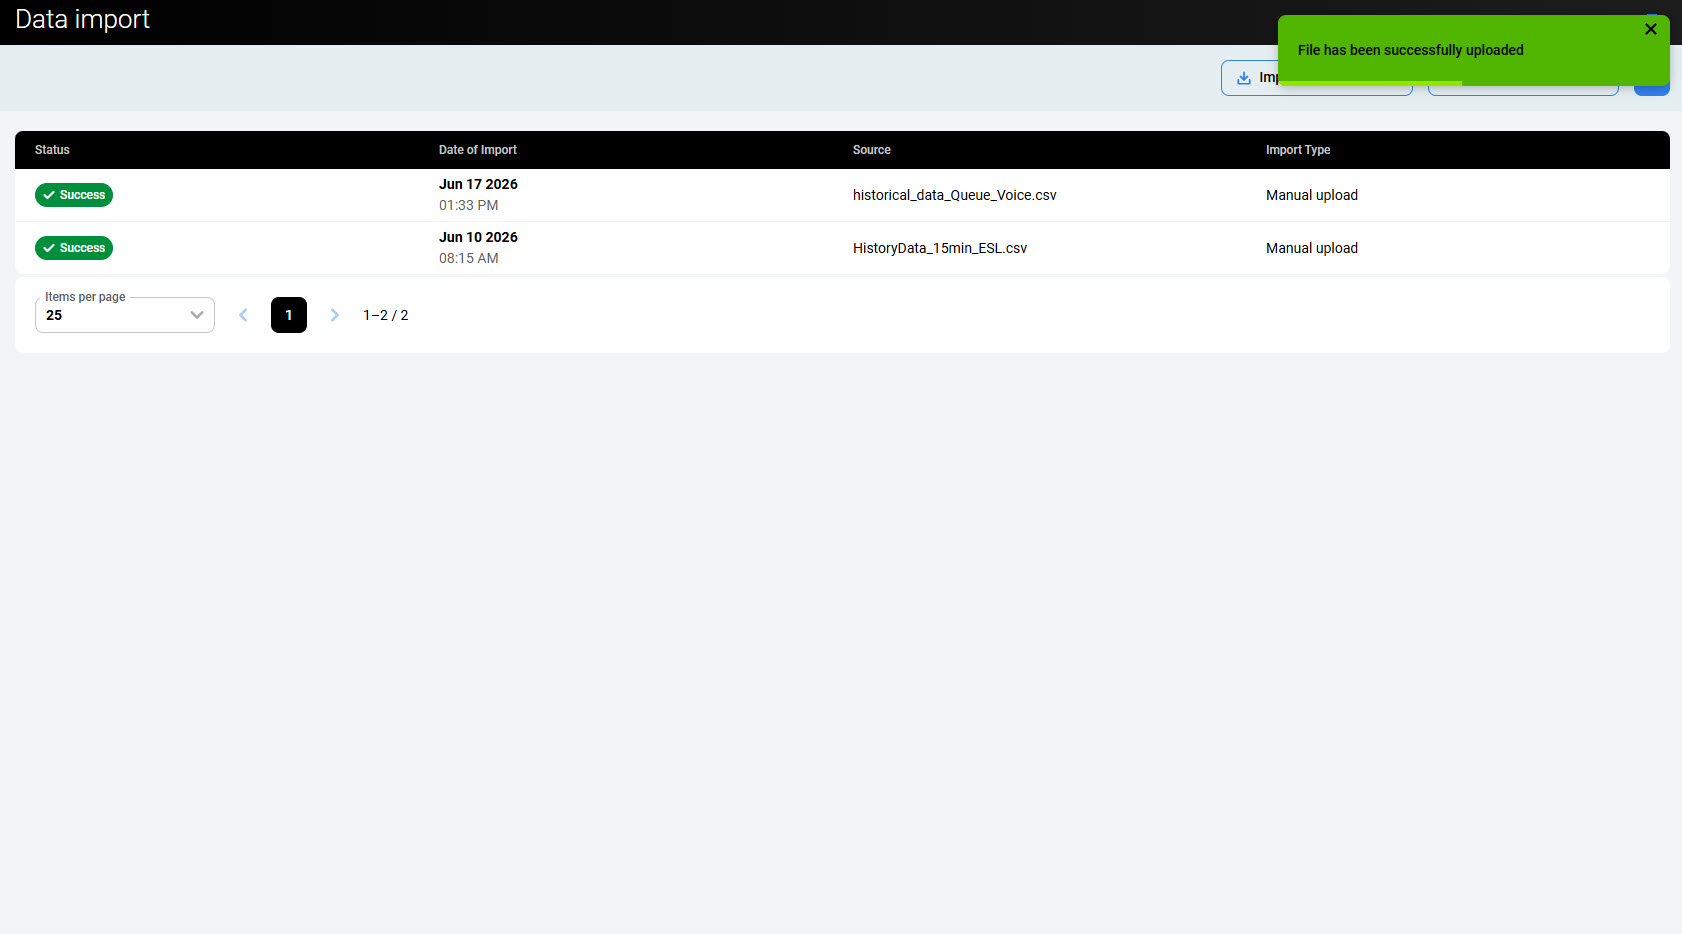
The table contains the following information:
-
Status – The status of the import: Success or Failed.
-
Date of import
-
Source – The name of the imported file (for a manual upload) or the name of the data provider (for an automatic upload). The data provider name is set in the UCCE/X Data Provider configuration, for example, ACD_1.
-
Import Type – Whether the import was manual or automatic.
Export Overview
The Export Historical Data feature allows authorized users to download historical ACD queue data from the Eleveo WFM application as a CSV file. This functionality is useful for analyzing workforce management data outside the application, creating custom reports, or archiving data for compliance purposes. The exported data contains information about the number of contacts (calls) and average handling time across selected queues and date ranges.
The WFM_FILE_UPLOAD role is required to access the Data Import screen and export historical data. This role is included by default in the WFM_ANALYST composite role.
Exporting Data Using the UI
Ensure that the following prerequisites are met before starting an export:
-
Historical data has been automatically imported for the queues and date range you want to export. See Automatic Import of Historical, Adherence and Real-Time Data.
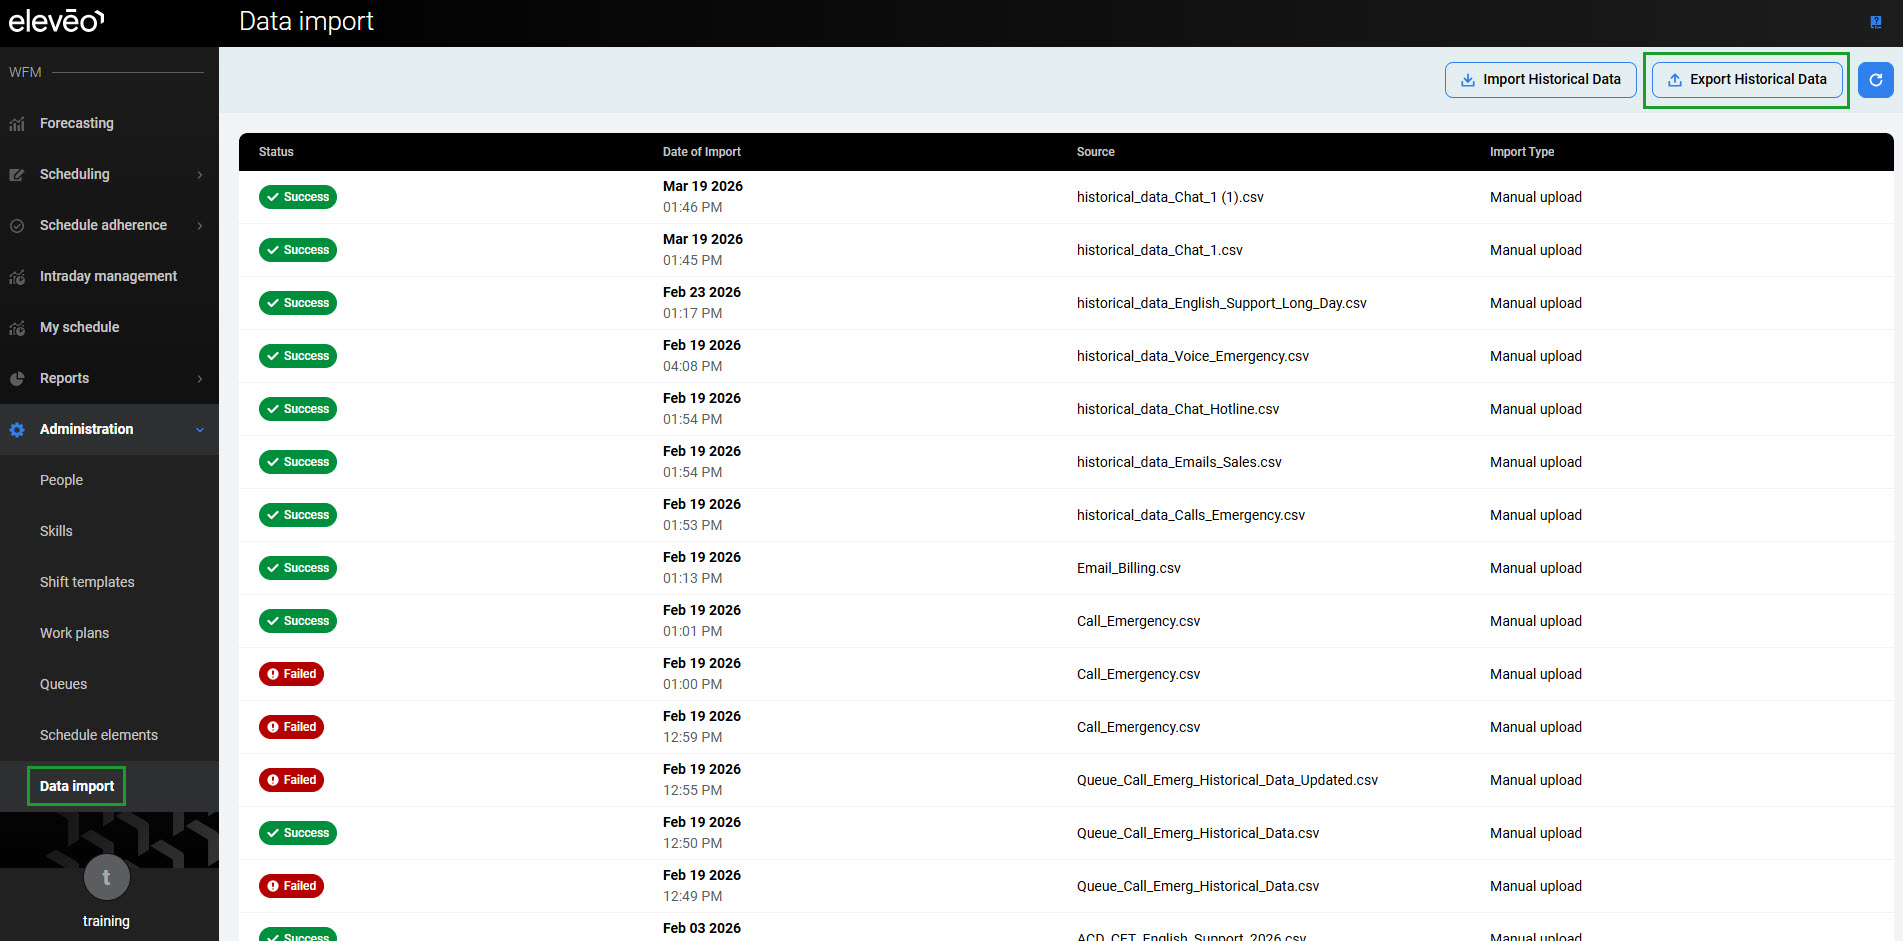
To export historical data from the application, go to Administration > Data Import. The Data Import screen appears. Click Export Historical Data to expand the export pane.
Select Queues
Select one or more ACD queues from the sidebar. All selected queues will be included in a single CSV export file.
Select Date Range
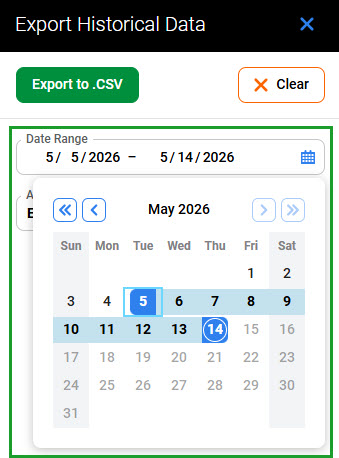
Select a date range using the start date and end date pickers.
The maximum allowed date range is 31 days. If you select a range exceeding 31 days, a validation error appears: "The selected date range exceeds the maximum of 31 days. Please select a shorter range." The minimum selectable range is one day.
The date range can include today. When today is selected as the end date, only intervals that have already been imported (intervals in the past) are included in the export. Future intervals from today are not included.
Export the File
Click Export to .CSV to download the file. The CSV file downloads directly to your workstation with the filename format historical_data_YYYY-MM-DD_YYYY-MM-DD.csv (for example, historical_data_2025-03-01_2025-03-31.csv).
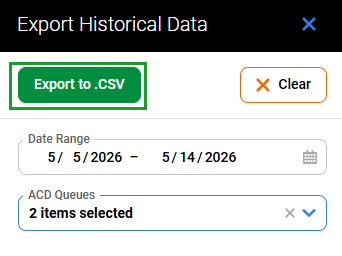
Alternatively, click Clear to reset the queue and date range selections.
If the selected date range and queues contain no historical data, the following message appears: "No historical data found for the selected queues and date range. Please verify your selection and try again."
If the export generation fails, the following message appears: "Export failed. Please try again. If the problem persists, contact your administrator."
Exported File Format
The exported CSV file follows the same format as the manually imported CSV file. See File Format for complete details.
File Characteristics
-
Encoding – UTF-8
-
Delimiter – Comma (,)
-
Row delimiter – New line
-
Header row – None (consistent with import format)
-
Timezone – All timestamps are in UTC
Column Structure
The CSV file contains the following columns in order:
|
# |
Column |
Format |
Example |
|---|---|---|---|
|
1 |
Date and Time |
|
|
|
2 |
ACD ID |
String (1-255 characters) |
|
|
3 |
ACD Queue |
String (1-255 characters) |
|
|
4 |
Contacts Offered |
Integer (1-5 characters) |
|
|
5 |
Average Handle Time (AHT) |
Decimal in seconds (0-32767, up to six decimal places) |
|
|
6 |
SLA |
Decimal (0-100), optional |
|
Data Sorting and Intervals
Data in the exported file is sorted by ACD Queue name (ascending), then by Date and Time (ascending). All intervals for one queue appear first, then the next queue, and so on.
The data is exported at the original interval granularity as it was imported (typically 15-minute intervals). All intervals are displayed, including zero-value intervals (intervals outside working hours with zero contacts offered and zero AHT). This covers the full 24-hour day for each date in the selected range.
For intervals where no data were received, the values are displayed as N/A.
Example Export File
The following example shows a CSV export for two queues across two time intervals:
2025-03-01T08:00:00Z,ACD_1,Queue_Sales,45,125.5,85.2
2025-03-01T08:15:00Z,ACD_1,Queue_Sales,52,118.3,82.7
2025-03-01T08:00:00Z,ACD_1,Queue_Support,28,245.8,N/A
2025-03-01T08:15:00Z,ACD_1,Queue_Support,31,238.4,N/A