
The WFM_EDIT_FORECAST role is required to create new forecasts. This role is included by default in the WFM_SCHEDULER composite role. Read more about Workforce Management Roles.
Draft Forecasts
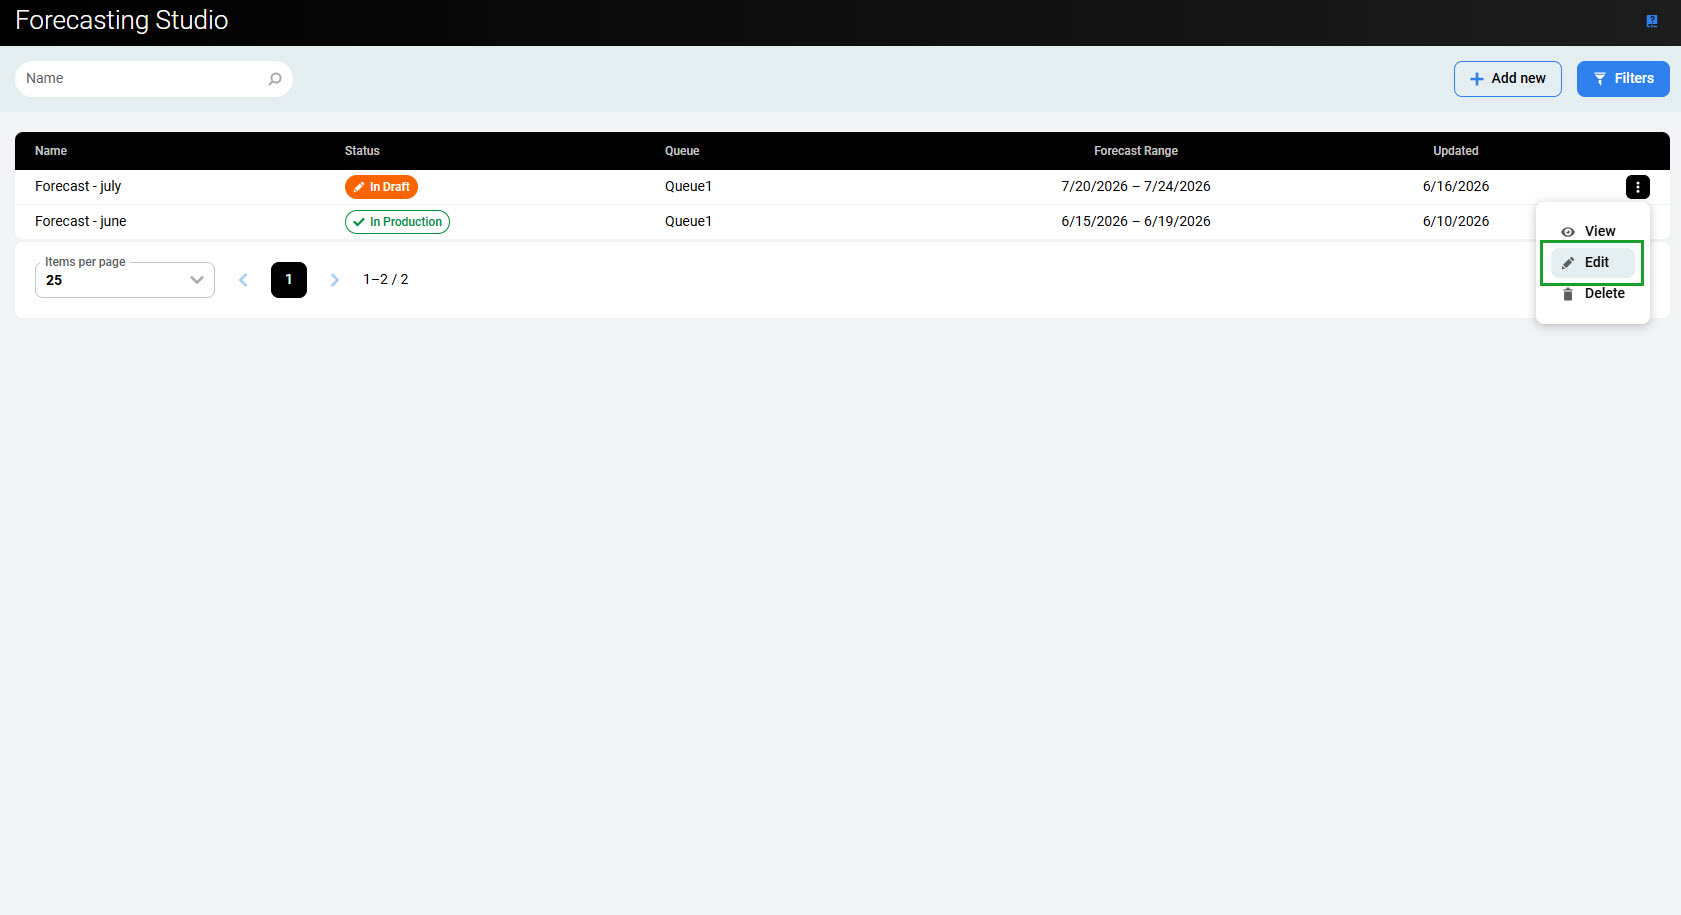
To edit a draft forecast, expand the menu on the right and click the Edit button.
-
If the time zone of the queue changes, the forecast is recalculated. Both the forecast range and the historical data range are recalculated based on the queue's time zone to start at midnight.
-
If the new historical data range falls outside the available data range (the range of imported data for the ACD queues the queue is using) and the initially selected range is less than two weeks, the following error message appears when trying to edit the forecast:
-
The forecast cannot be recalculated with time zone assigned to the queue due to missing historical data.
-
To resolve this, navigate to the queue settings (Managing Queues) and modify the time zone of the queue. Alternatively, create a new forecast using a different historical data range.
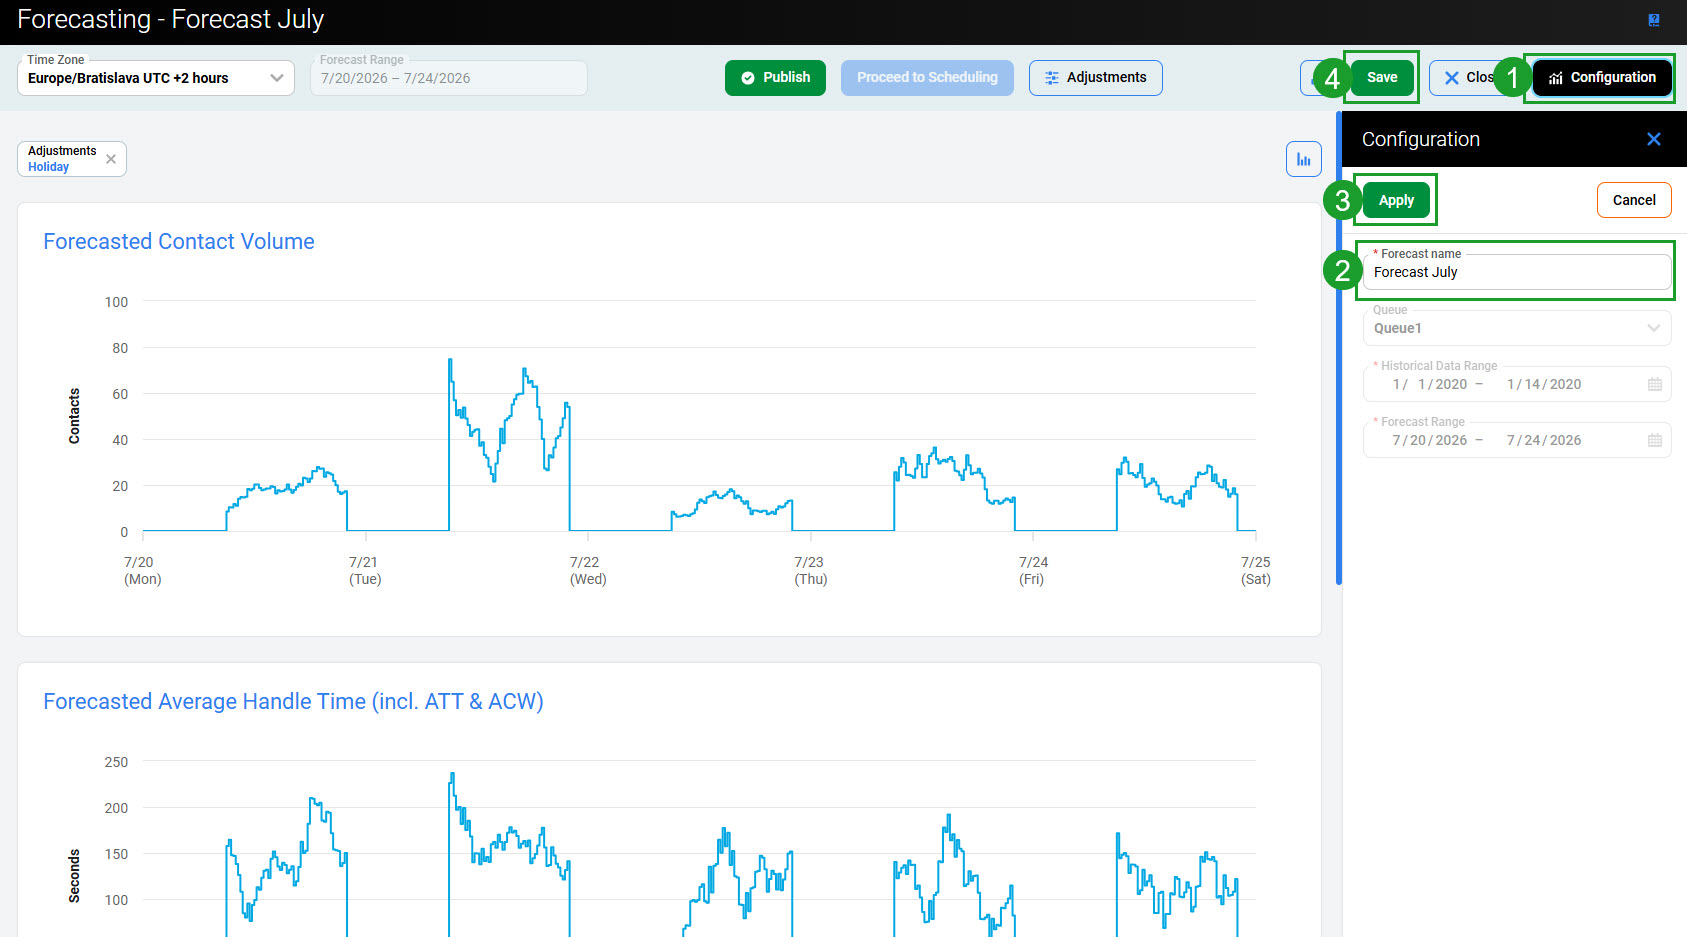
Click Configuration in the top right corner of the screen to modify the forecast’s settings. Only the Forecast name parameter can be modified at this stage. Click Apply to apply changes, then click Save to update the forecast.
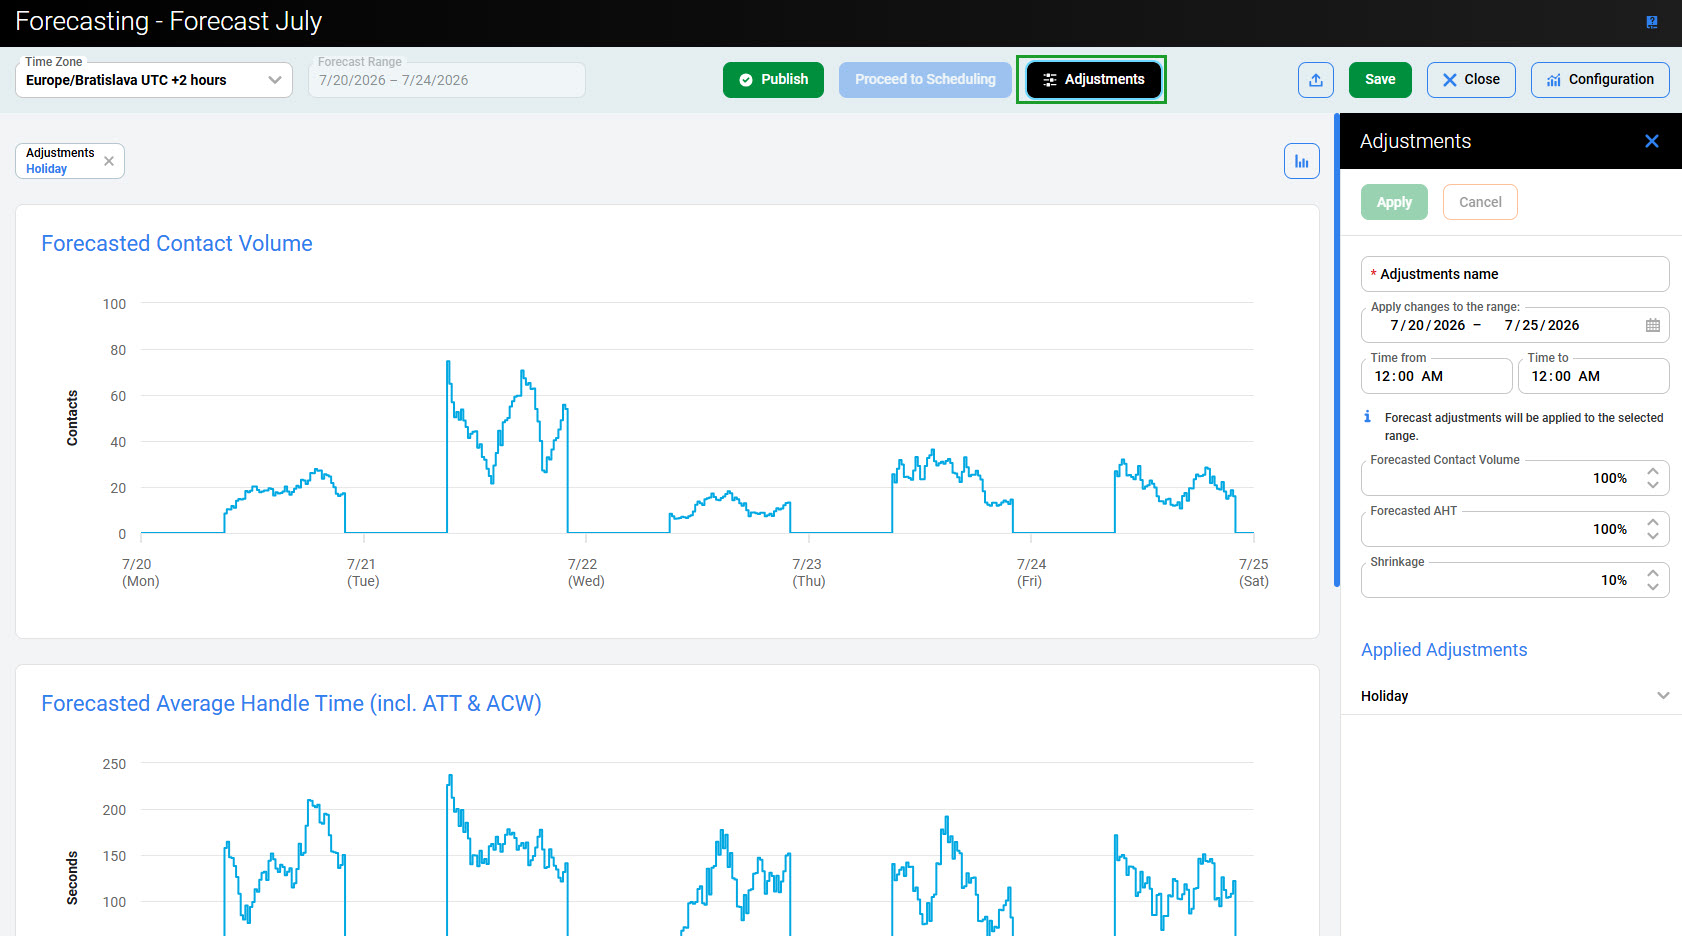
To modify forecast adjustments, click the Forecast Adjustments button. For more information about forecast configuration, see Adding a New Forecast.
The time zone in which the forecast is displayed can be changed in the top right corner of the screen. By default, the time zone of the queue is used.
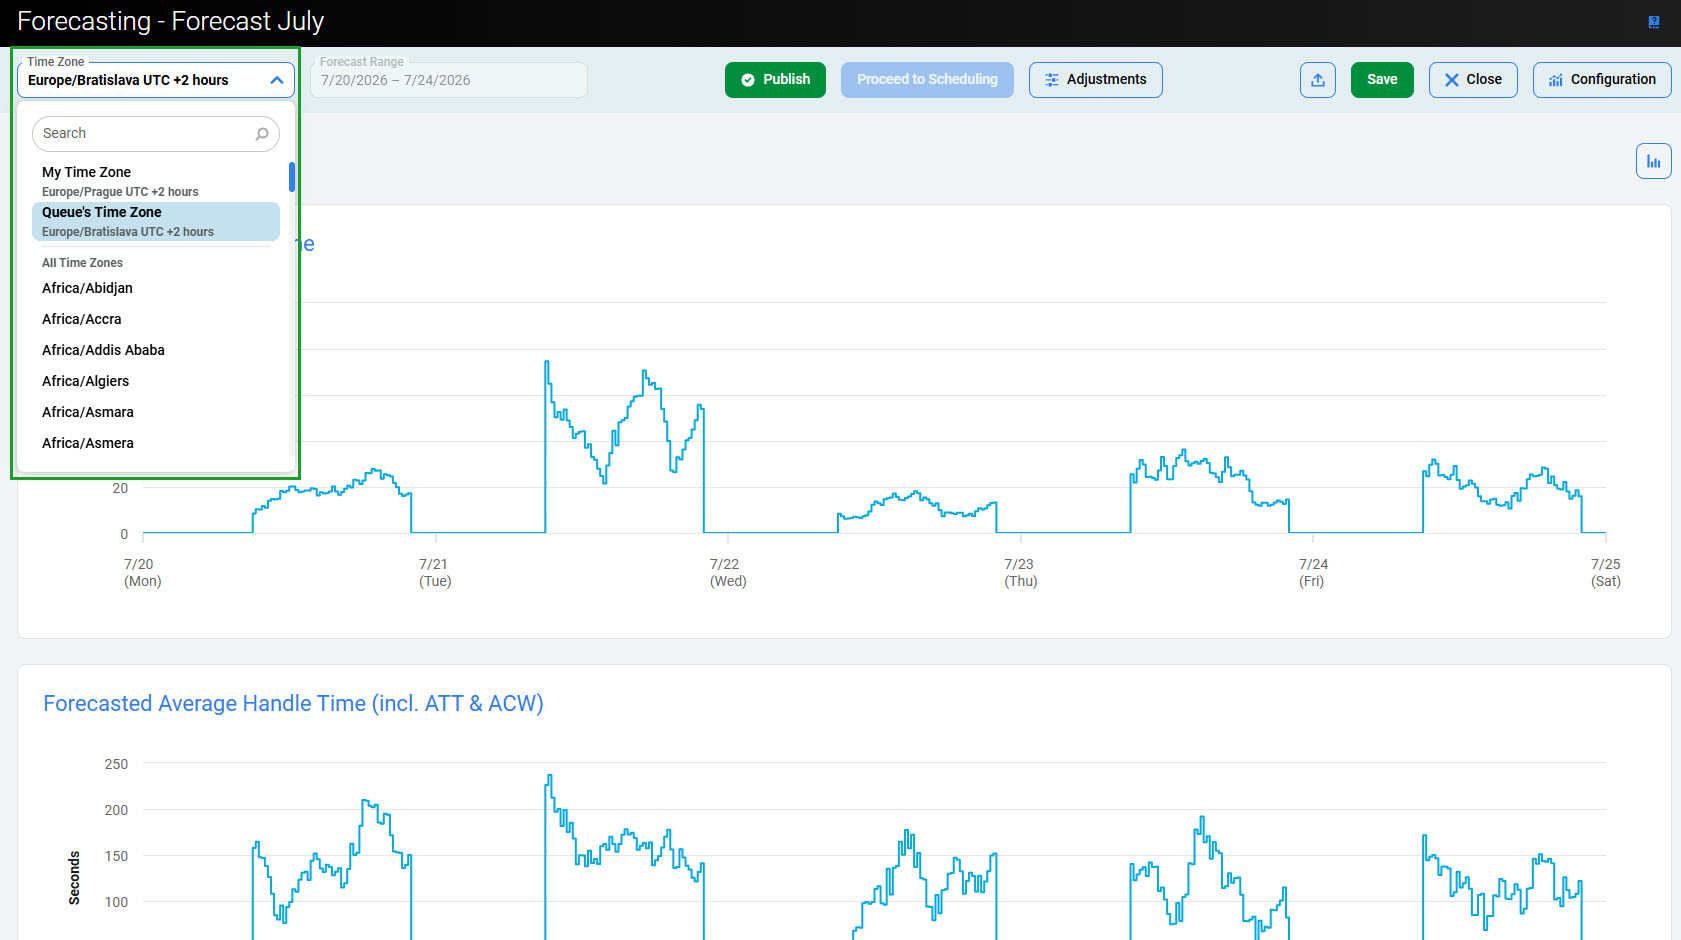
Click the time zone icon to select another time zone from the dropdown menu. The possible options are:
-
My Time Zone – The time zone that the user browsing the forecast has set in User Management.
-
Queue's Time Zone – The time zone set for the queue for which the forecast was created.
-
All Time Zones – Any other time zone (selectable from a dropdown menu).
The forecast is automatically displayed in the newly selected time zone.
To put the forecast into production, click the Publish button. For more information about working with the production forecast, see Working With Production Forecasts.
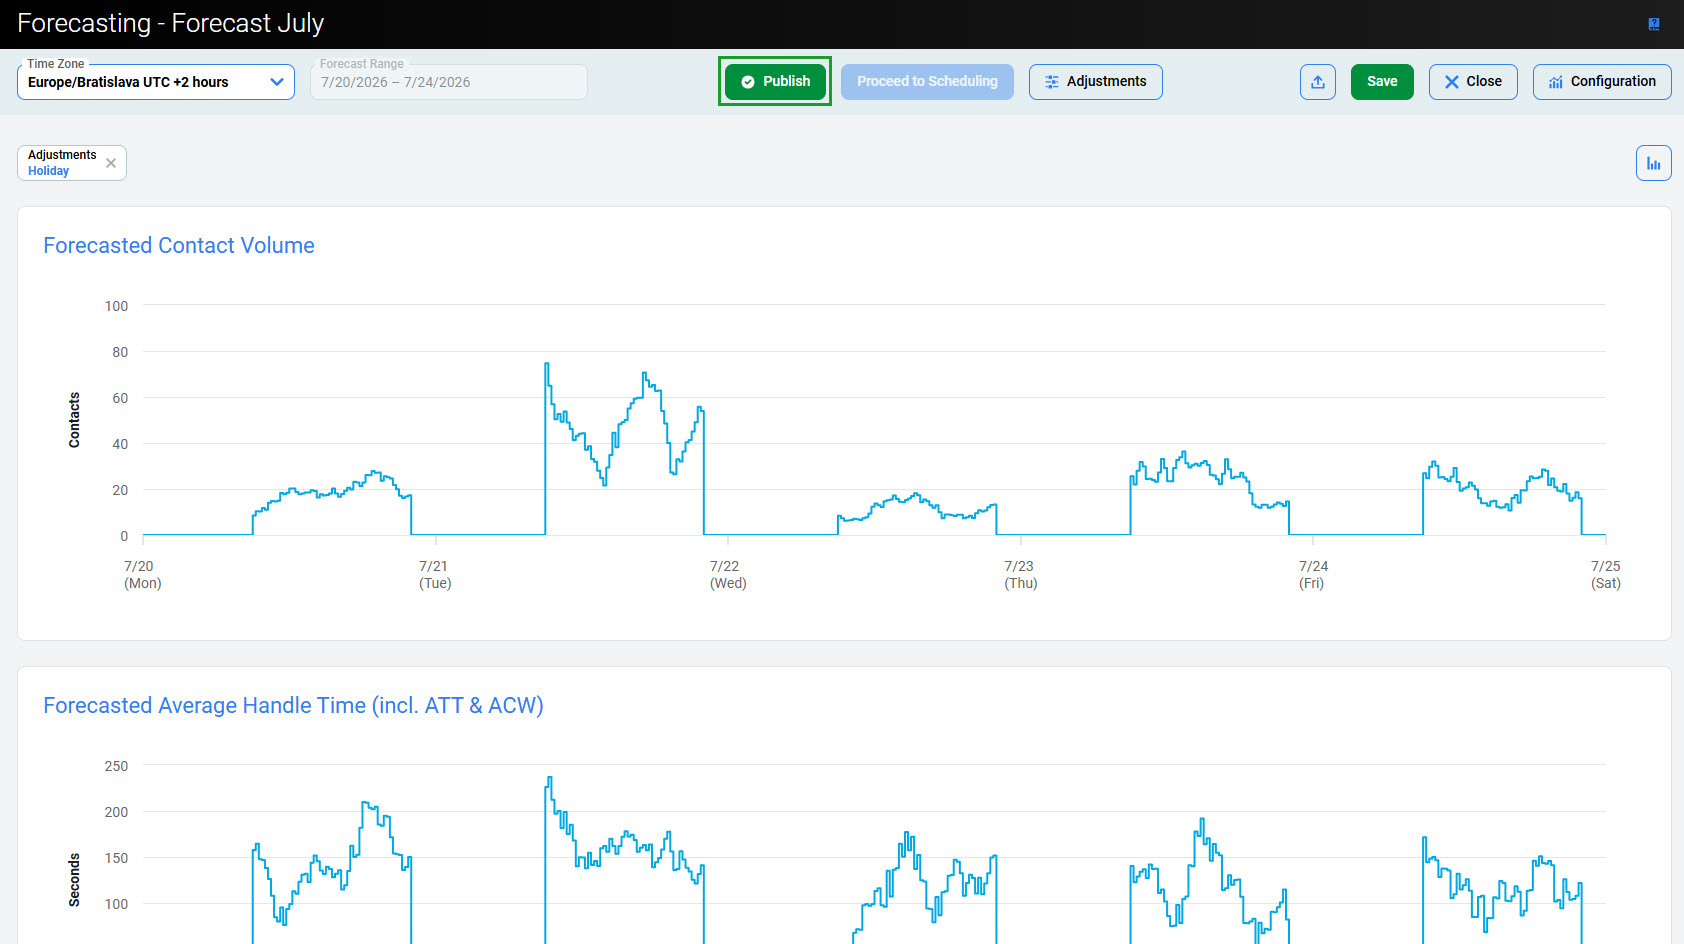
At the end, click Save to save all changes, or click Close to leave without it.
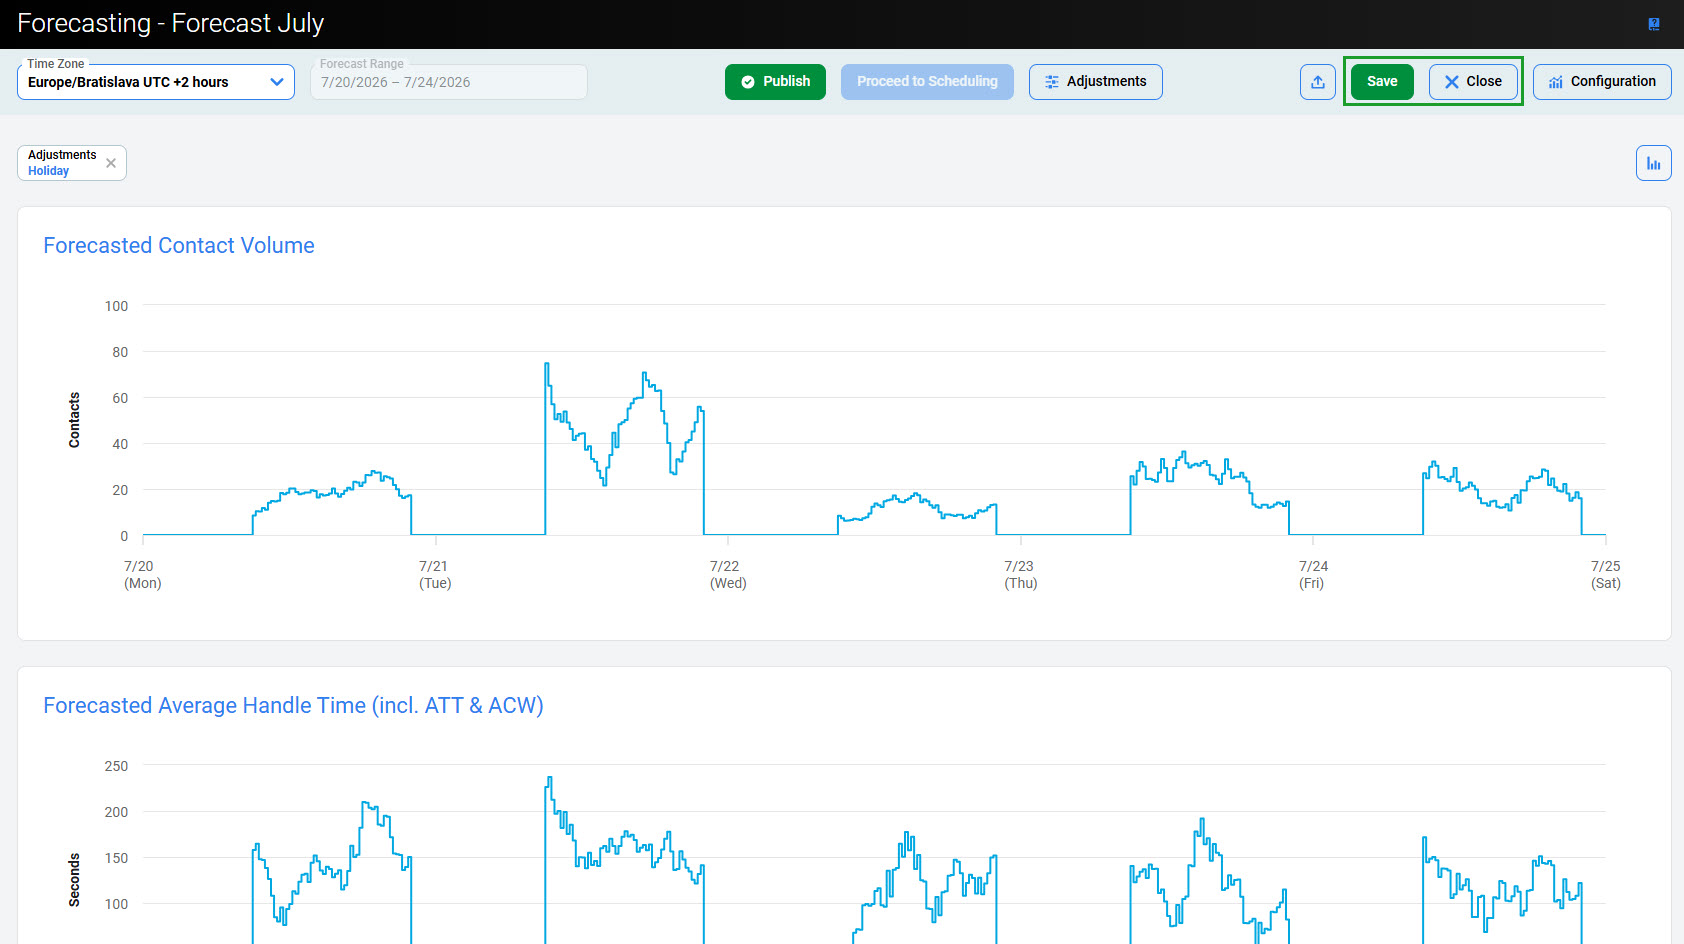
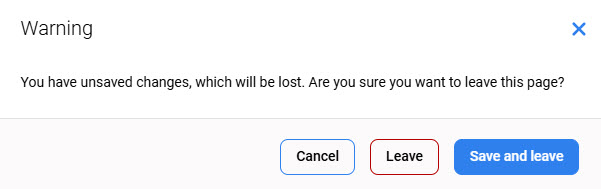
A dialog window indicates any unsaved changes. Click Save and Leave to save changes before leaving the Edit Forecast page, or click Leave to abandon changes. Click Cancel to close the dialog window and continue working with the forecast.
Production Forecasts
Forecasts that are already used in a production forecast cannot be edited.