Configuring Data Import From Zoom Contact Center
Prerequisites
It is necessary for an administrator to first prepare Zoom Contact Center Center for Integration before proceeding.
Order of installation steps
The import of data can be configured only after authorization with Zoom Contact Center is successful and the User Sync task is configured properly!
Overview
This page is dedicated to the historical, adherence and real time data import from Zoom Contact Center to Eleveo Workforce Management.
The following steps should be completed to integrate with Zoom Contact Center successfully:
Deploy ETL Management in Rancher.
Add configuration within ETL Management UI (authorize with Zoom Contact Center).
Configure data import task(s) in ETL Management UI – steps are covered on this page,
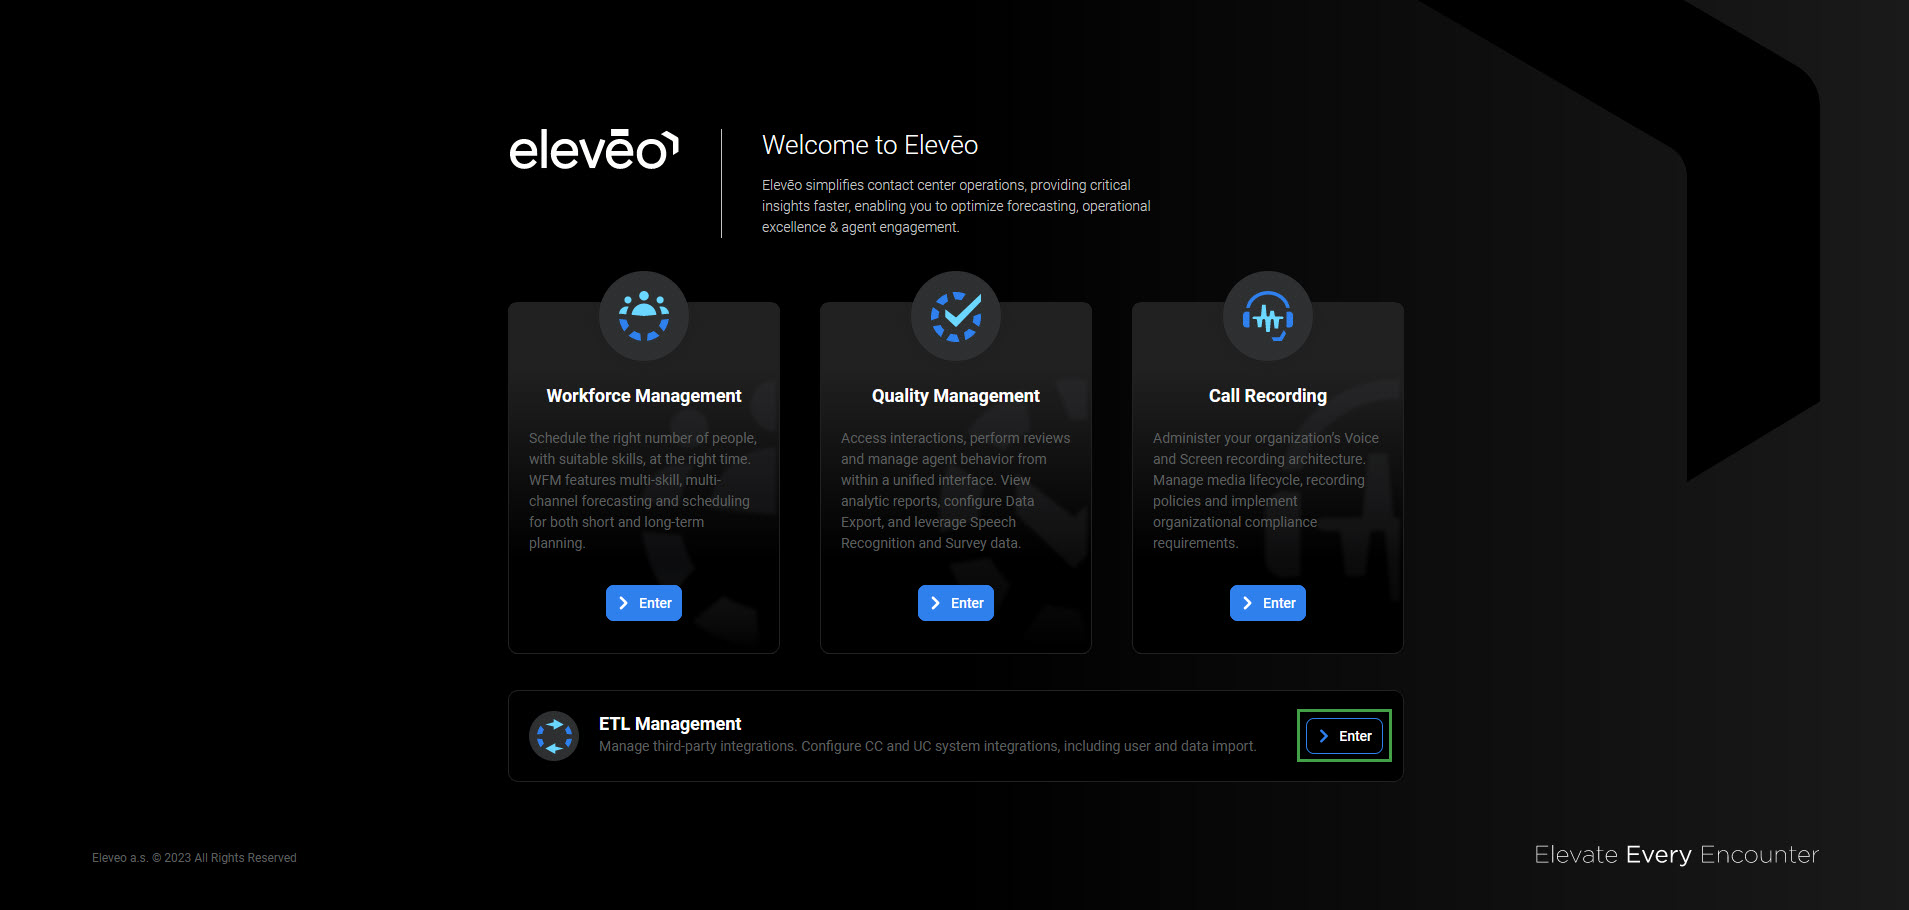
Accessing ETL Management
Use the URL of the server to access the ETL Management: https://<FQDN>/etl where <FQDN> is the FQDN of the server where Eleveo is installed.

Note that eleveo.admin privileges are needed. Please, check ETL Management Roles to get more details about the roles and permissions for working with Integrations UI.
Authorizing With Zoom Contact Center
Basic information on how to establish the connection with Zoom Contact Center is described on the Configuring ETL Management for User Import From Zoom Contact Center page.
Data Import
An automatic import of data from Zoom Contact Center into Eleveo WFM can be achieved by configuring the Historical data tasks in ETL Management.
Please note that adding multiple configurations with the same Organization ID is not supported! It is strongly suggested to add one configuration for one Organization ID and enable all possible imports there.
Historical Data
The import of historical data allows one to get information such as names and IDs of the queues, start and handle time, number of tasks offered to the queues. Those data can be used for the forecasting process in WFM.

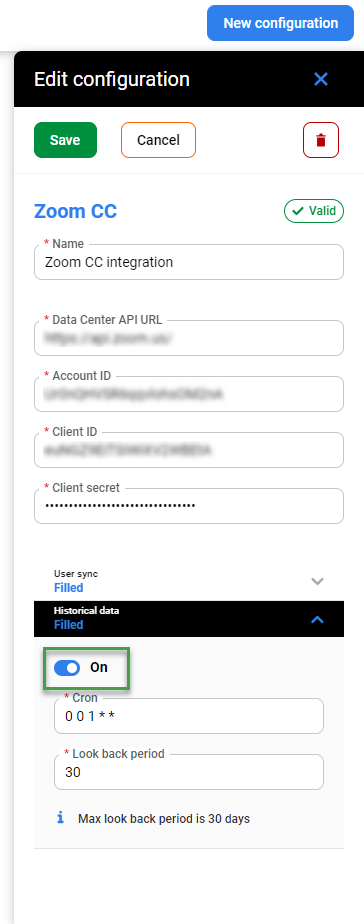
The following configuration can be performed for the task:
On/Off - the task can be configured and active or inactive
Cron - cron expression that specifies when the current task should be started
*
*
*
*
*
minute (0-59) hour (0 - 23) day of the month (1 - 31) month (1 - 12) day of the week (0 - Sun, 1 - Mon etc) To validate the cron expression, use the editor for cron schedule expressions.
Cron job uses the server's defined timezone, which is UTC. You can check the time on the server by typing the following date command in the terminal:
date -uFor Intraday Management functionality to work properly, configure the cron job for importing historical data to run every 15 minutes: */15 * * * *
Look back period - max 30 days - time period that determines how many days of data from history will be imported.
