Adding New Users
Note that new users added from within User Management will be visible in other Eleveo applications after a delay of up to 10 minutes.
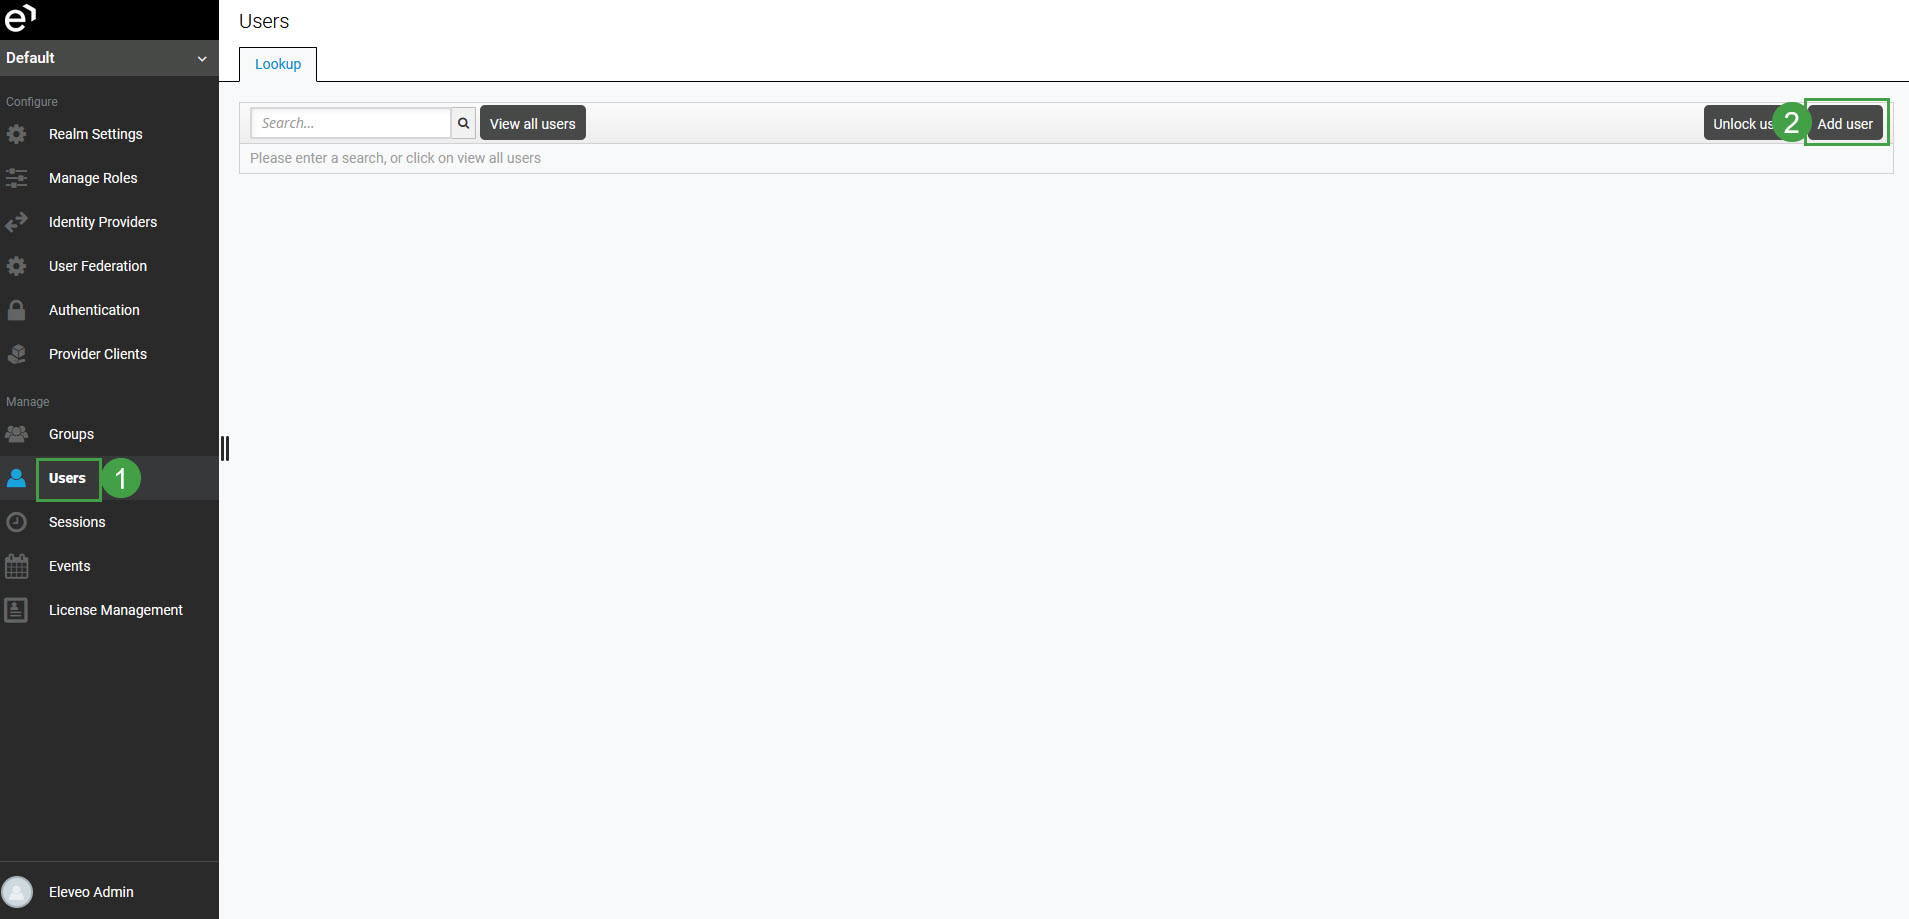
To add a new user, go to the Users screen and click the Add user button on the right side of the user list.
The Add user screen will display.
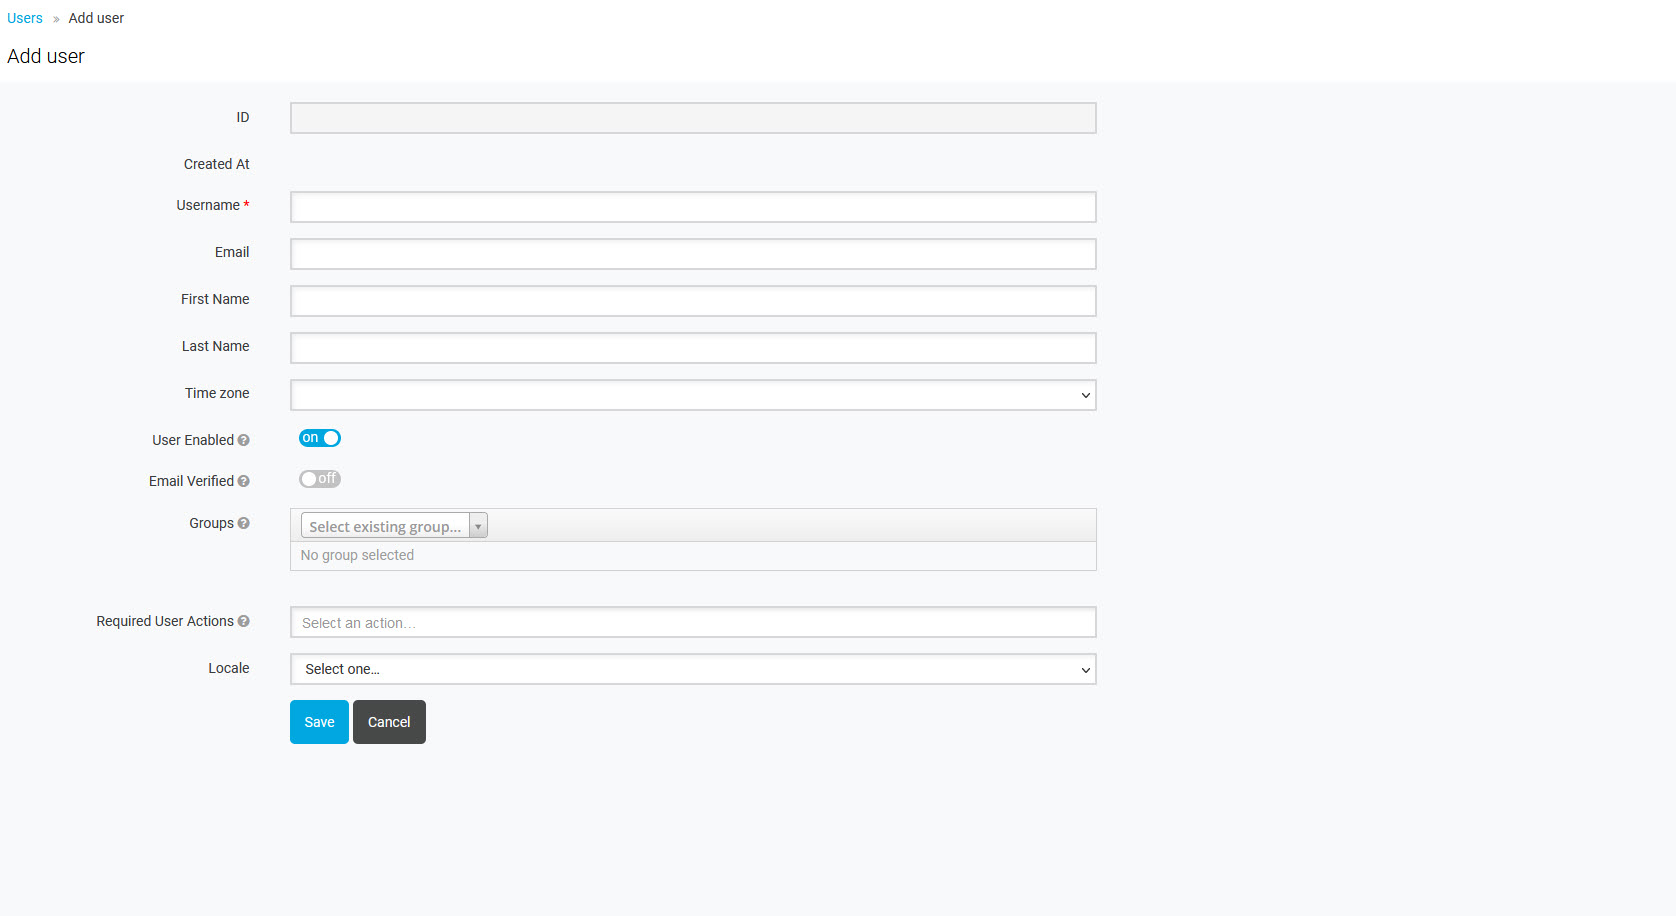
Configure as necessary:
Username (mandatory)
Email – email address of the user (Not mandatory, however, it is recommended that a valid email address be entered. This is especially important as the email address is used to send notifications and to reset passwords.)
First Name – first name of the user
Last Name – last name of the user
Time zone – time zone of the application (when not selected, the value from Realm Settings is used)
User Enabled – by default every new user is enabled, the switch allows for the deactivation of the user
Email Verified – indicates if the user's email address was verified or not
Groups – groups to which the user will be assigned (can be selected from the already existing groups)
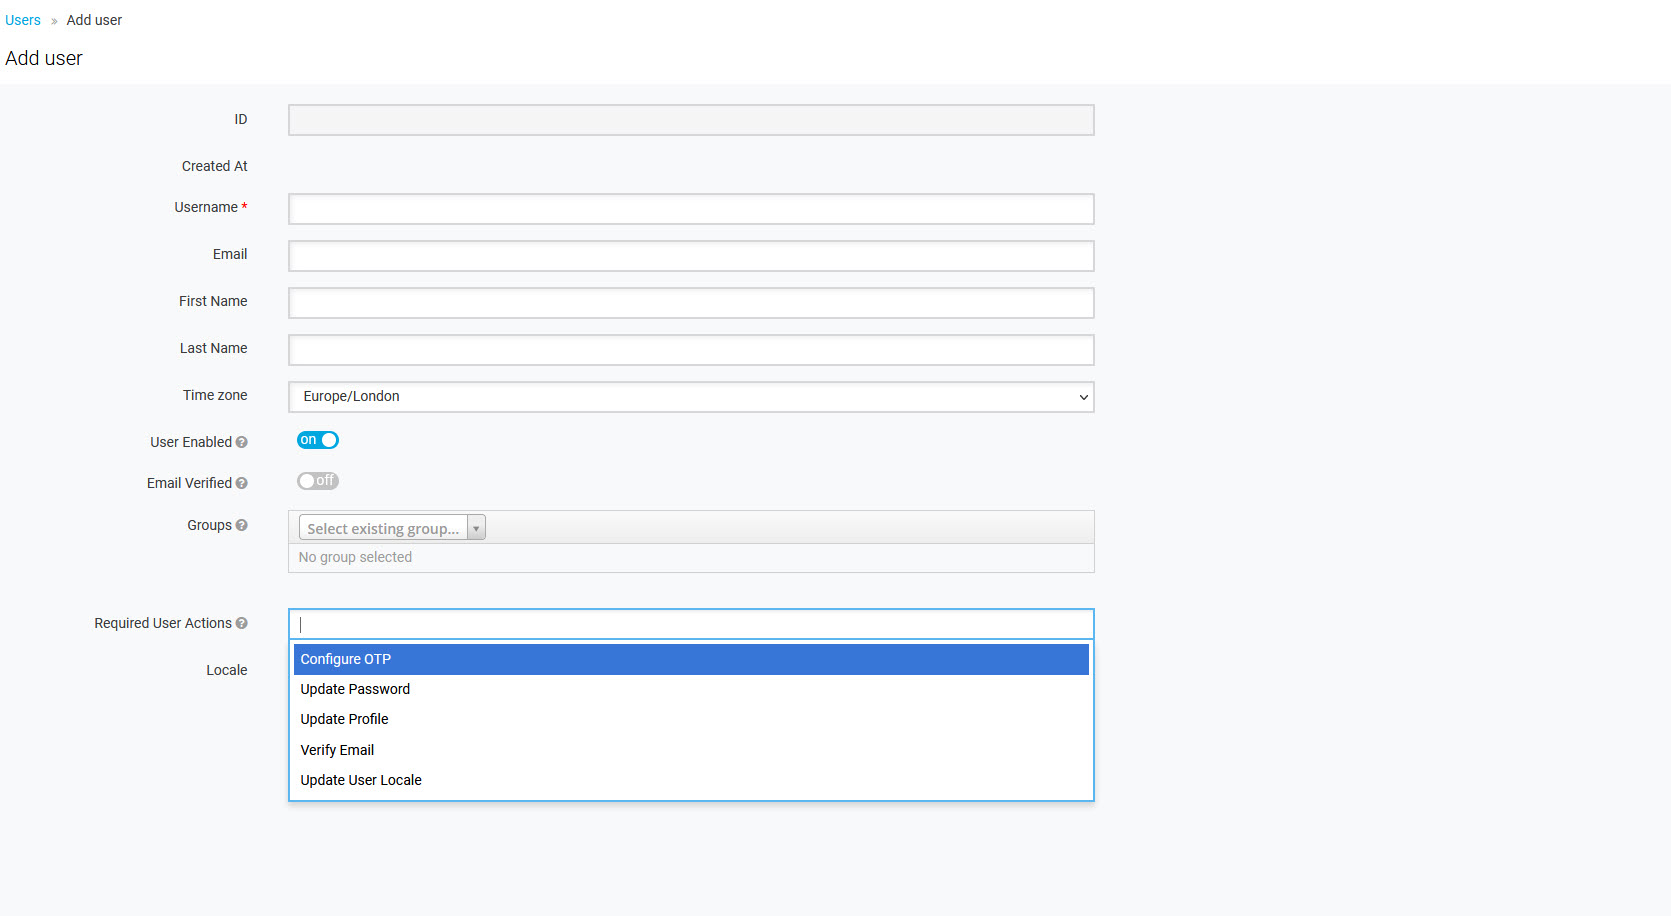
Required User Actions – actions required after user's login
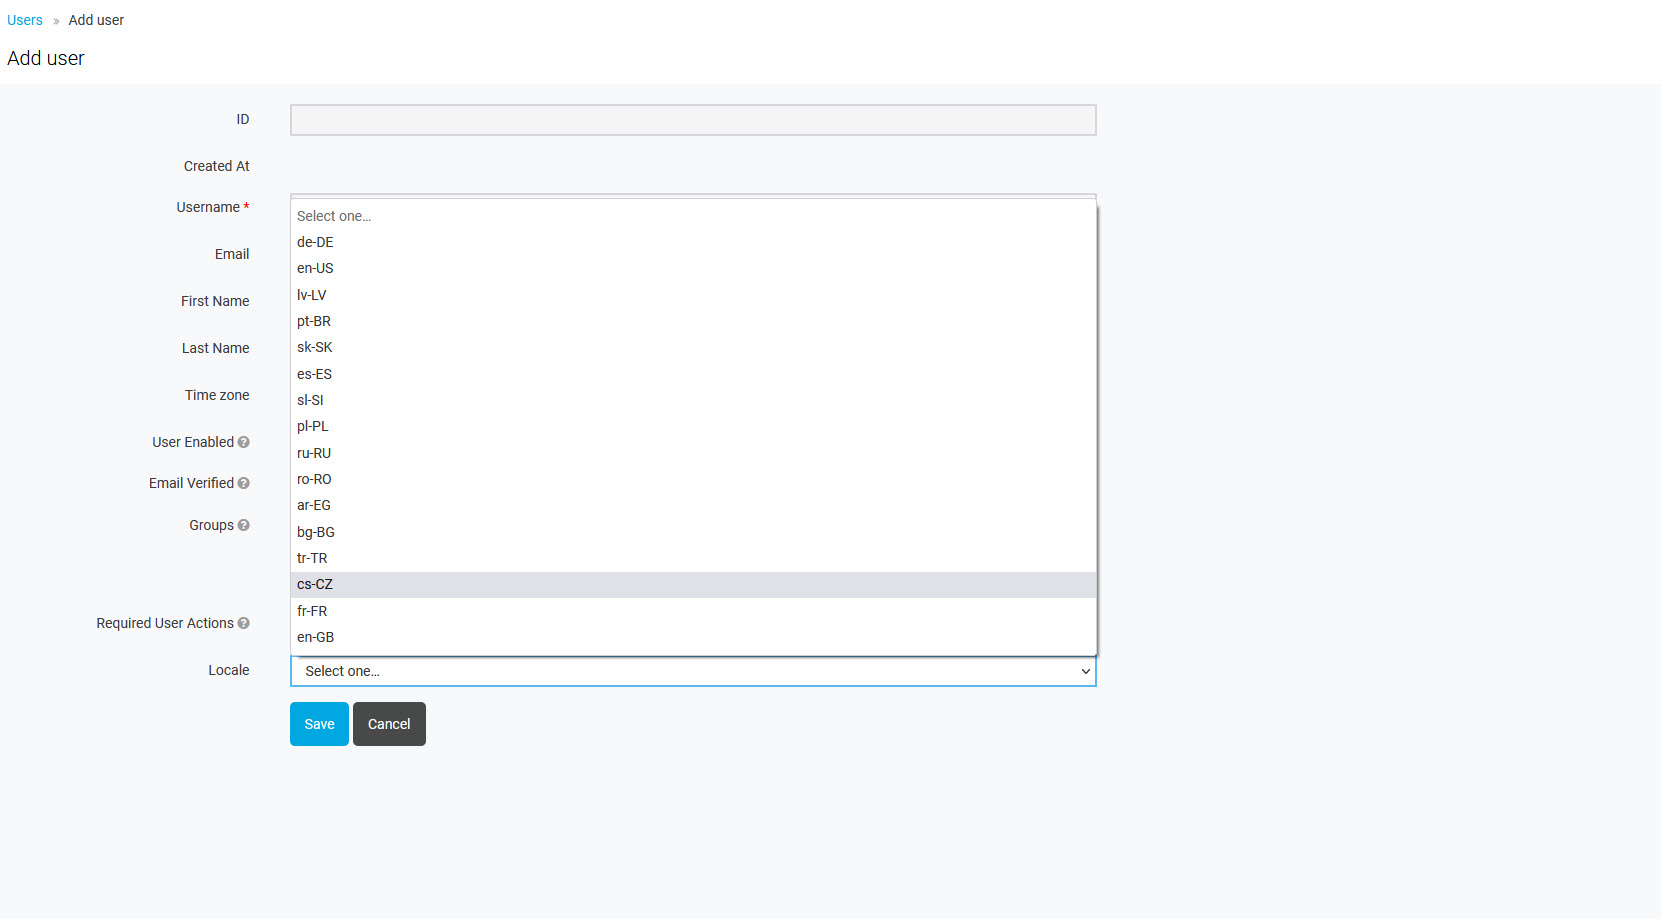
Locale – language of the application (when not selected, the default language is English)
Most of the fields are self-explanatory. In case of any doubts, hover the mouse pointer over the exclamation mark to display a descriptive tooltip.
Note the following settings
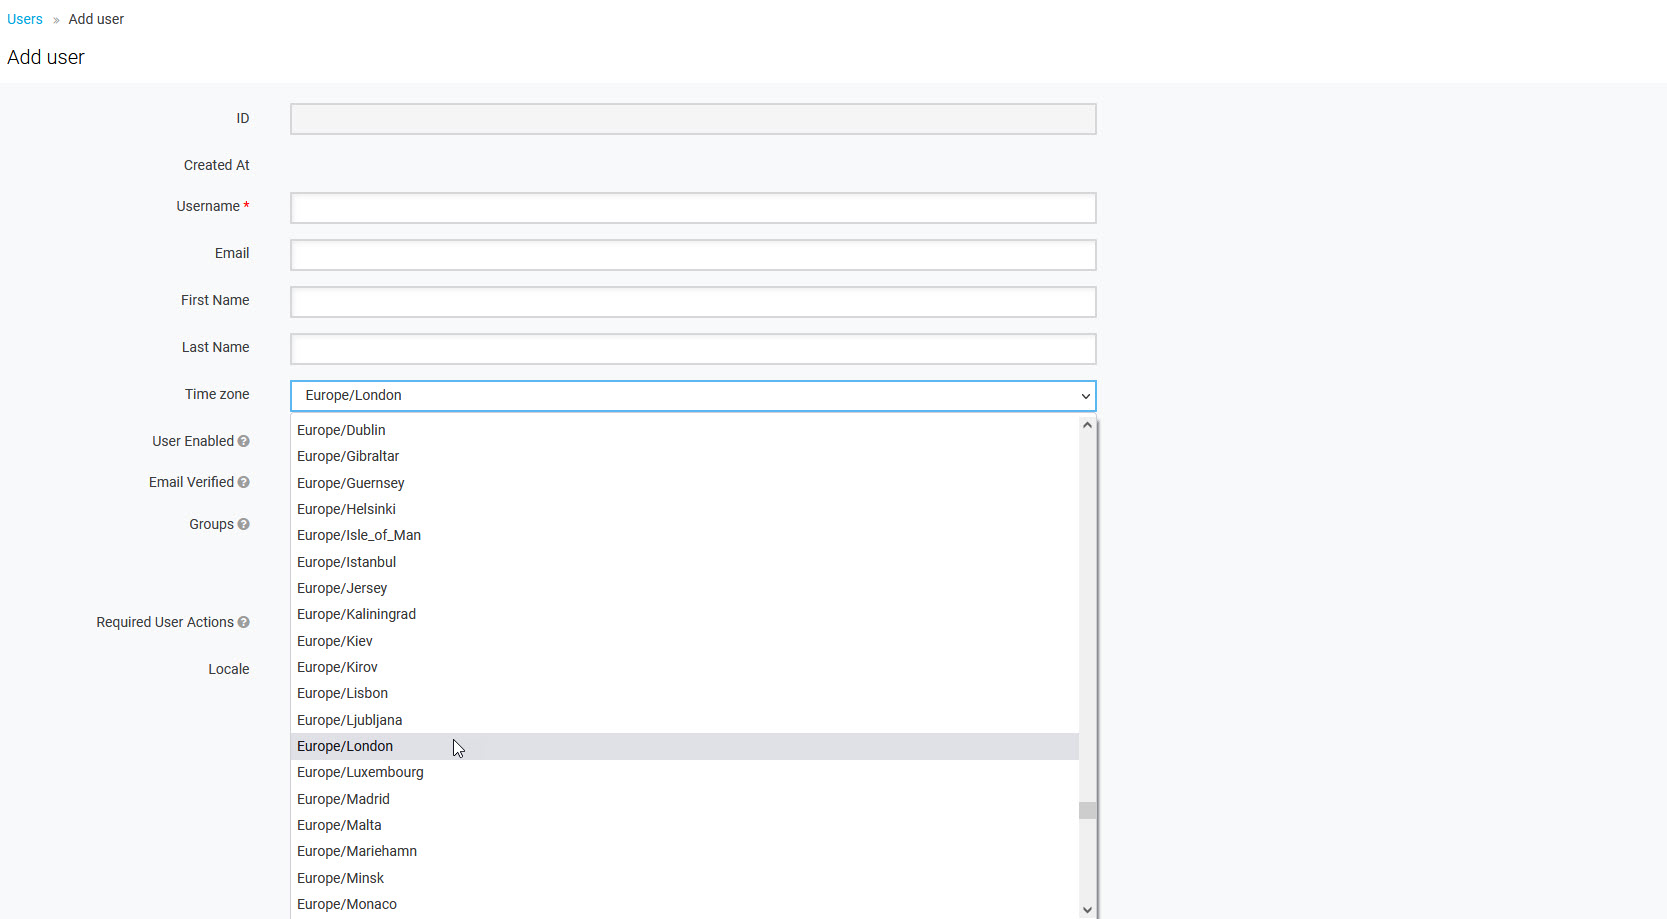
Time zone
The Time zone setting enables the users' time zone to be configured. As a result, the user will see all data in Eleveo in the selected time zone, instead of the default time zone (the value from Realm Settings). Select a time zone from the Time zone drop-down menu.
Locale
The Locale setting enables the users' default language to be configured. As a result, the user will see a localized version of User Management, as well as other Eleveo applications which are using User Management credentials. Select a language from the Locale drop-down menu.
The user is, however, able to change this setting later at any time:
by selecting a different language on the login screen, read more: Login to User Management
by changing the account settings, read more: Configuring User Profile and Password
Required actions
Required Actions are tasks that a user must finish before they are allowed to log in. A user must provide their credentials before the required action is executed. Once a required action is completed, the user will not have to perform the action again. The built-in required action types are:
Update Password – when set, the user must change their password
Configure OTP – when set, the user must configure a one-time password generator on their mobile device using either Free OTP or Google Authenticator (this feature is not officially supported)
Verify Email – when set, the user must verify that they have a valid email account (an email will be sent to the user with a link they have to click; once this workflow is successfully completed, they will be allowed to log in)
Update Profile – this required action asks the user to update their profile information, for example their name, address, email, and/or phone number
In order to add required actions for an individual user, access the user's Details tab. Select an action from the Required User Actions drop-down menu.
It is possible to add more than one Required User Action. To remove the selected action from the list, click the x sign next to the action's name.
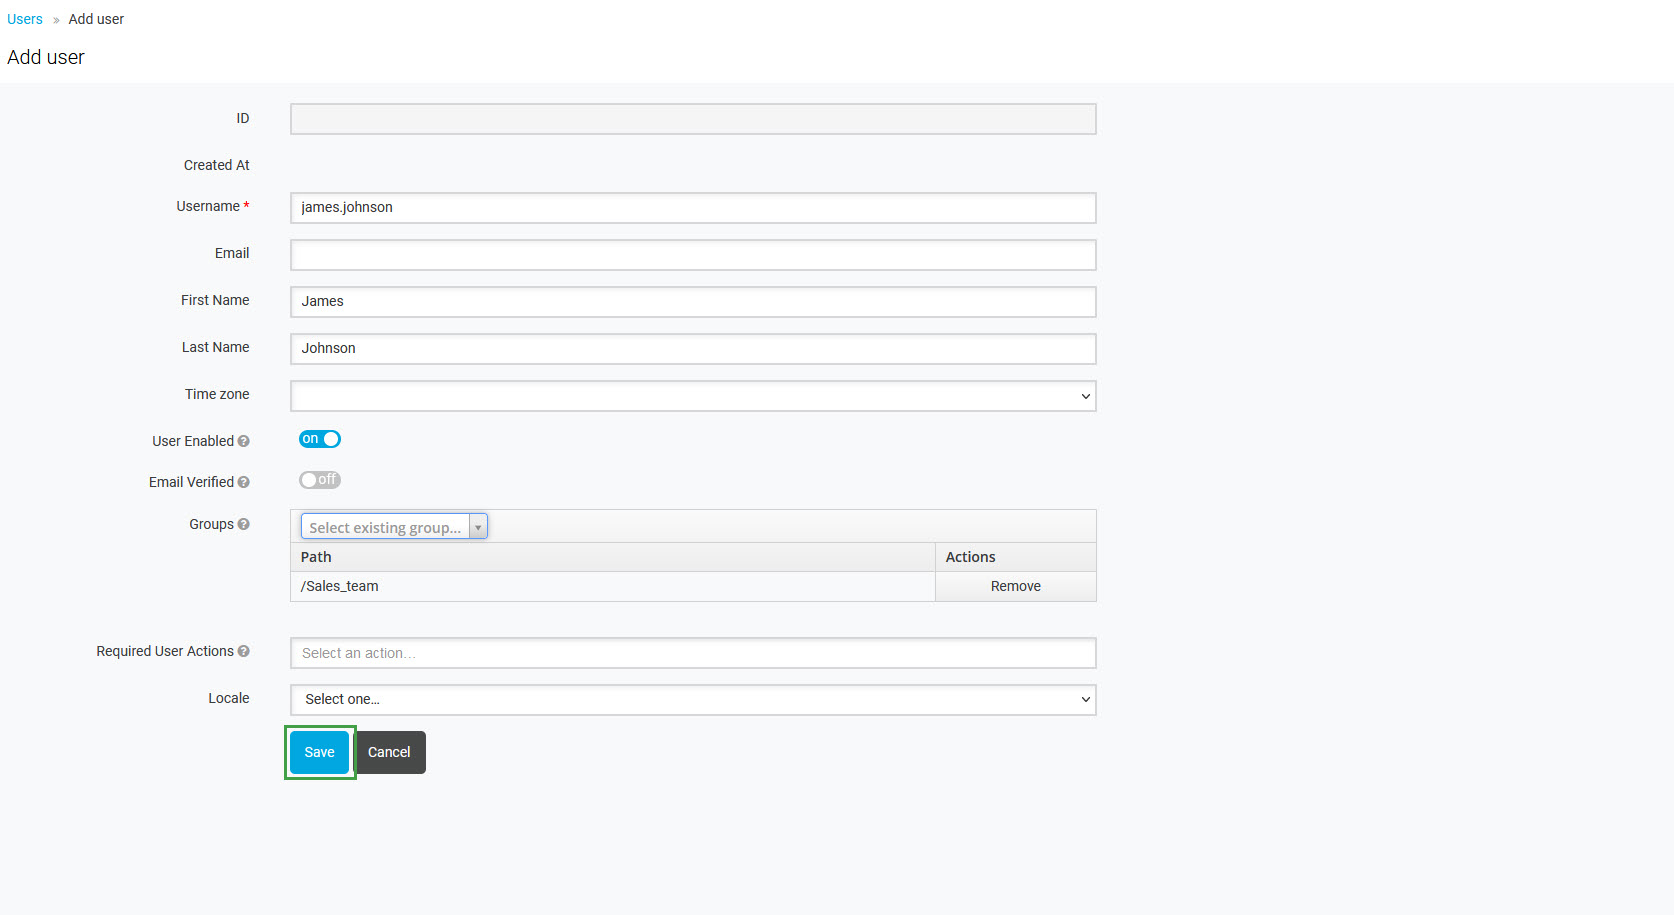
Click Save to confirm and add a user. A notification will display to confirm the addition of the user. The configuration page for the new user will display.