Using Weekly View
| CONTENTS |
|---|
Overview
The weekly view of My Schedule allows a person to display the schedule for the selected week. It contains activities scheduled for each day, as well as their details (type, duration, start and end times). A weekly view provides a more detailed overview of scheduled activities and allows a person to see them on a timeline.
WFM_AGENT role assigned are able to use the My Schedule module! Read more about Workforce Management Roles.
Displaying the Schedule
To display the weekly view of My Schedule, click My Schedule within the navigation tree. Then click the Weekly view button in the top left corner of the screen.
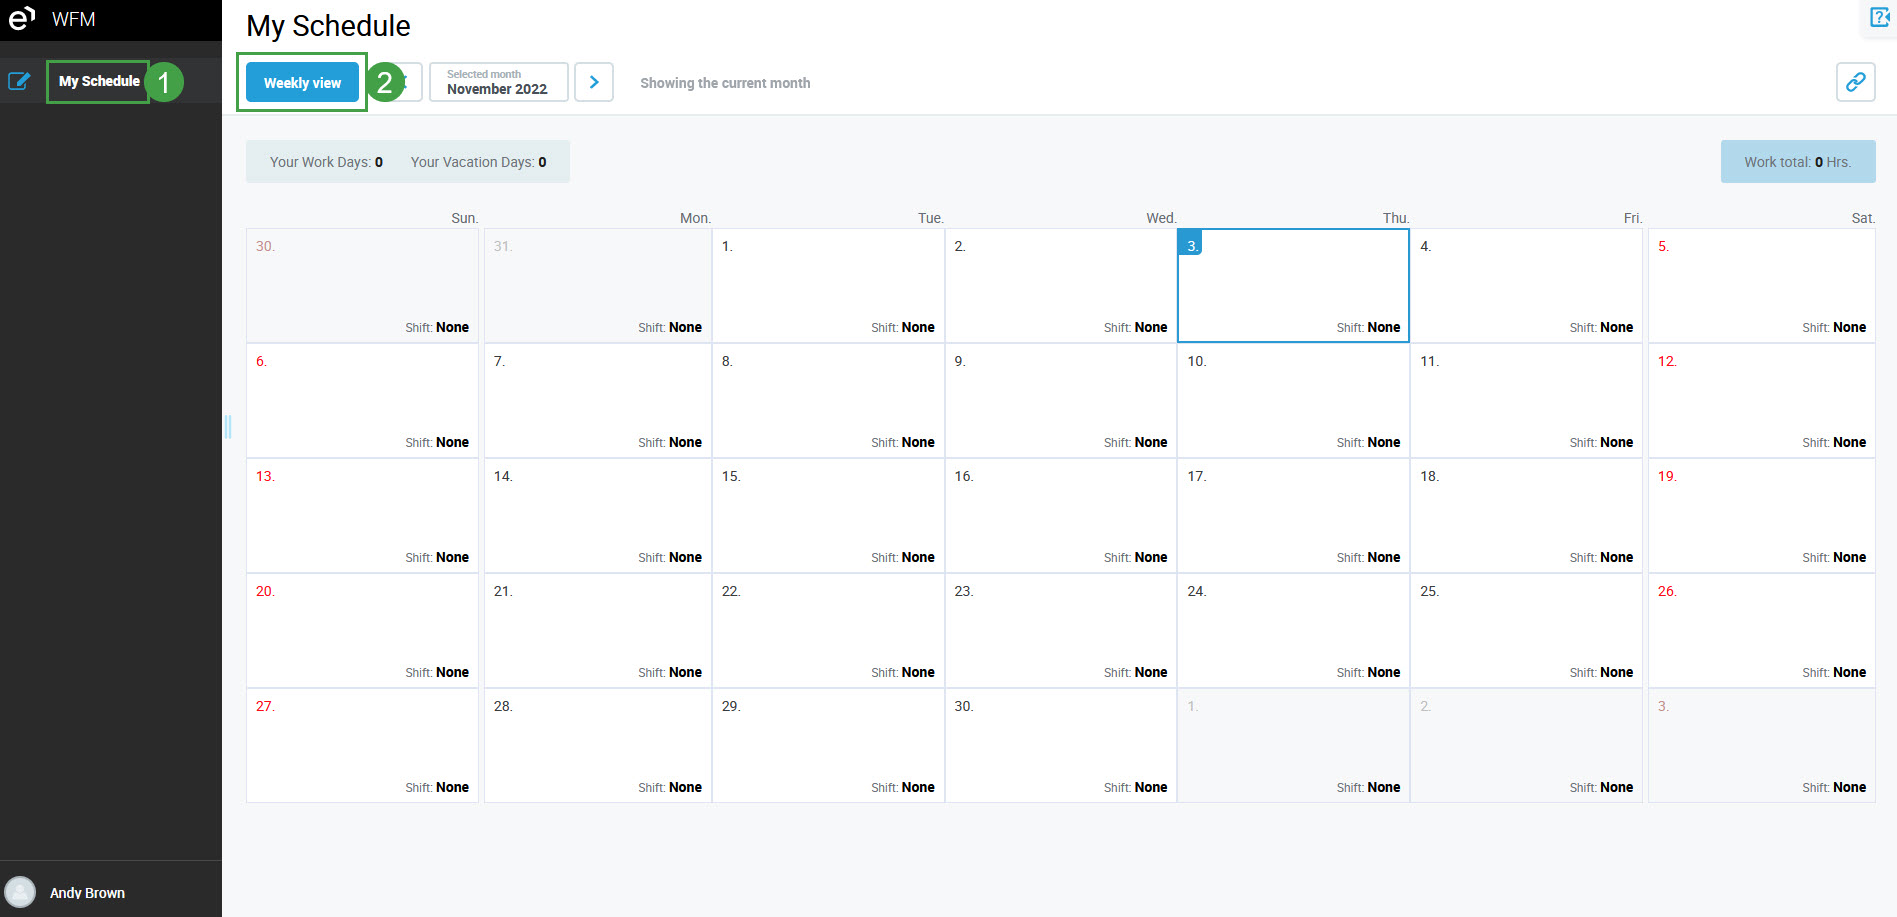
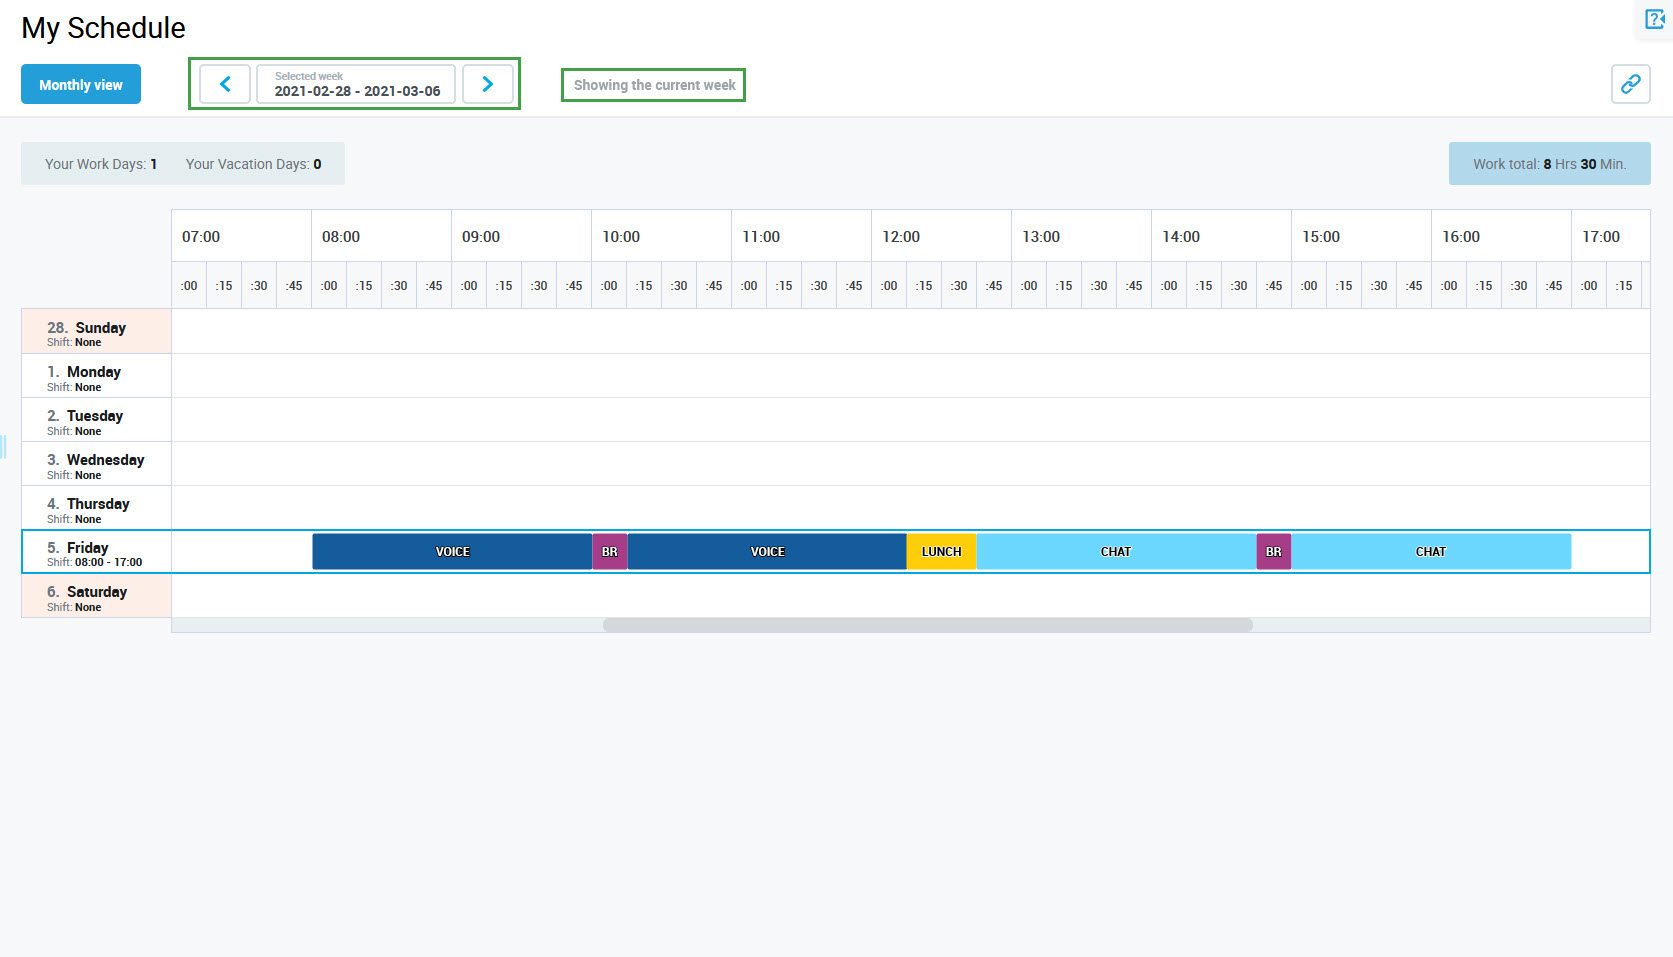
The weekly view of the My Schedule screen will display. The calendar represents the current week. The current day is marked with a blue frame.
Reading the Schedule
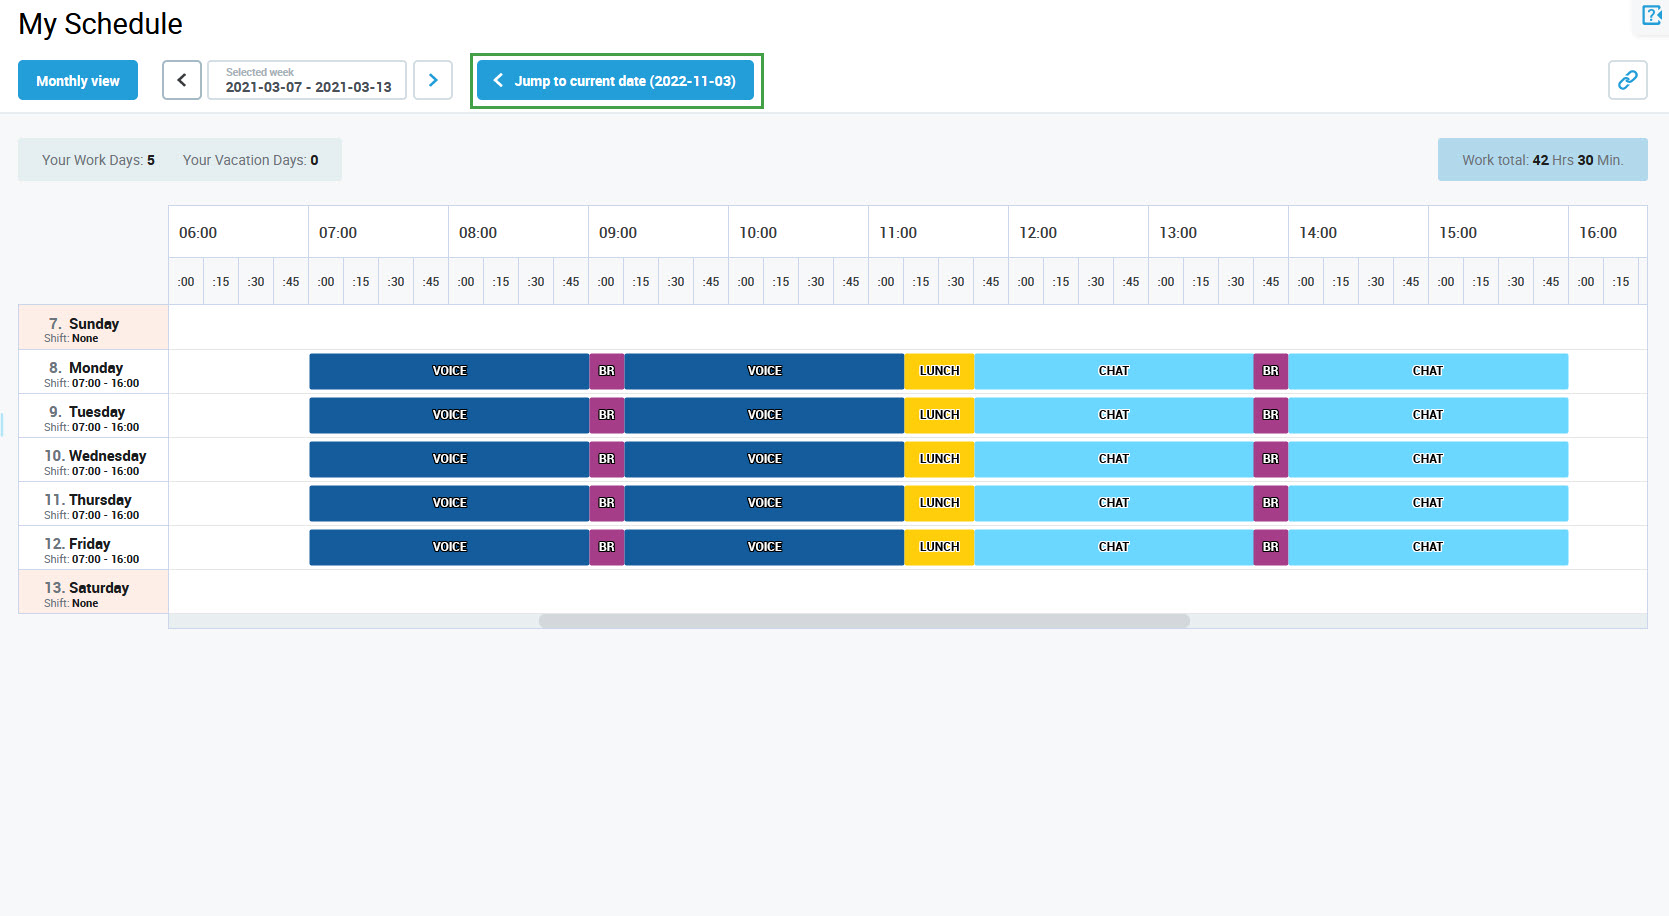
A schedule for the week is presented in the form of a color-coded table, the days of the week are represented as table rows (across), columns indicate the time of the day.

Each day of the schedule contains activity elements assigned along the timeline. The elements have the following colors:
Use the scroll bar at the bottom of the table to move the timeline.

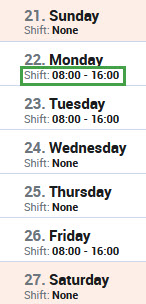
Check the duration of a scheduled shift in the day column.
Check the number of workdays and the number of vacation days in the top left corner of the screen.

Check the total number of hours (calculated for the whole week) for which the Work activity is assigned in the top right corner of the screen.

Days for which no activities are assigned are empty.

Reading the Details
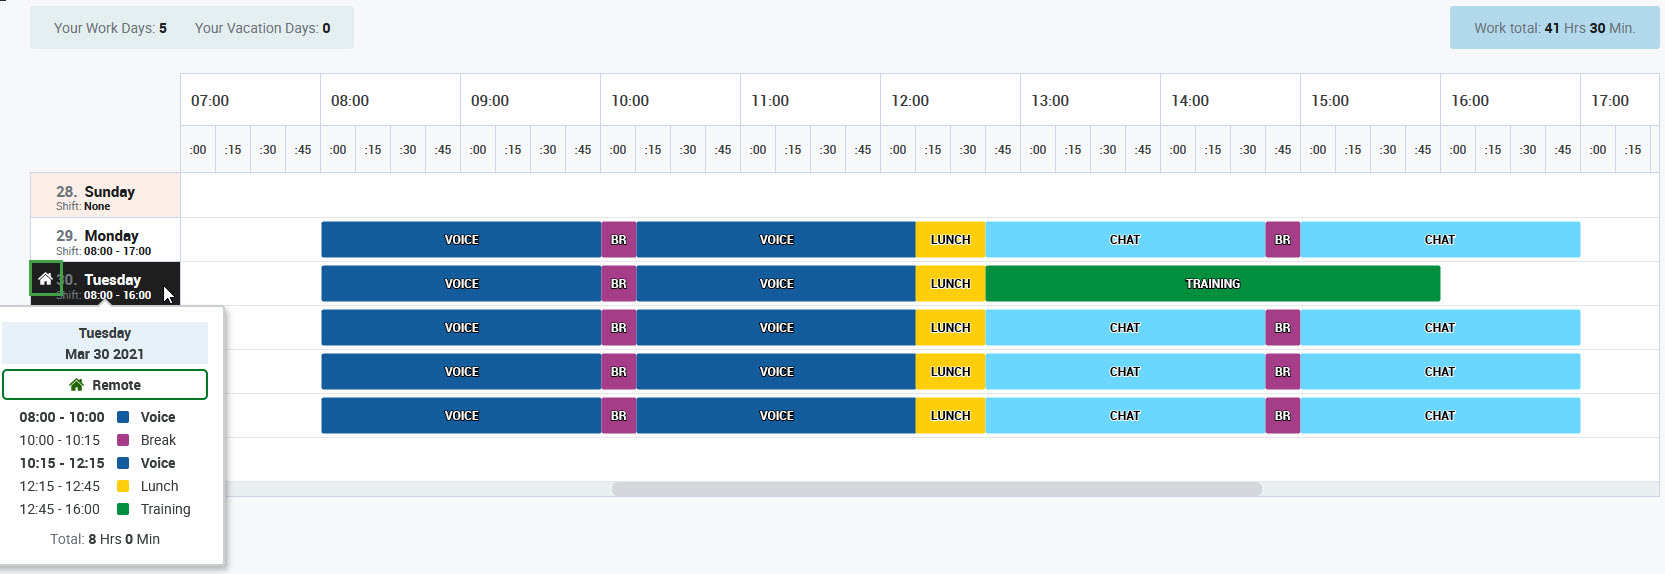
To check the details of the schedule, hover the mouse pointer over a particular day. A tooltip will appear, containing the following information:
- date
- list of scheduled activities and their duration
- total duration of assigned activities

The Working Remotely icon is displayed if the person is scheduled to work remotely.
Hover the mouse pointer over an activity element to see its details. A tooltip will appear, containing the following information:
- name of an element
- date
- duration
- type

Navigating Between Weeks
To change the week, use the left and right arrows next to the selected month.

Alternatively, click on the selected month and use the tooltip.

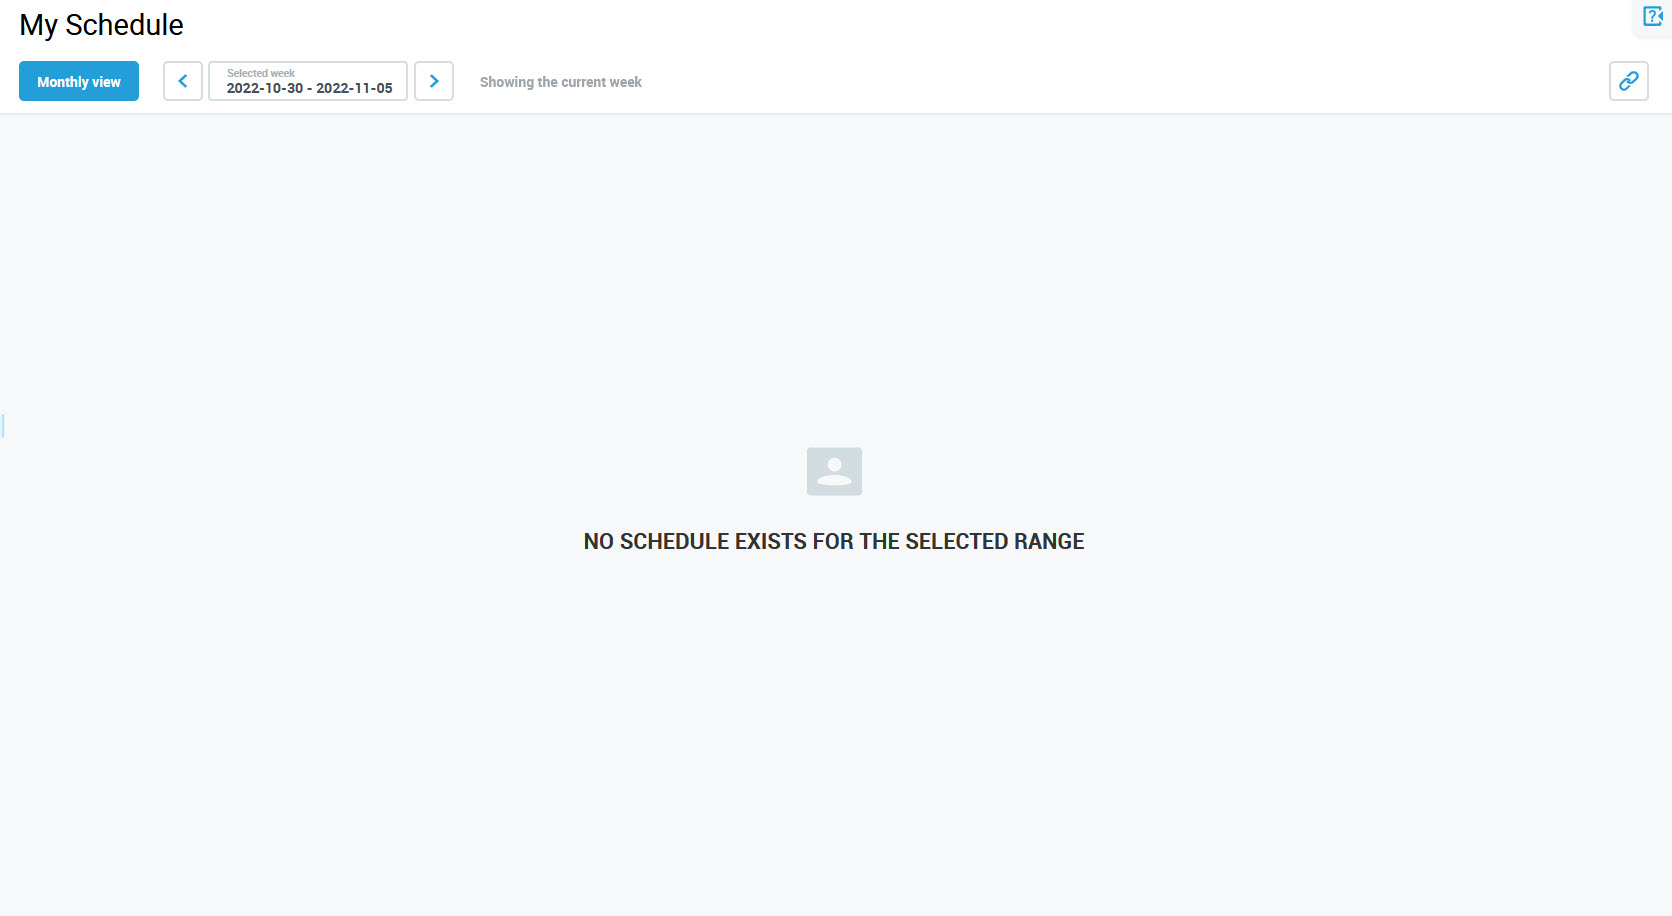
Note that a week calendar is not displayed when it is empty (there is no schedule for this week).
Use the Jump to current date button to navigate back to the current week.
Navigating Between Views
To change a view from weekly to monthly, click the Monthly view button in the top left corner.

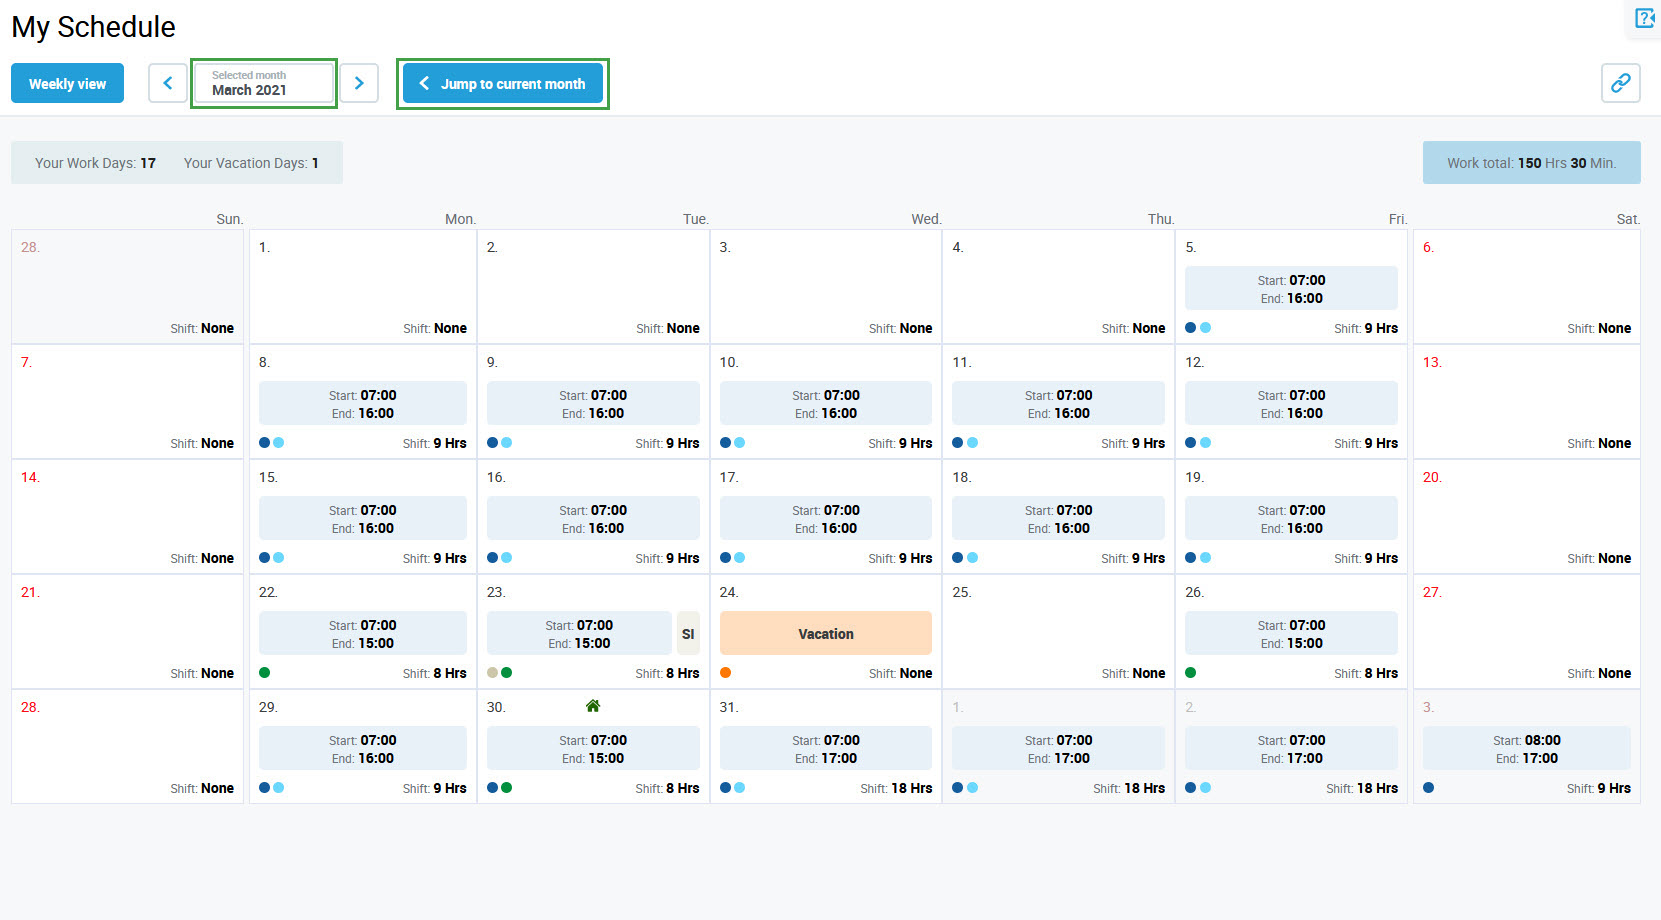
A schedule for the month to which the currently displayed week belongs will display. Use the Jump to current month button if needed. Read more about how to use it on the Using Monthly View page.
Use the Weekly view button to go back.
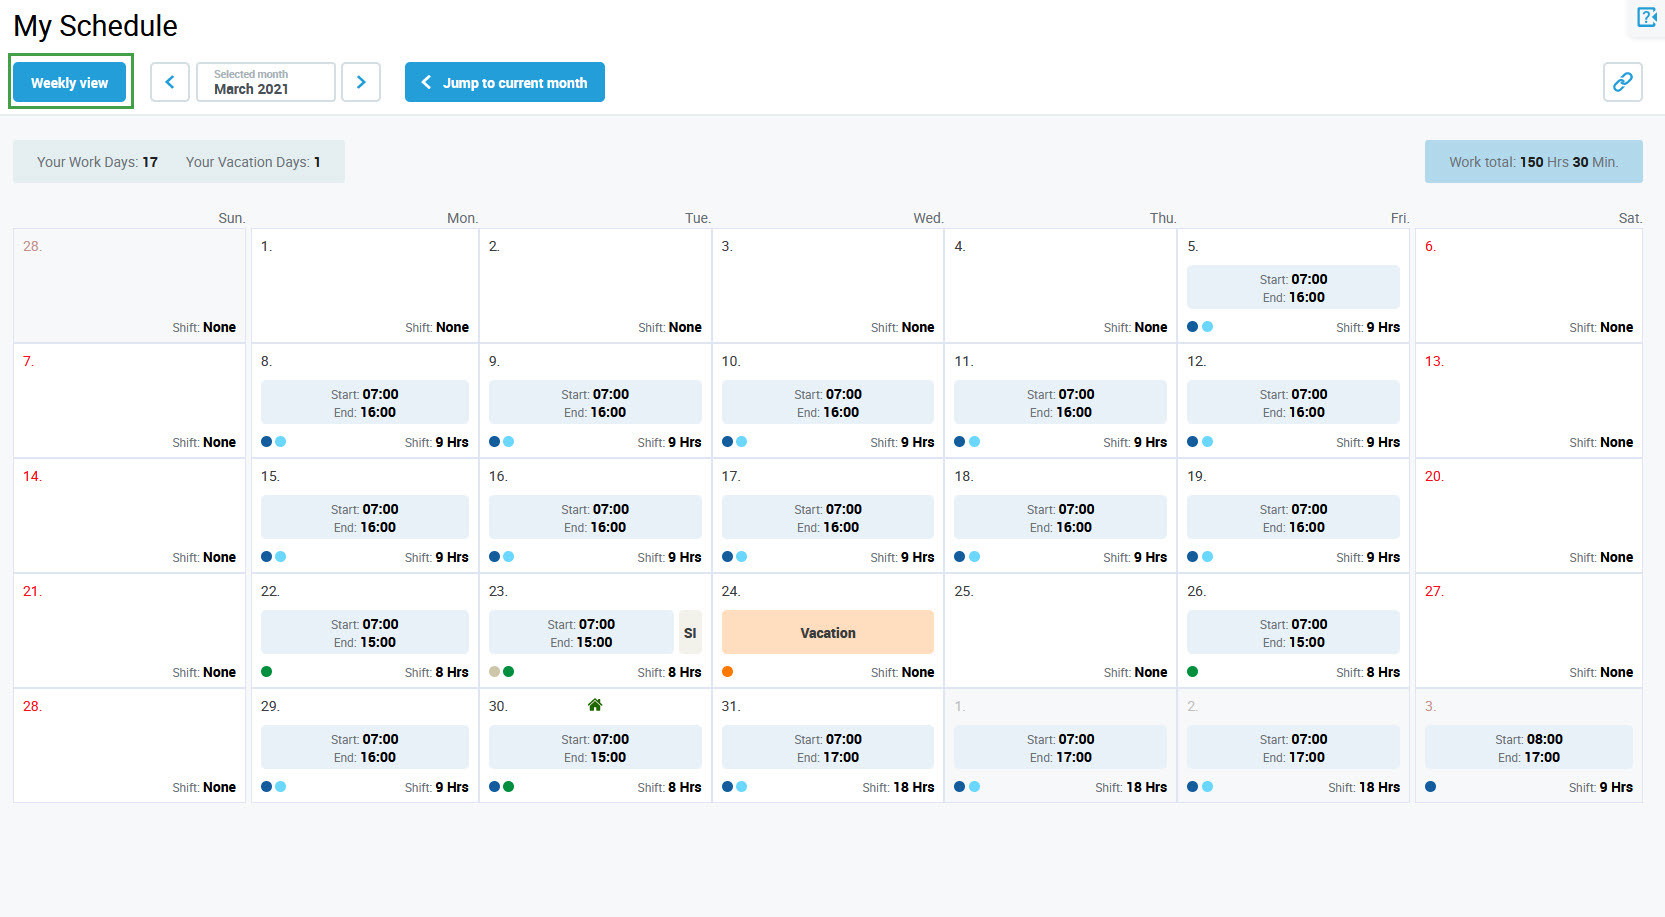
Note that when switching back from the monthly view to the weekly view, a schedule for the current week will open.

