
Configuring Client for CTI Events Importer
Purpose of this guide: This page is a part of the procedure to configure an automatic import of CTI events (real-time adherence data) from UCCE/X into the WFM application. The automatic import is achieved using CTI Events Importer.
Audience: a user with admin privileges to the User Management application.
Previous steps: no previous steps (this is the first step).
When: at the beginning of the automatic import configuration process.
Next steps: Deploying and configuring CTI Events Importer.
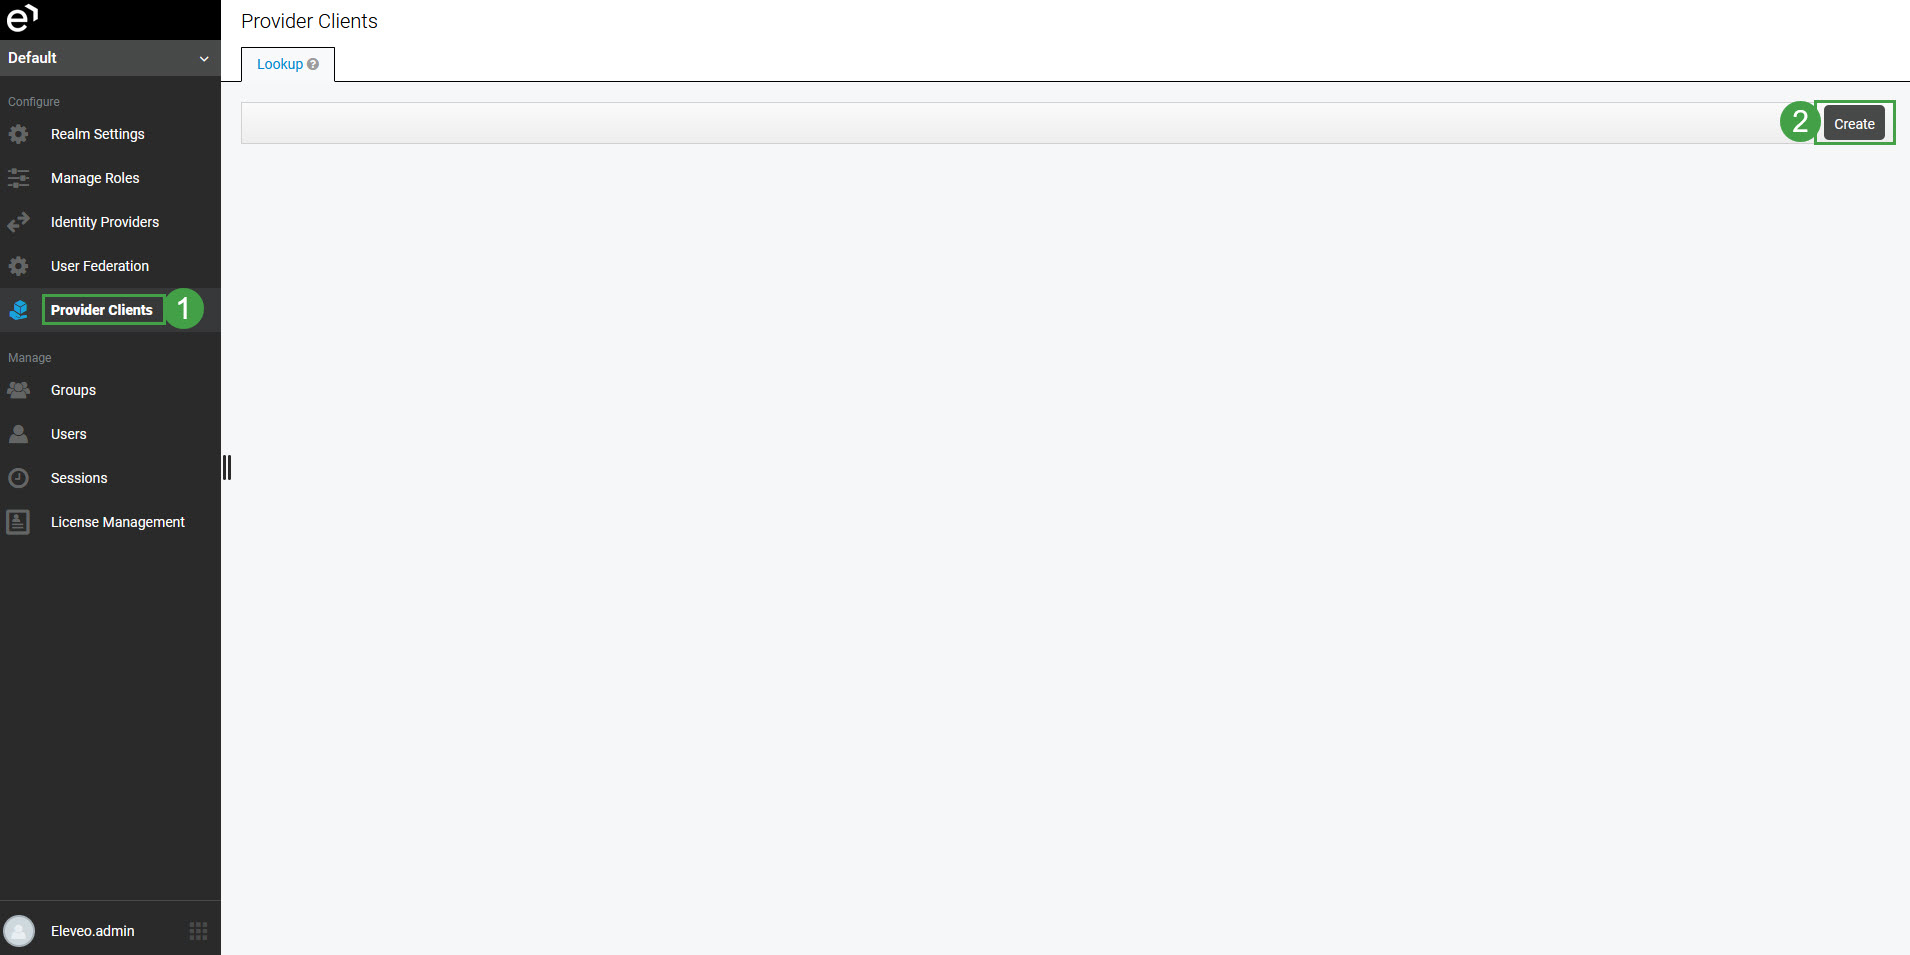
In order to add a new client, click Provider Clients in the navigation tree on the left. The Provider Clients screen will open. Click Create.
The Add Provider Client screen will display.
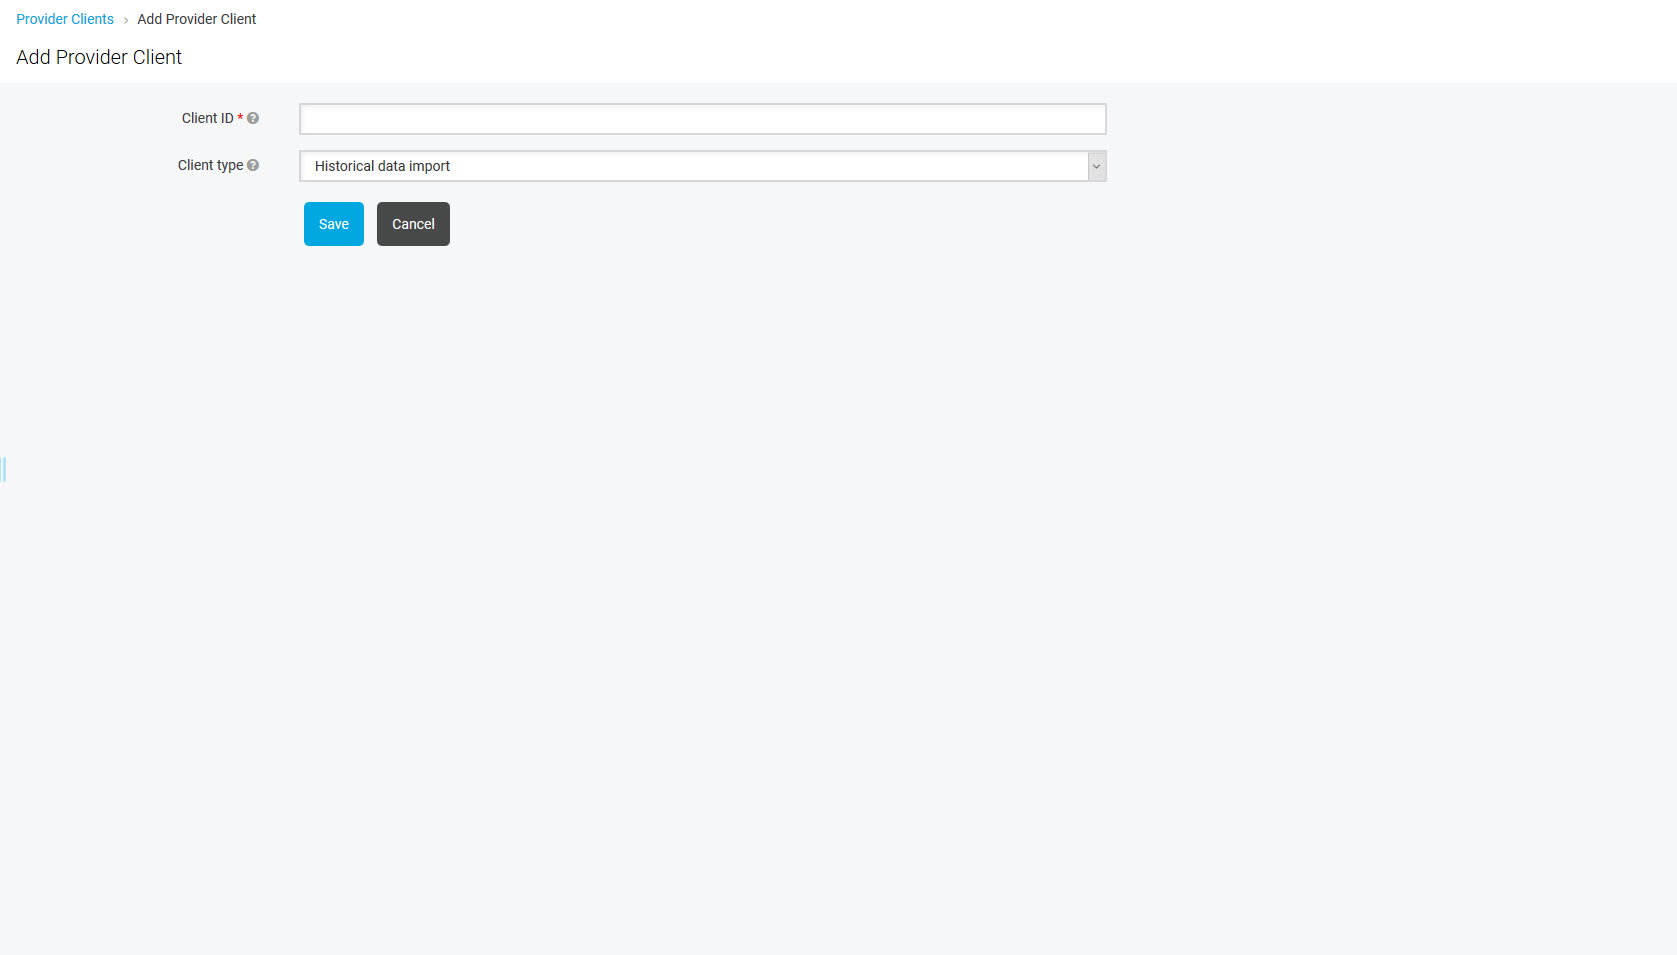
Configure:
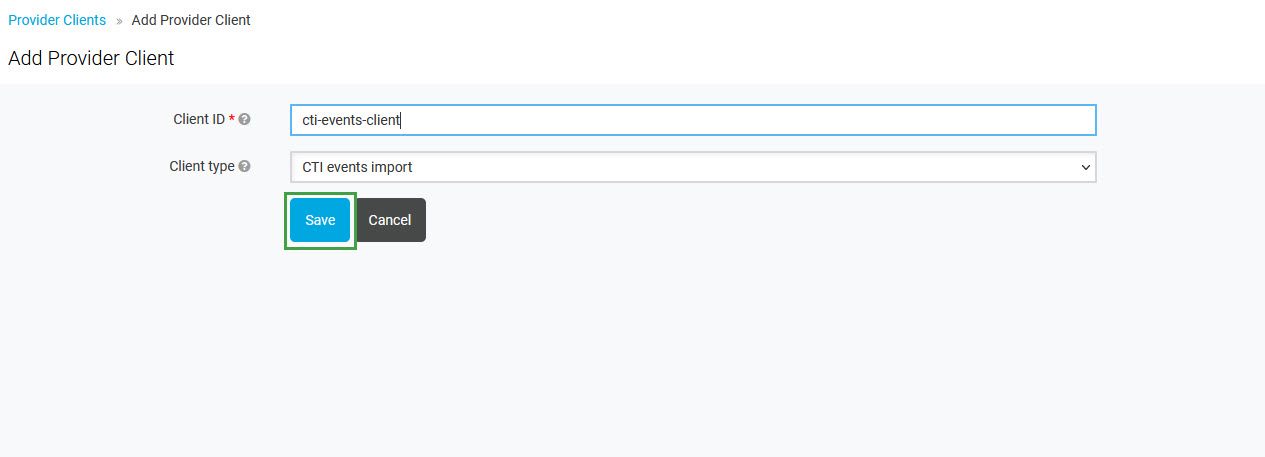
Client ID – name of the client (for example: cti-events-client)
Client type – type of the import. Select CTI events import from the drop-down menu
Click Save to create a provider.
The new client will be listed on the Provider Clients screen. Note that Client ID and generated Secret will be needed in the pusher configuration.