
Managing Custom Roles
Users who have both the manage-custom-roles and view-custom-roles effective roles assigned from the User Management client application (assigned to the eleveo.admin by default), are able to add and configure custom roles.
Custom roles are composite and can contain a combination of existing effective or composite roles, as well as other previously created custom roles. After creation, they are listed on the Roles Mappings tab and can be assigned to users.
This page describes the general process of creating a generic custom role from within User Management. To find details about creating the custom roles necessary for Eleveo, visit the page Using Eleveo Specific Roles.
Displaying Custom Roles
To view custom roles that already exist in the system, click on User management >Roles within the navigation tree on the left. The Roles screen will display.
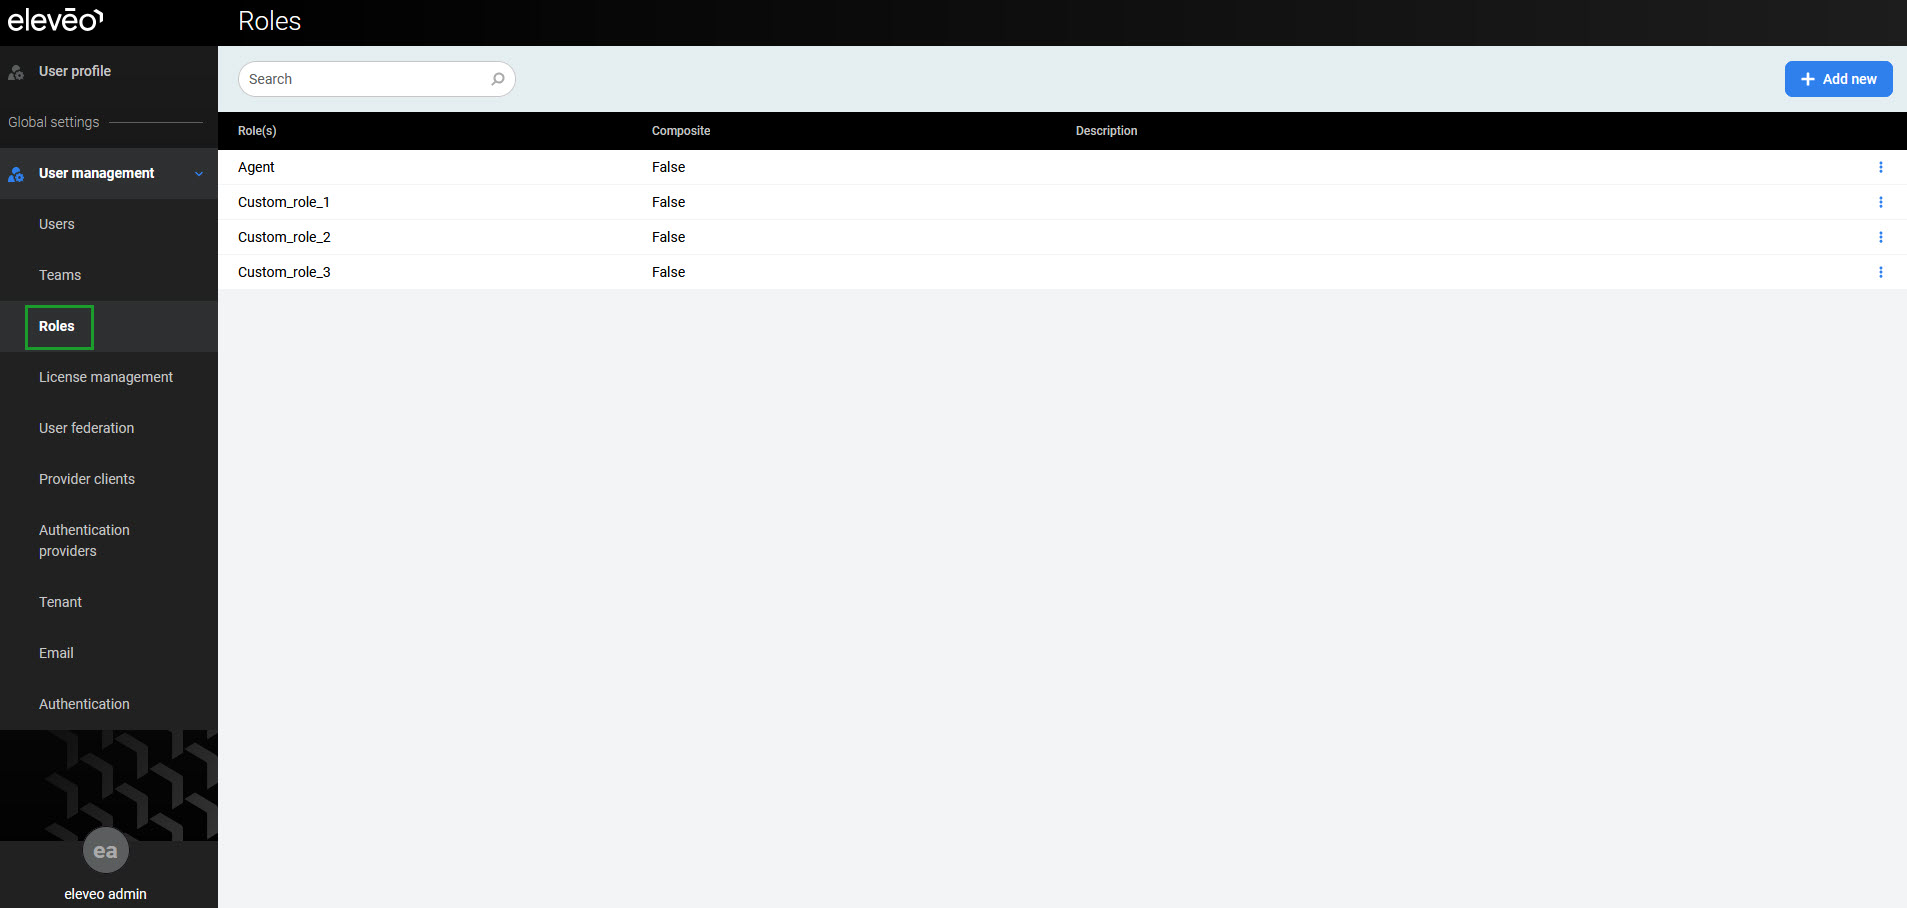
Basic information about each role is displayed in the following columns:
Role(s) – name of a role
Composite – if a role is composite (contains other roles) or not
Description – optional description of a role.
To search for a role in the database, fill in the role’s name in the search box and click the Enter key. All roles that match the entered criteria will be displayed.
Adding Custom Roles
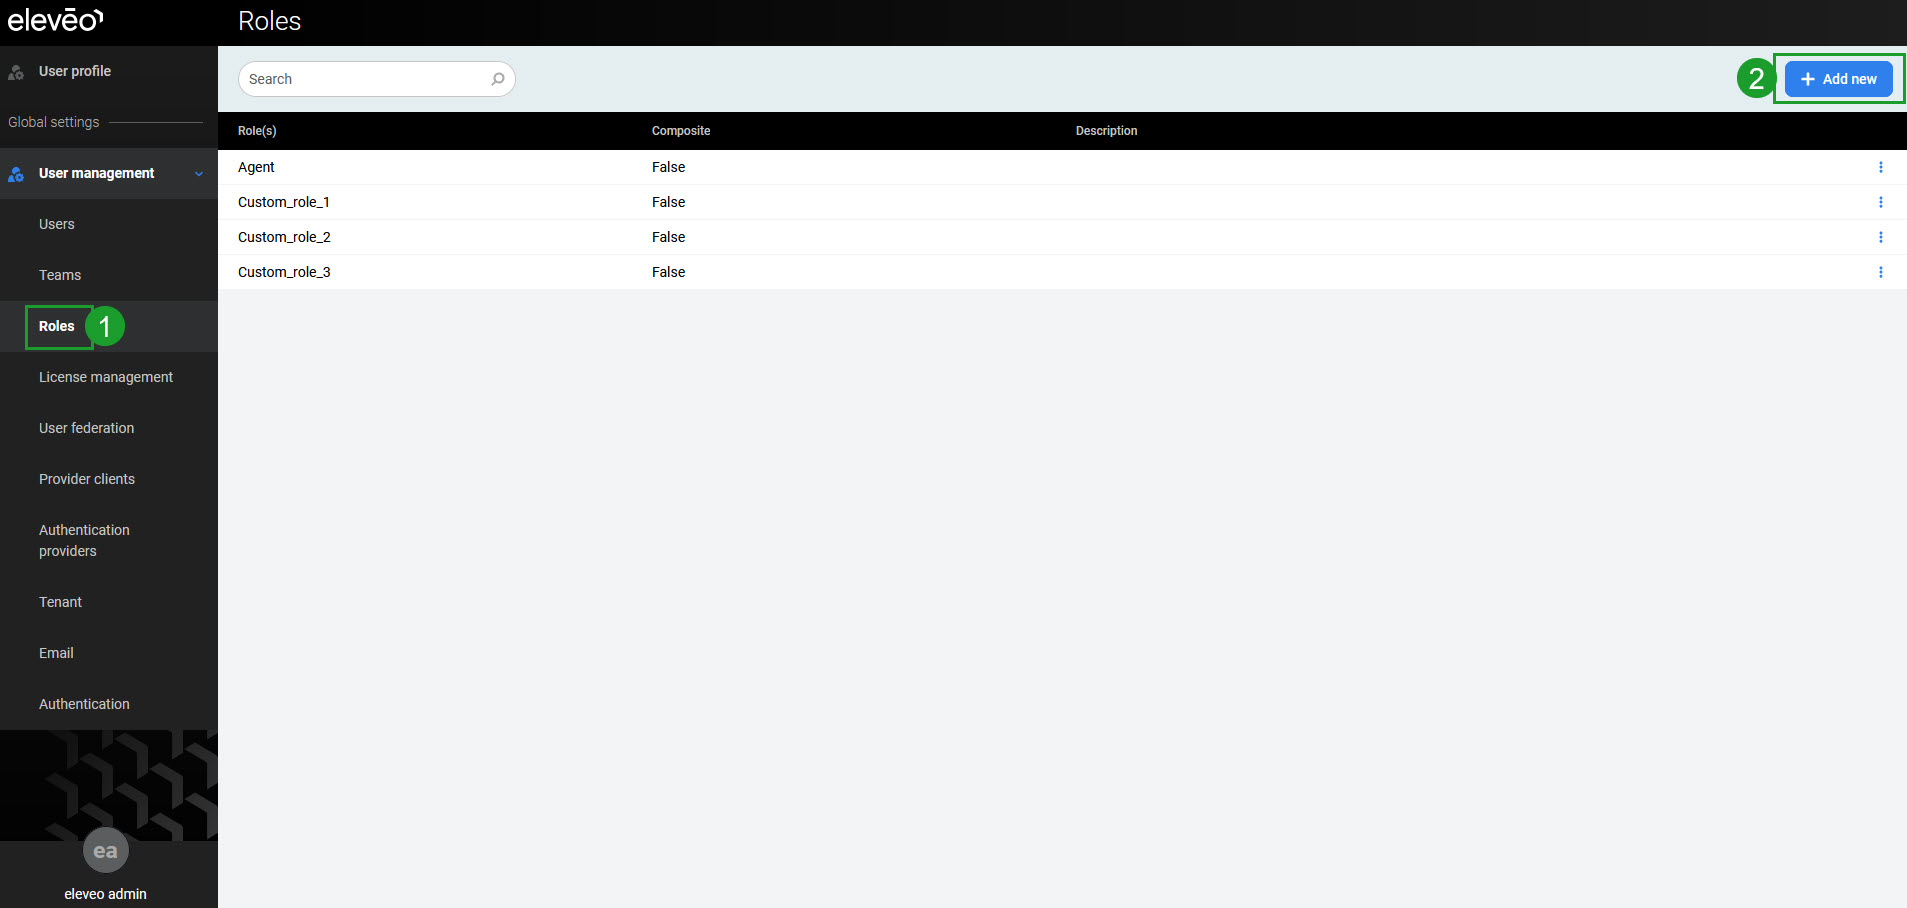
To add a new role, click User management > Roles within the navigation tree on the left. The Roles screen will display. Then click the Add new button.
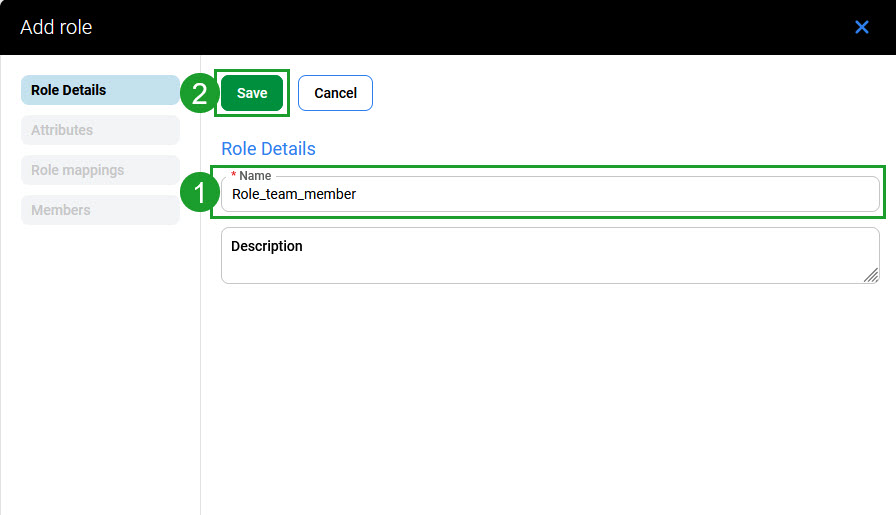
The Add role pane will display. On the Role Details tab, fill in the Name value. Optionally, provide Description. Click Save to create a role (alternatively, click Cancel to abandon changes). When the role is added, additional configuration options become active.
A configuration page for the new role will display. A new custom role is not a composite role by default (it doesn’t contain any child roles). Start typing the application's name and select it to see all available effective roles.
Attributes
Go to the Attributes tab to add attributes as key-value pairs. All users having this role assigned will automatically have these attributes configured.
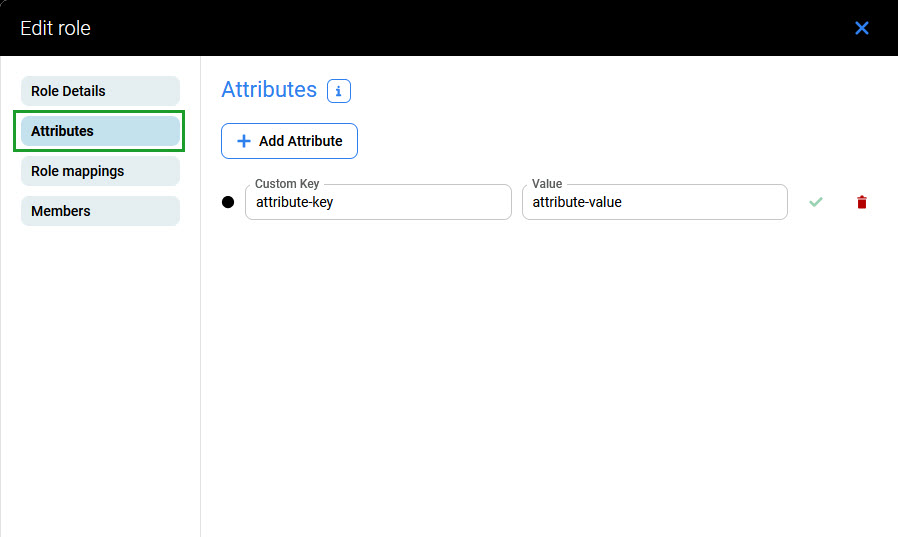
Click the Add Attribute button and provide a Custom Key and Value pair.
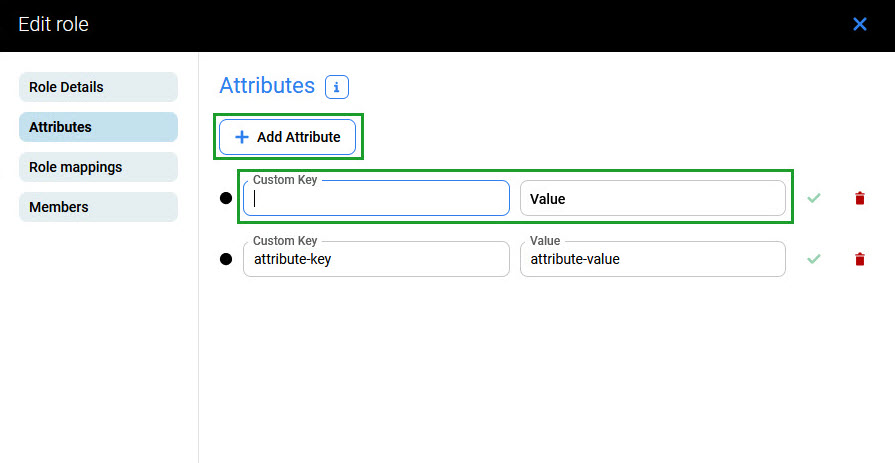
Click the bin icon on the right to remove an attribute.
Role Mappings
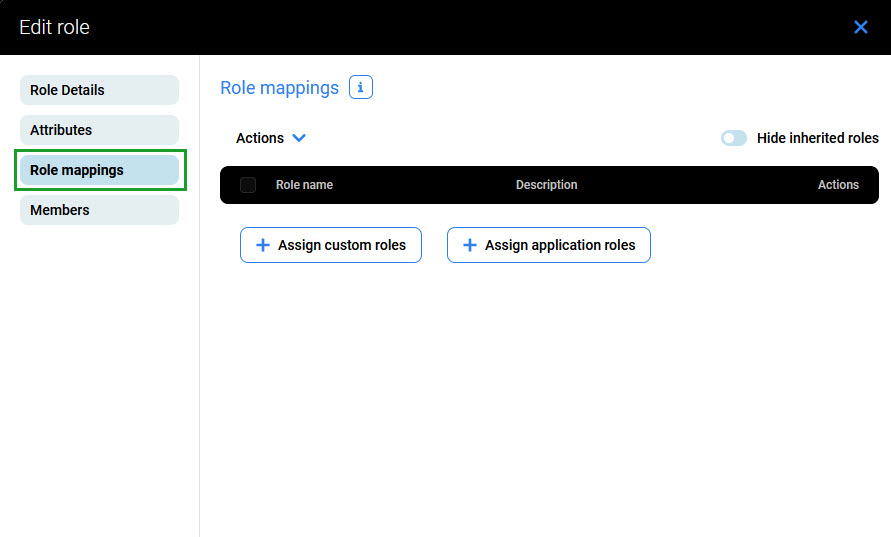
Go to the Role mappings tab to assign other custom or application roles to the newly created role.
Assigning Application Roles
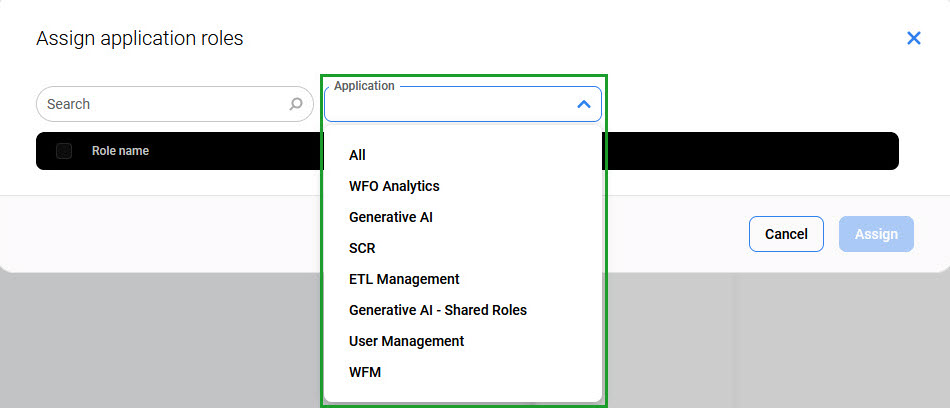
Click the Assign application roles button and a new window will display. Expand the Application drop-down menu to select an application.
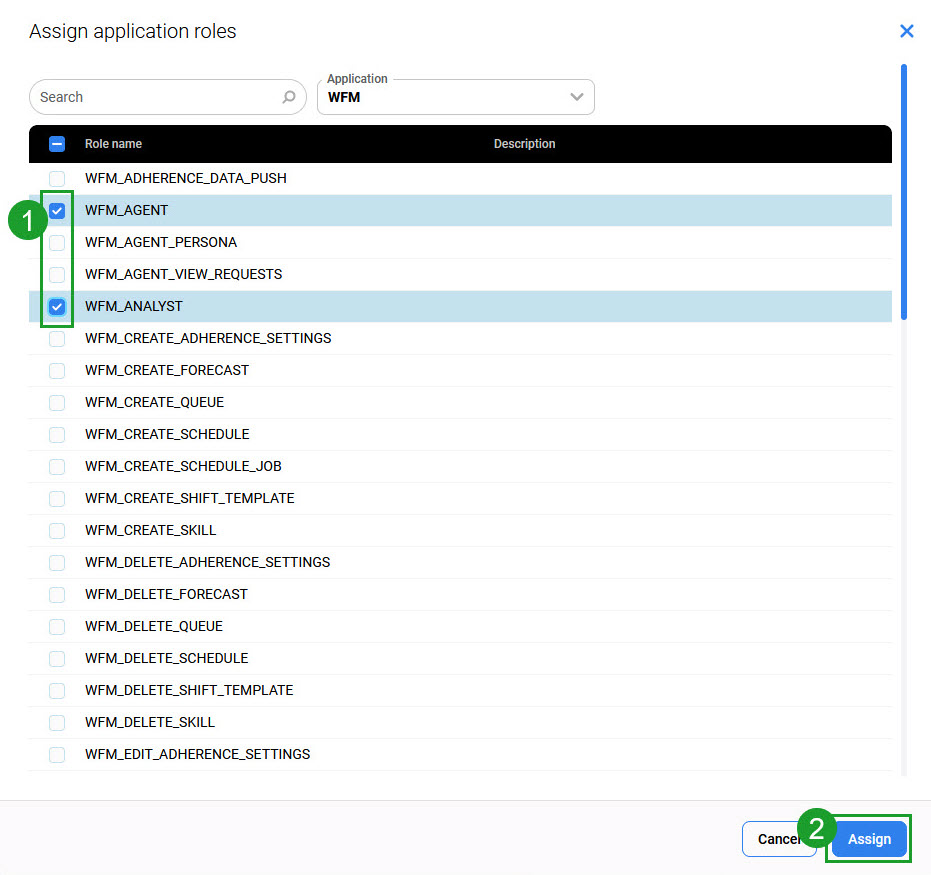
The list of available roles for the selected application will be displayed. Use checkboxes to select roles and click Assign.
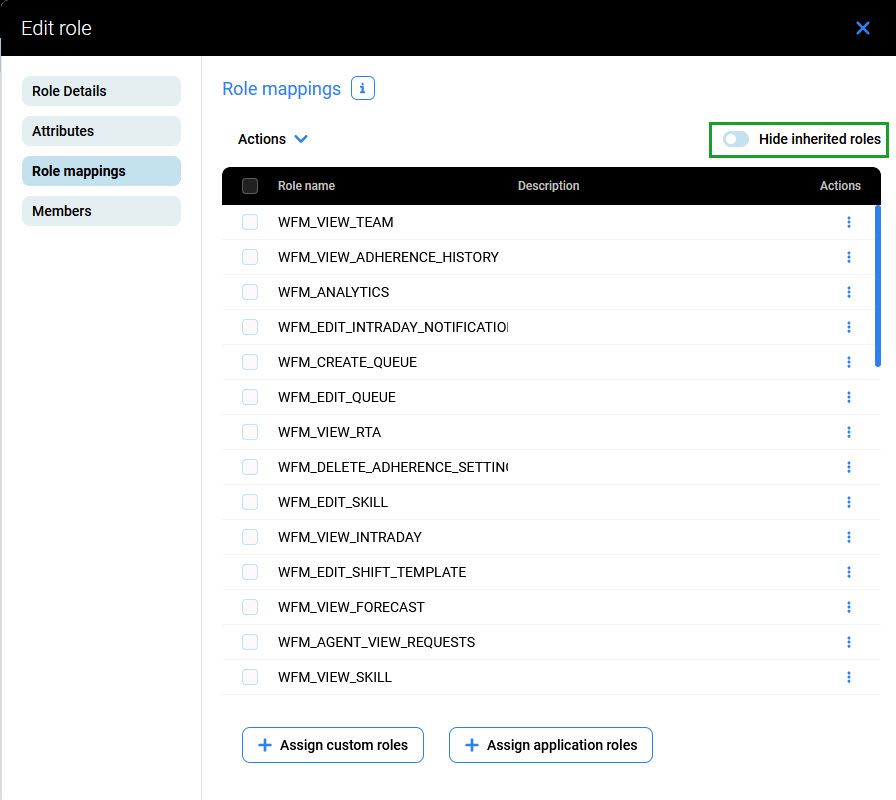
The Role mappings tab will then display all assigned roles (including inherited roles). Use the Hide inherited roles switch to display only the roles that were manually assigned in the previous step.
Assigning Custom Roles
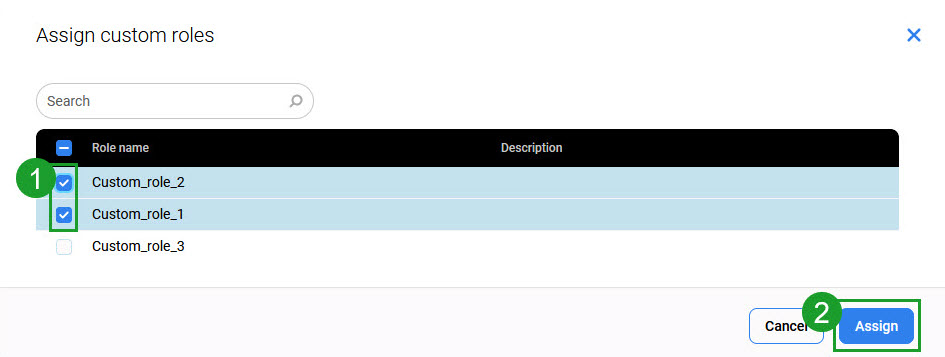
It is also possible to add existing custom roles to a new custom role. In this way, the parent-child role structure will be created. To do that, click on the Assign custom roles button. Then select roles and click Assign.
Unassigning Roles
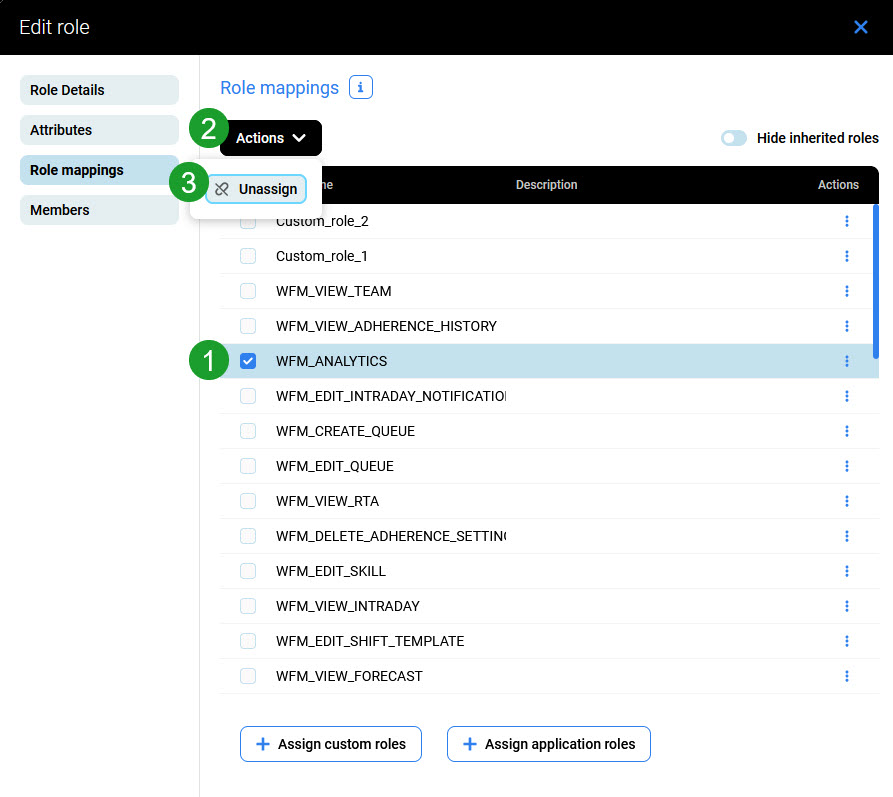
To unassign roles, use checkboxes to select them, click the Actions button and then Unassign.
Members
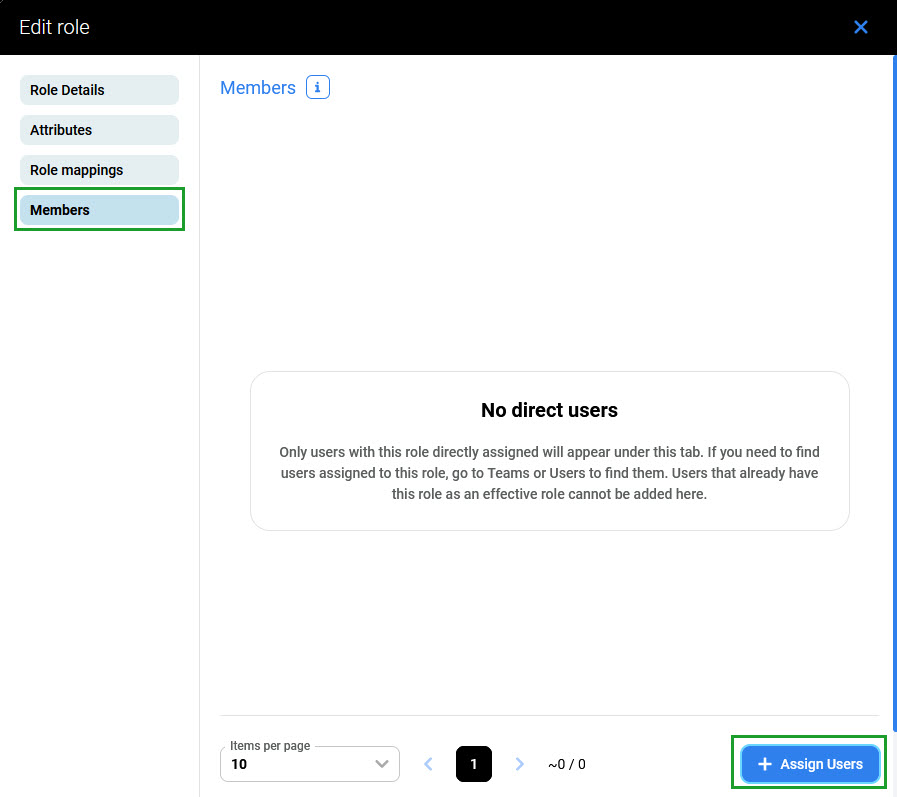
Go to the Members tab and click the Assign Users button to assign the new role to users.
A new window will display. Use checkboxes to select users and click Assign.

The Members tab will then display all assigned users.
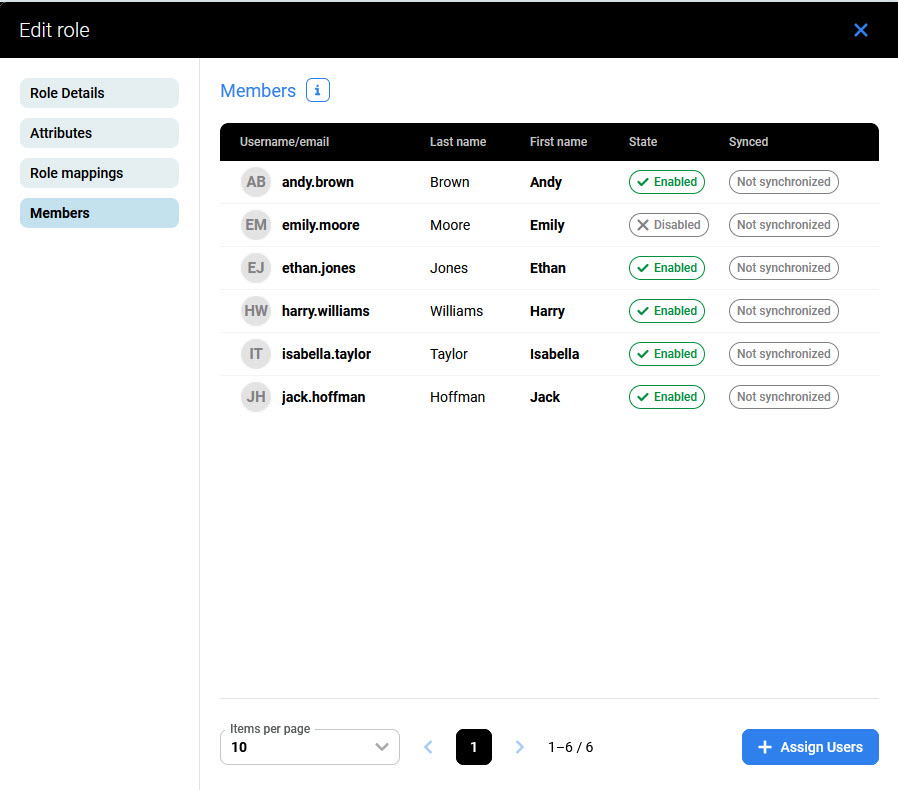
Users Assigned to a Role
To display users directly assigned to a role, go to the Roles screen and click on the role’s row. Alternatively, expand the role’s menu on the right and click Edit. Then go to the Members tab.
Please note that a user can also have a role assigned in the other ways:
a user was assigned a parent role, so a child role is also assigned to him
a user is a member of a group that has a role assigned
a user is a member of a child group, so also all roles assigned to the parent group are assigned to the user.
To see these roles, go to the Users or Teams settings and check the Role mappings tab there.
More information about assigning user roles can be found on the Assigning Roles page.
Editing Custom Roles
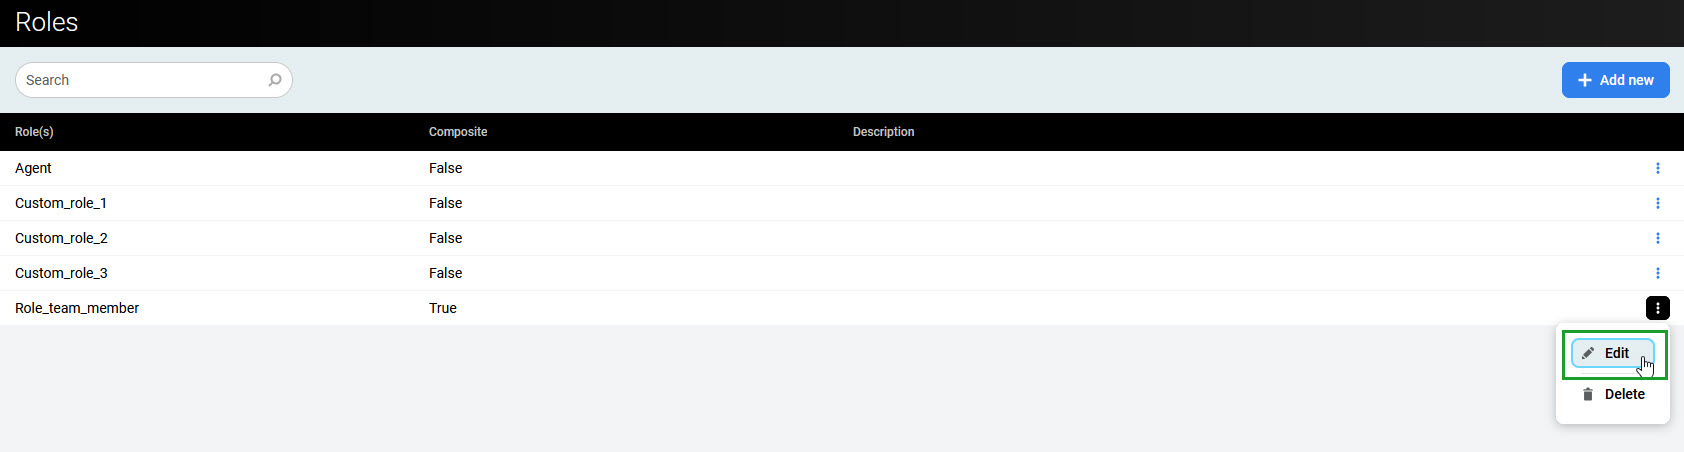
To edit a role, go to the Roles screen and click on the role’s row. Alternatively, expand the role’s menu on the right and click Edit.
Deleting Custom Roles
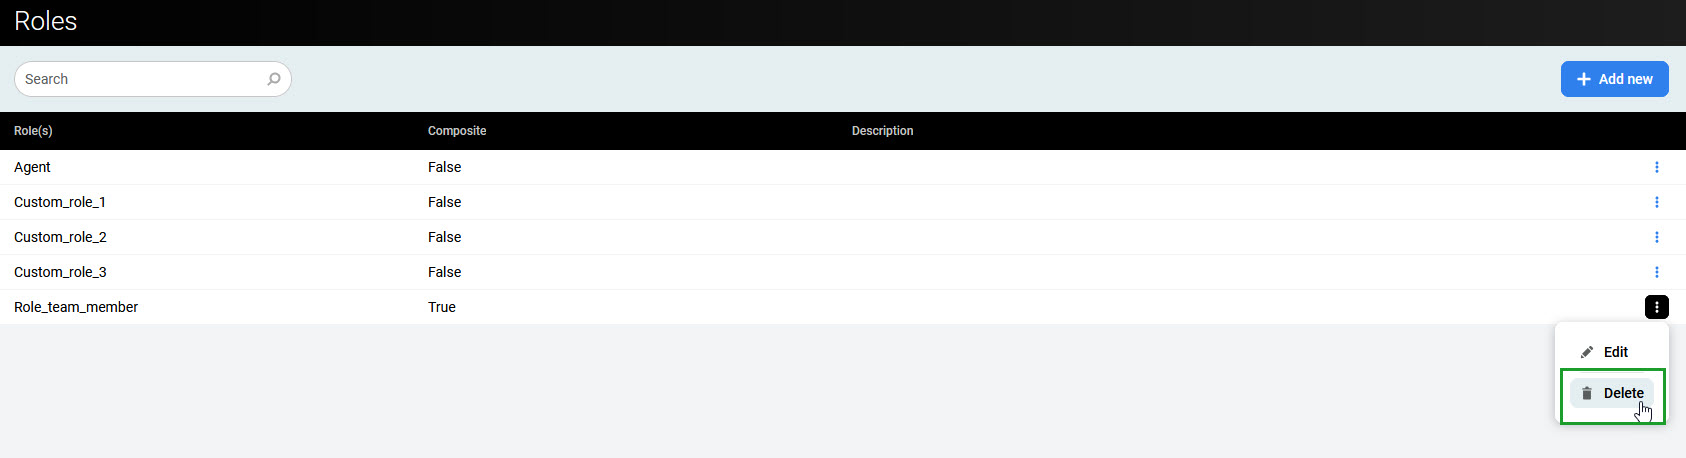
To delete the role, expand the role’s menu on the right and click Delete.
Then click Delete to confirm.