
Assigning Roles
Manual vs Automatic Assignment
Roles can be assigned to users in two ways:
manually from within the User Management UI on the Role Mappings tab (as it is described on this page) by a user with adequate privileges
automatically during the users' import from UCCE/X, by configuring Role Equivalents in the YAML file.
automatically during the users' import from Webex Contact Center.
Users who have both the manage-users and view-users effective roles assigned from the User Management client application (assigned to the eleveo.admin by default), are able to manually assign roles to other users. However, from the available User Management roles, they can assign only these roles that they themselves already have assigned.
Roles that were assigned automatically and then were removed manually from within the User Management UI will be automatically reassigned during the next synchronization.
Generally speaking, roles assigned to users manually should not be removed or overwritten during the automatic synchronization of users with UCCE/X, unless the same roles would have been assigned to users during the synchronization. In this case, Data Importers will take ownership of the user-role relationship (as if the role were assigned by Data Importer). If the Data Importer takes ownership, this can result in changes in the future - removal or reassignment of roles due to changes pulled from UCCE/X.
Example:
The following scenario illustrates the case described above:
A user, John Smith, is imported from UCCE to User Management. The user is an agent in UCCE, so the
AGENTrole is automatically assigned to him in User Management as well.A local administrator (using the eleveo.admin account) accidentally removes the role from the user.
The administrator is aware of the mistake and reassigns the role back. So this role is assigned manually.
During the next synchronization, the user is evaluated by Data Importer. The user is an agent in UCCE, so the
AGENTrole should be assigned to him. However, the user already has this role (assigned manually). Data Importer takes back ownership of this user-role relationship, and from now on, this role is considered to be assigned automatically.After some time the user is promoted to supervisor in UCCE. During the next synchronization, the user is evaluated by Data Importer: instead of
AGENT, a newSUPERVISORrole is automatically assigned to him.
Role Mappings in UI
NOTE
It is recommended that each user should start with an Eleveo Specific Role as the primary source of permissions. If additional customization is required beyond the Specific Roles, use Application Roles.
Application Roles should not be the primary source of permissions for the initial setup.
Roles in Eleveo User Management are structured. The following role types can be differentiated:
effective roles – privileges that enable particular functionality of the application, are equivalent to 'permissions' (for example, manage-users)
composite roles – sets of effective roles, which can be pre-configured to simplify the configuration of users (for example, ccmanager). They are defined separately for each client application.
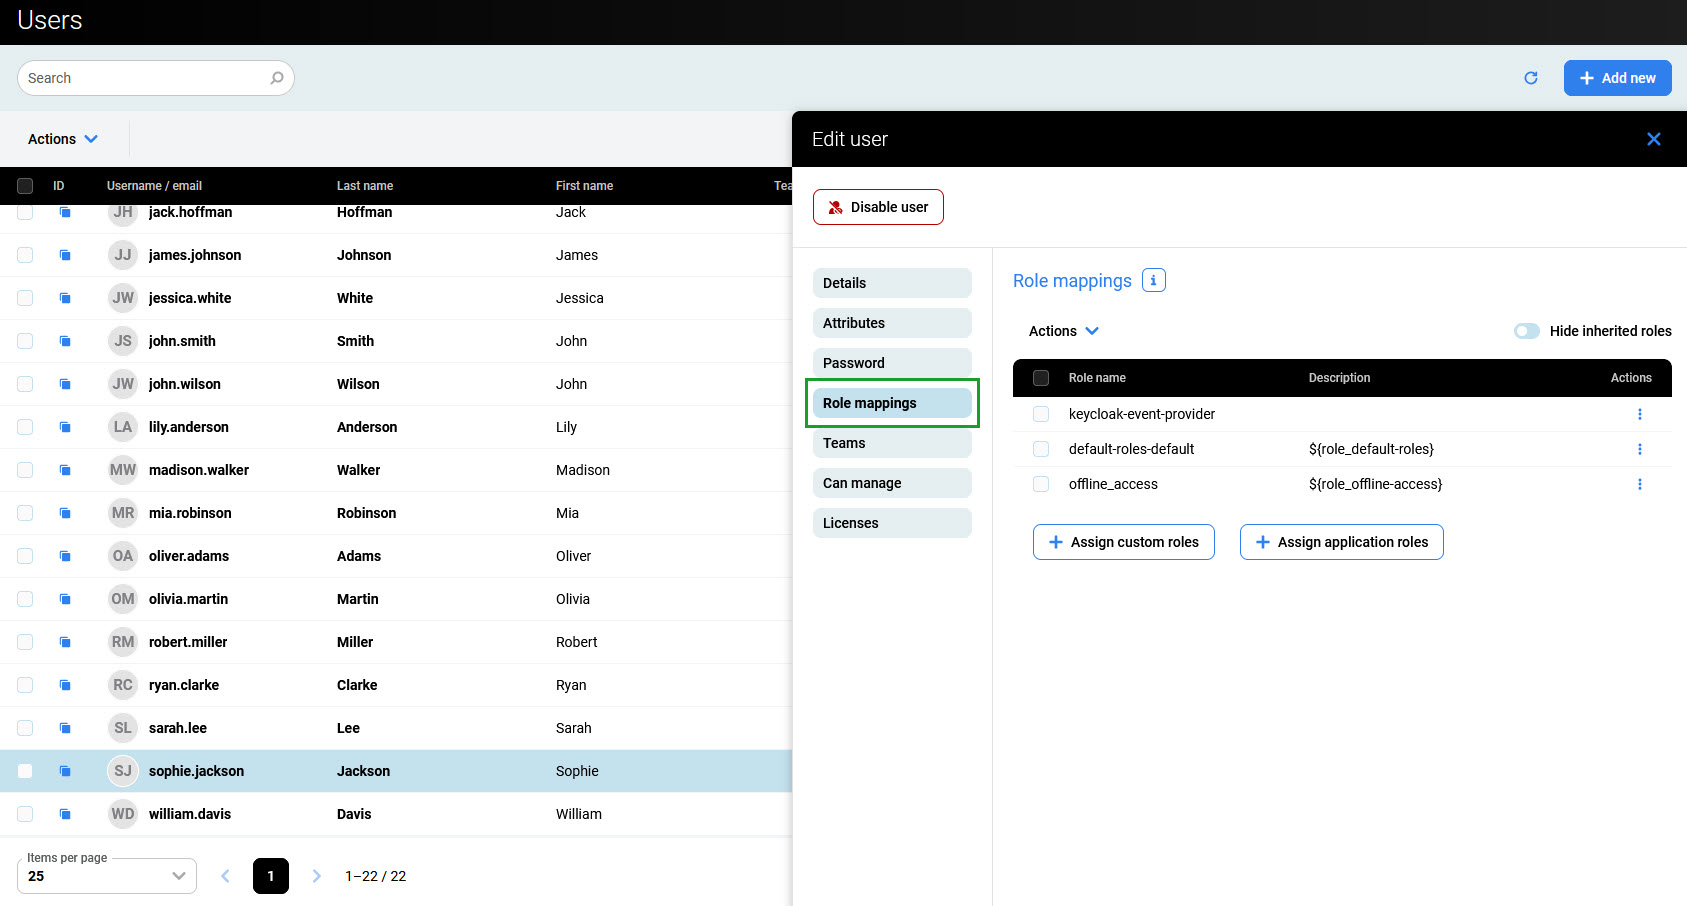
To assign roles to a user, go to the Users screen and click on the user’s row. Alternatively, expand the user’s menu on the right and click Edit. Then go to the Role mappings tab.
Alternatively, to assign roles to a team, go to the Teams screen and click the Edit (a pen) icon on the right of the team’s name. Then go to the Role mappings tab.
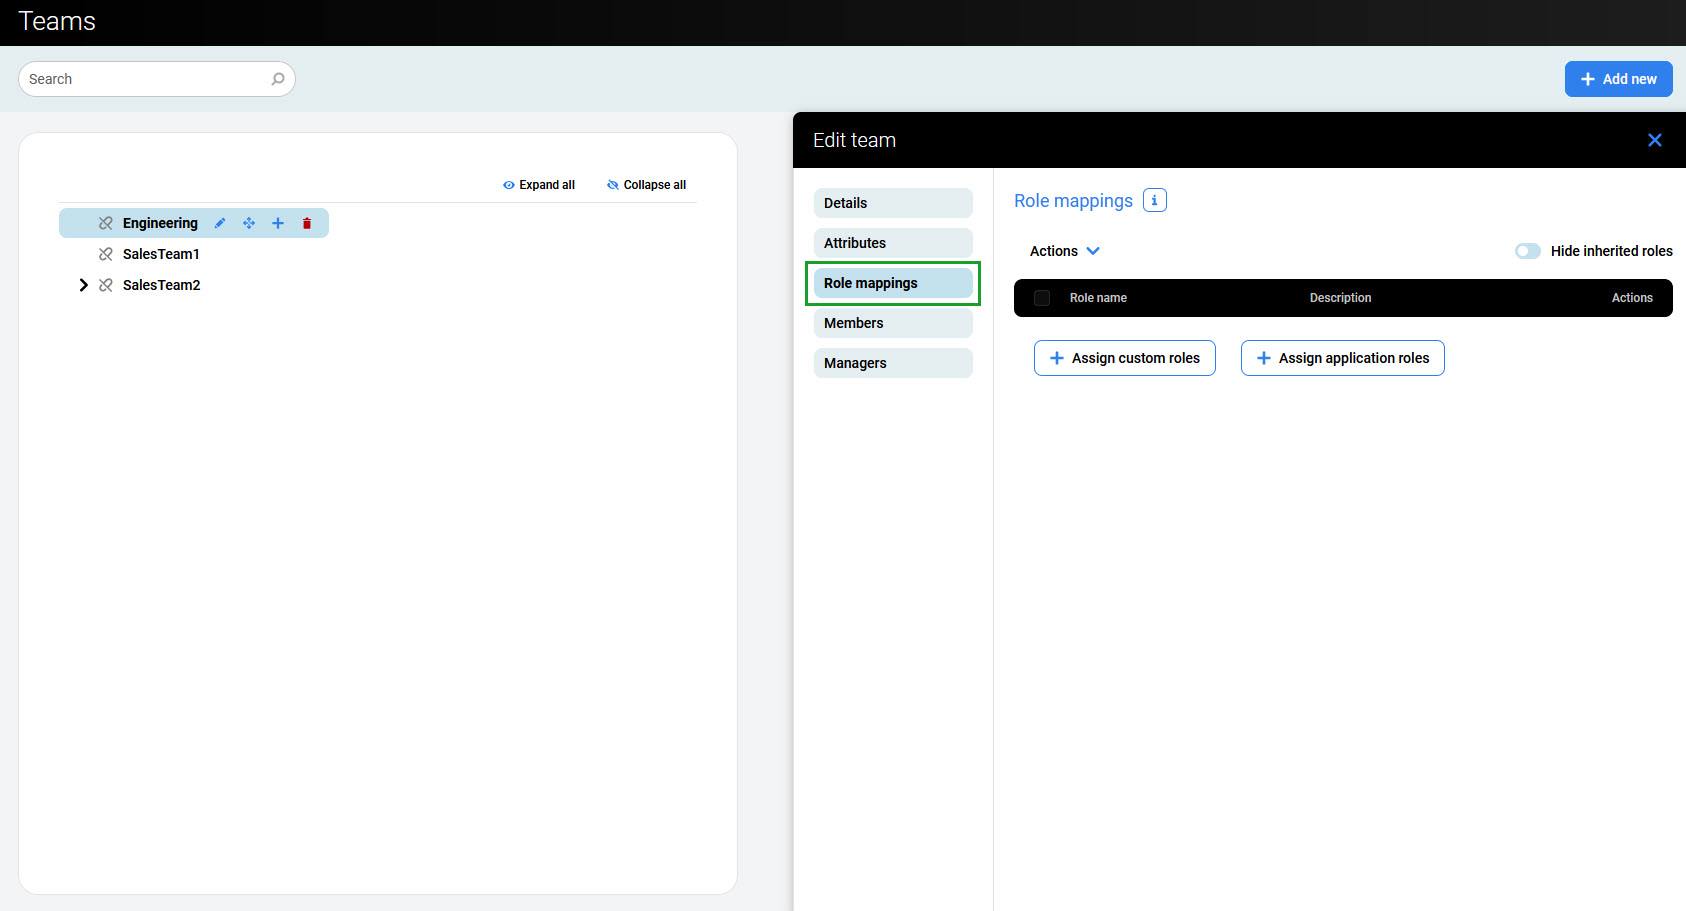
The tab allows for assigning custom and/or application roles to a user or team.
By default, new users have only system roles assigned. New groups have no roles assigned.
A user can have one or more composite user roles assigned. Also, a user can have effective roles assigned separately.
Assigning Application Roles
To assign an application role, click the Assign application roles button and select an application from a dropdown menu.
Select one of the following applications:
QM shared roles– to assign default Quality Management rolesQMorSurveysorConversation ExplorerorSCRoreLearning orLiveMONorWFO AnalyticsorGenerative AI– to assign license-specific Quality Management rolesETL Management- to assign the ETL Management rolesUser Management– to assign the User Management rolesWFM– to assign the Workforce Management roles
Then use checkboxes to select roles and click Assign.
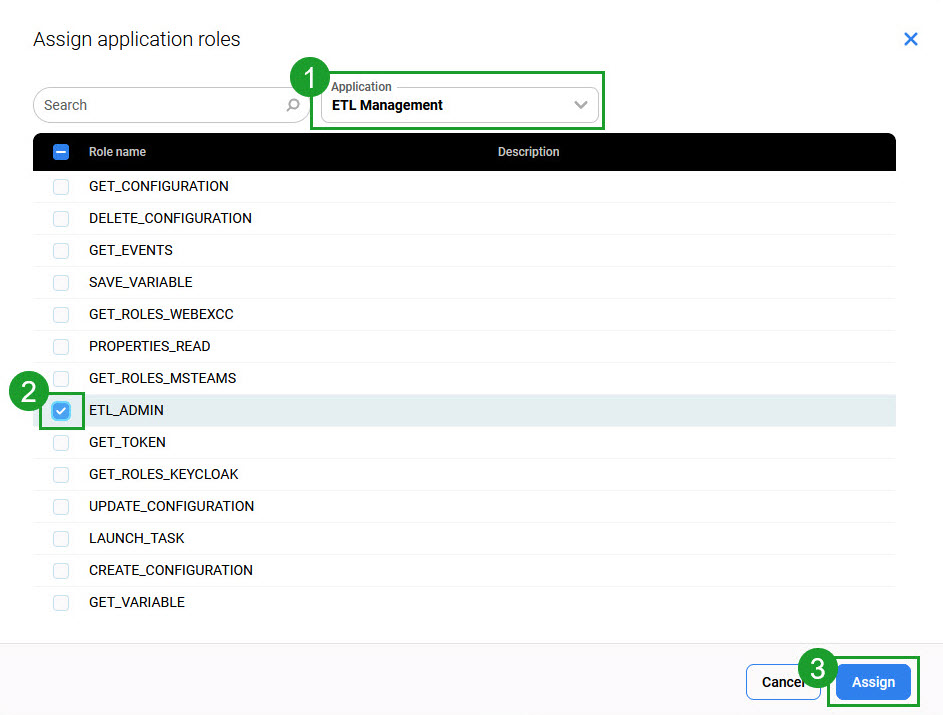
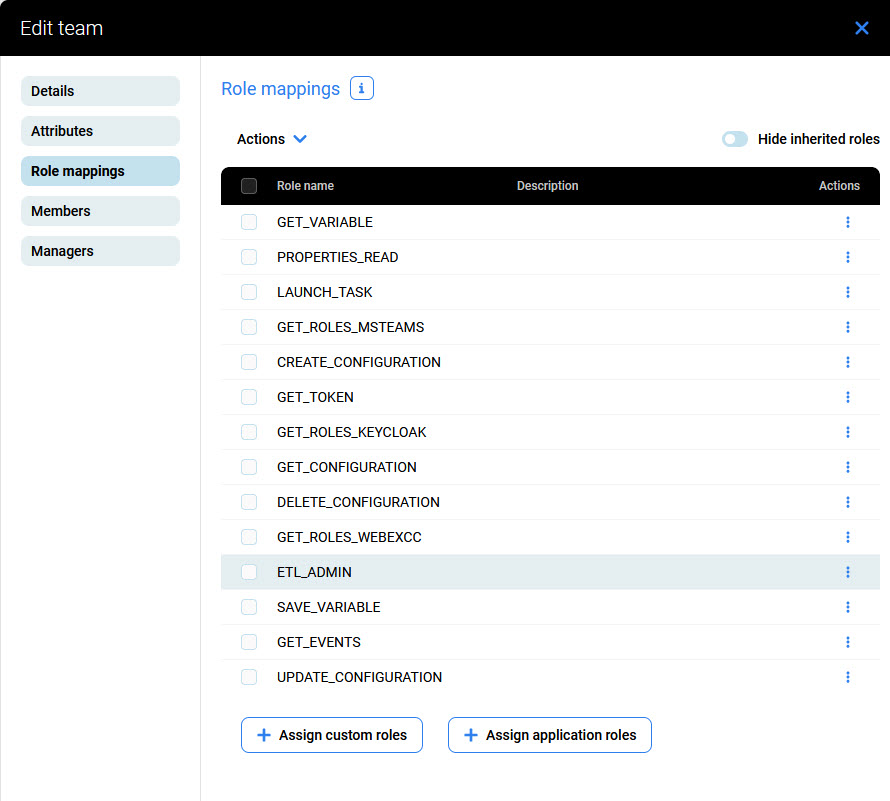
As a result, the assigned roles and all effective roles they contain (in the case of composite roles) are listed on the Role mappings tab. To hide inherited roles, use the Hide inherited roles switch.
Assigning Custom Roles
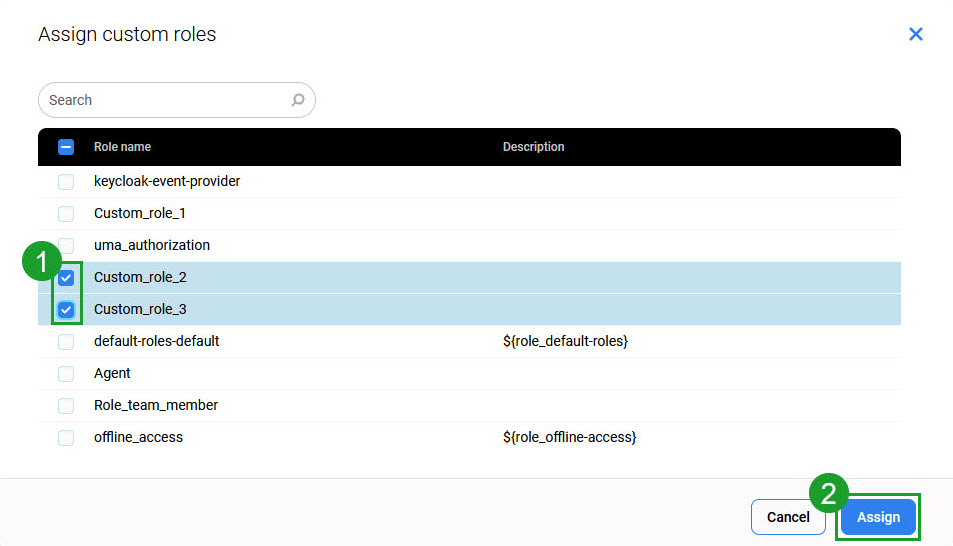
To assign a custom role (if any role was created, more information can be found on the page Managing Custom Roles), click the Assign custom roles button. Then use checkboxes to select roles and click Assign.
As a result, the assigned roles and all effective roles they contain (in the case of composite roles) are listed on the Role mappings tab. To hide inherited roles, use the Hide inherited roles switch.
Unassigning Roles
To unassign a role, click on the menu icon (three dots) on the right and then click Unassign.
