Using Eleveo Specific Roles
| CONTENTS |
|---|
Overview
To simplify the assignment of roles to your users, and to ensure that role mapping from Webex CC or Zoom Contact Center User Data Importers occurs correctly, it is necessary to create Eleveo specific roles. The creation of Eleveo specific roles simplifies the role assignment procedure, as well as satisfies compliance and security requirements.
Follow the steps below to create the following 'standardized' user roles:
- AGENT
- BO_AGENT (backoffice agent)
- TEAM_LEADER
- SUPERVISOR
- CC_MANAGER
- IT_ADMIN
- COMPLIANCE_ANALYST
NOTE
It is recommended that each user should start with an Eleveo Specific Role as the primary source of permissions. If additional customization is required beyond the Specific Roles, use Application Roles.
Application Roles should not be the primary source of permissions for the initial setup.
Eleveo Specific Roles
Creating Eleveo specific custom roles that simplify access and usage is necessary when Quality Management and Workforce Management are installed and licensed together with all additional modules. Custom roles will contain the default application roles and all required license-based roles.
Newly created custom roles should have default application roles assigned based on the table below.
Note that this example is the configuration needed for a complete Eleveo installation (including all available modules).
Roles are created within User Management when applications are deployed. If an application was not deployed, no roles exist in the system for that particular application.
In case an application has more modules, all roles for all dependent modules are added when the application is deployed (even if there is no plan to deploy the modules and obtain licenses for them). When configuring Eleveo specific roles, do not add roles for the modules not used in your particular installation (because no licenses are present and, as a result, such roles cannot be assigned to users).
The detailed scope of the application roles can be found on the relevant pages:
- Quality Management Roles
- Workforce Management Roles
- ETL Management Roles (by default the eleveo.admin, eleveotrain or it.admin users have ETL Management roles assigned- these roles are not usually assigned to other users)
| Application/Application role | AGENT | BO_AGENT | TEAM_LEADER | SUPERVISOR | CC_MANAGER | IT_ADMIN | COMPLIANCE_ANALYST |
|---|---|---|---|---|---|---|---|
| QM - shared roles/DEFAULT_AGENT | x | x | |||||
| QM - shared roles/DEFAULT_TEAM_LEADER | x | ||||||
| QM - shared roles/DEFAULT_SUPERVISOR | x | ||||||
| QM - shared roles/DEFAULT_CC_MANAGER | x | ||||||
| QM - shared roles/DEFAULT_IT_ADMINISTRATOR | x | ||||||
| QM - shared roles/DEFAULT_COMPLIANCE_ANALYST | x | ||||||
| Conversation Explorer/VIEW_CONVERSATION_SCREEN | x | x | x | x | x | x | |
| QM/VIEW_REVIEWS | x | x | x | x | x | ||
Automated QM/AUTOMATED_RULES_MANAGE | x | ||||||
| eLearning/VIEW_TRAININGS | x | x | x | x | |||
| SpeechREC/VIEW_TRANSCRIPTION | x | x | x | x | x | ||
| WFM/WFM_AGENT | x | ||||||
| WFM/WFM_ANALYST | x | ||||||
| WFM/WFM_SCHEDULER | x | ||||||
| ETL Management/All relevant Application Roles | x | ||||||
| User Management/MANAGE-GROUPS | x | ||||||
| User Management/MANAGE-LICENCES | x | ||||||
| User Management/MANAGE-CUSTOM-ROLES | x | ||||||
| User Management/MANAGE-USERS | x | ||||||
| User Management/VIEW-CUSTOM-ROLES | x | ||||||
| User Management/MANAGE-EVENTS | x | ||||||
| User Management/VIEW-REALM | x | ||||||
| User Management/VIEW-USERS | x |
*- should be added manually.
Adding Custom Roles
To add a new role, click Manage Roles within the navigation tree on the left. The Manage Roles screen will display. Then click the Add Role button.

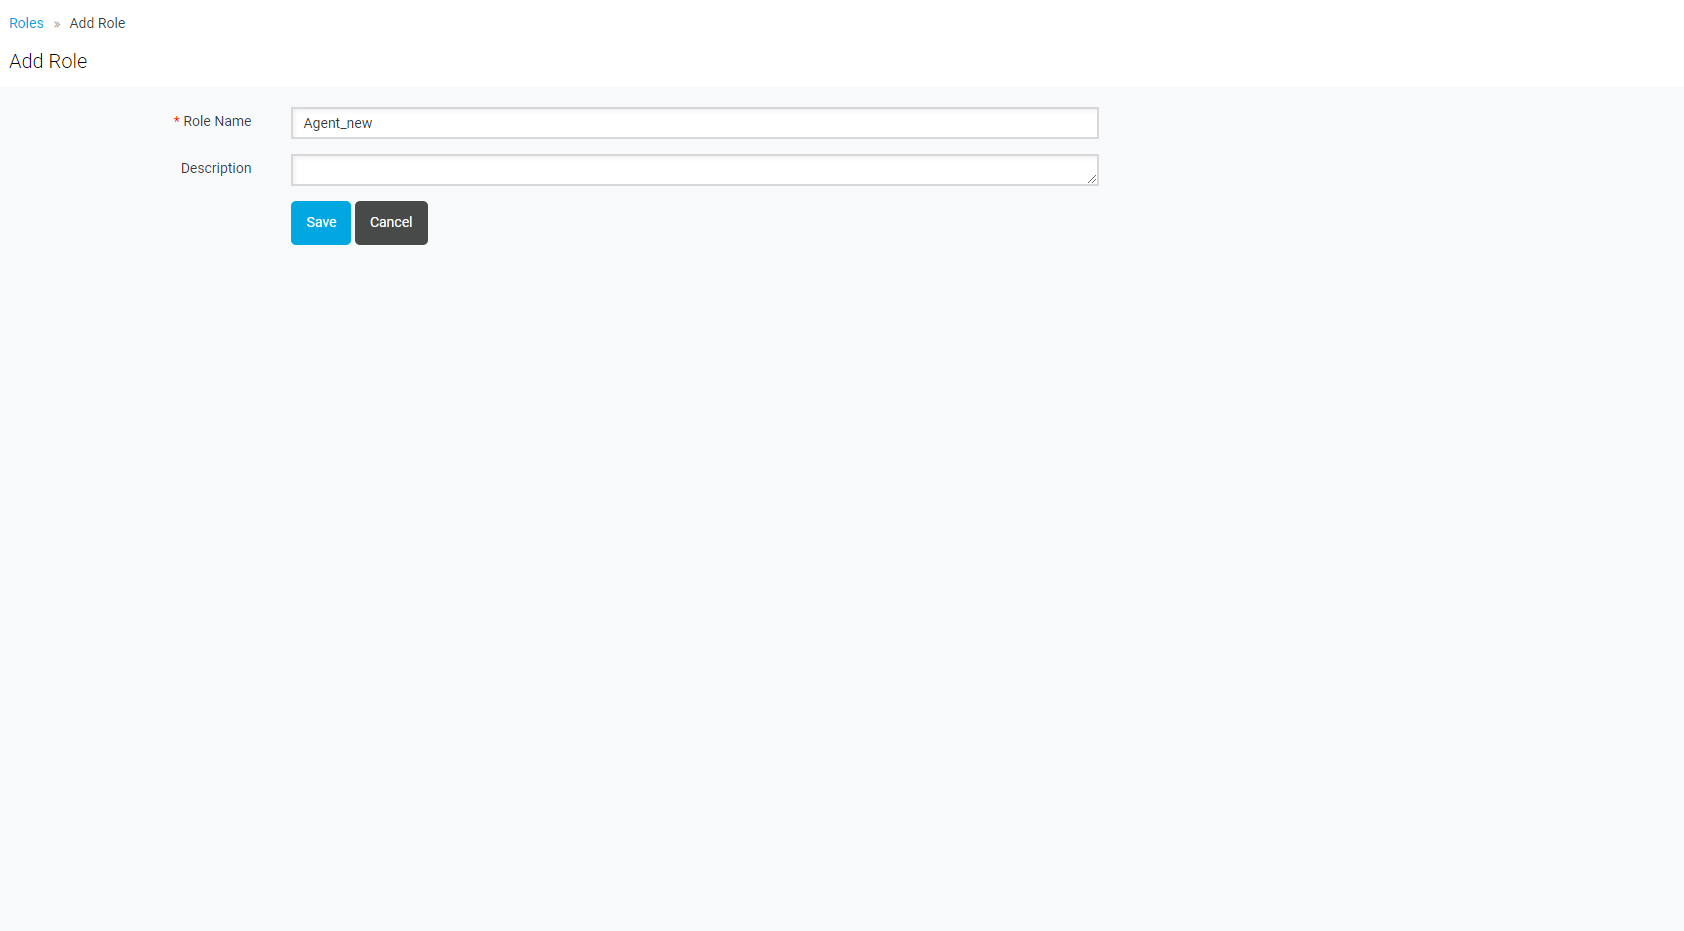
On the Add Role screen, fill in the Role Name value. Optionally, provide a description. Click Save to create a role (alternatively, click Cancel to abandon changes).
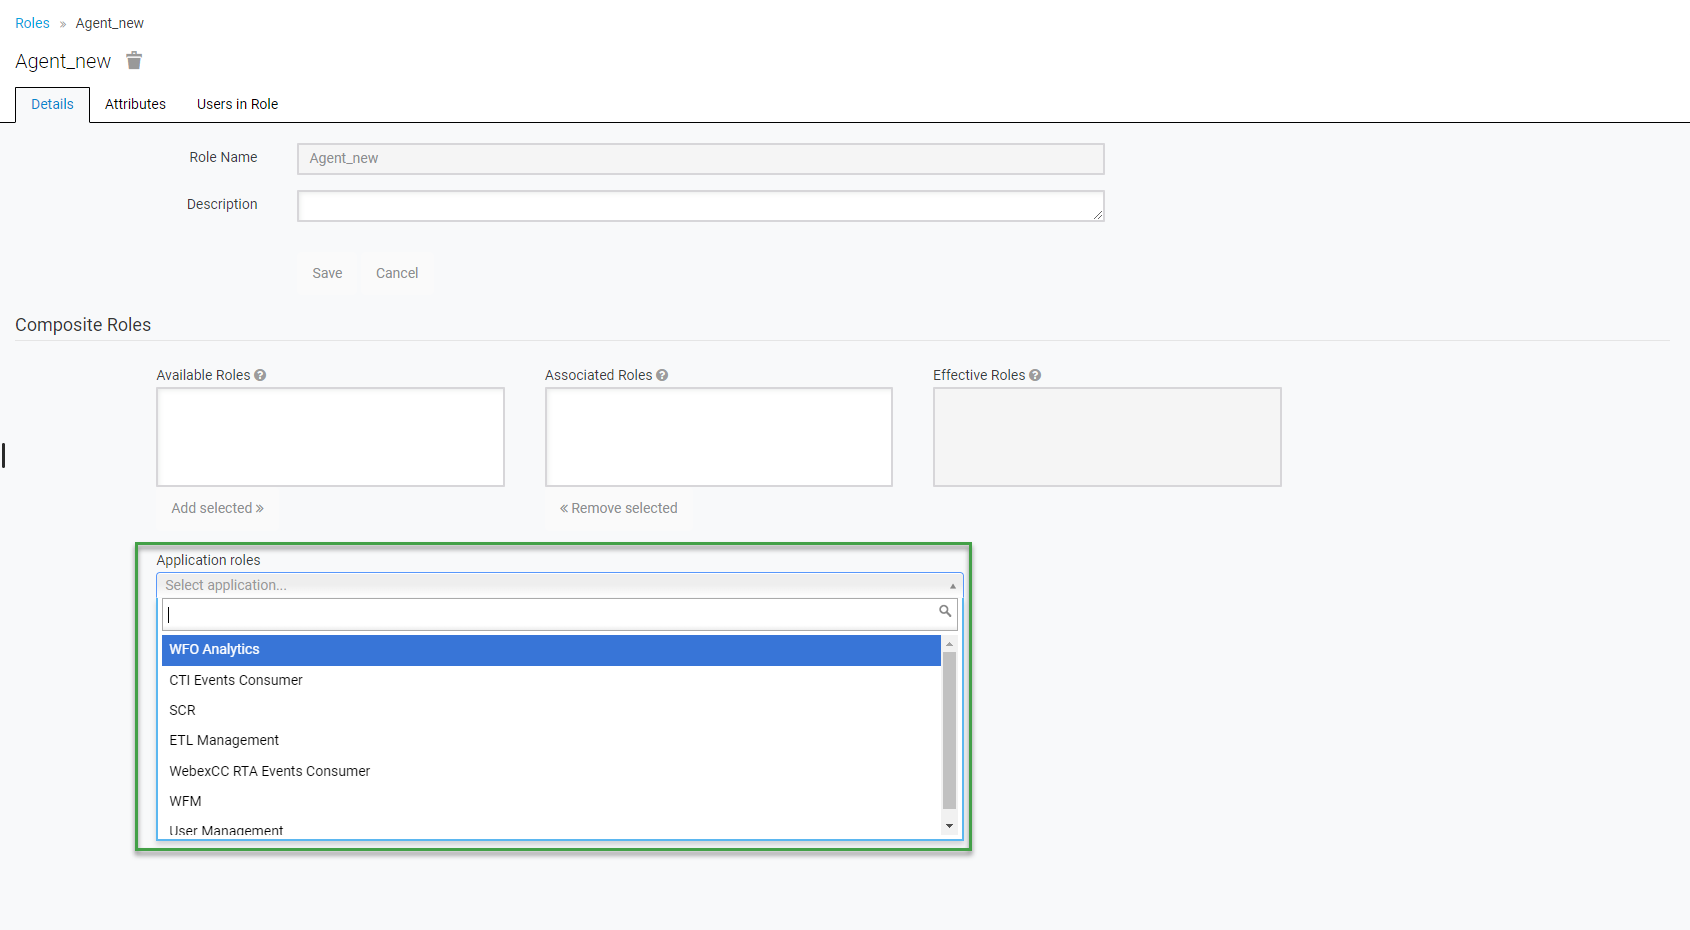
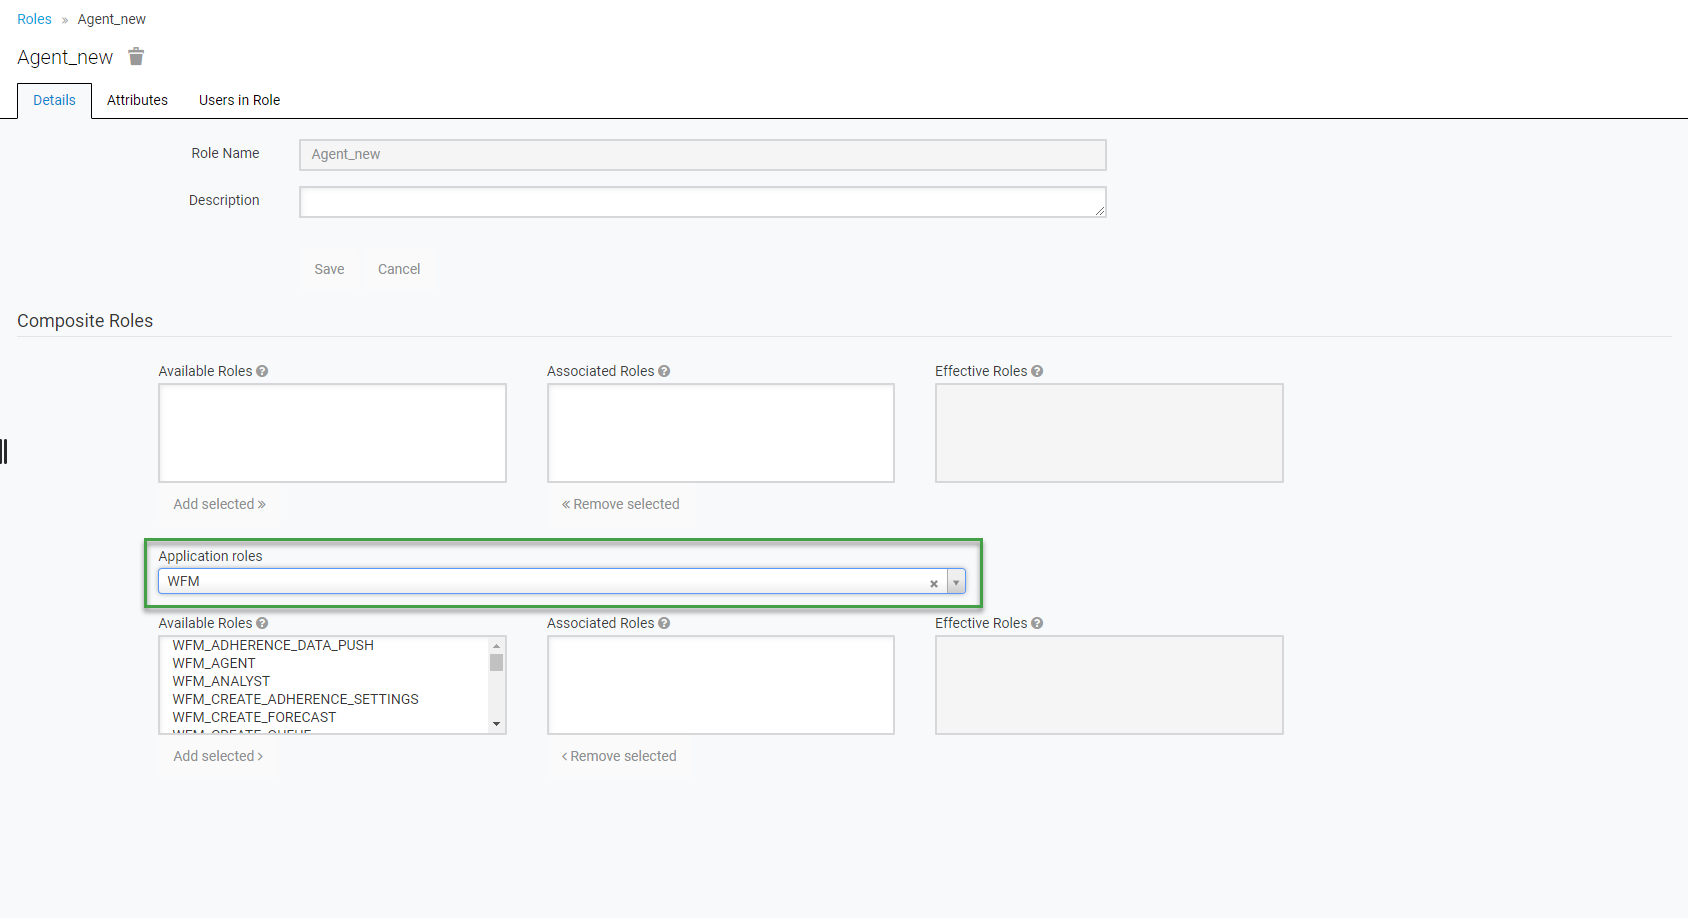
A configuration page for the new role will display. A new custom role is a composite role by default. This means that it is created as a set of permissions (effective roles). Click on the field to see all available effective roles or start typing the application name and select it to see all available effective roles.
A list of the effective roles is visible in the Available Roles field. Click on the role to select it and then click Add selected.
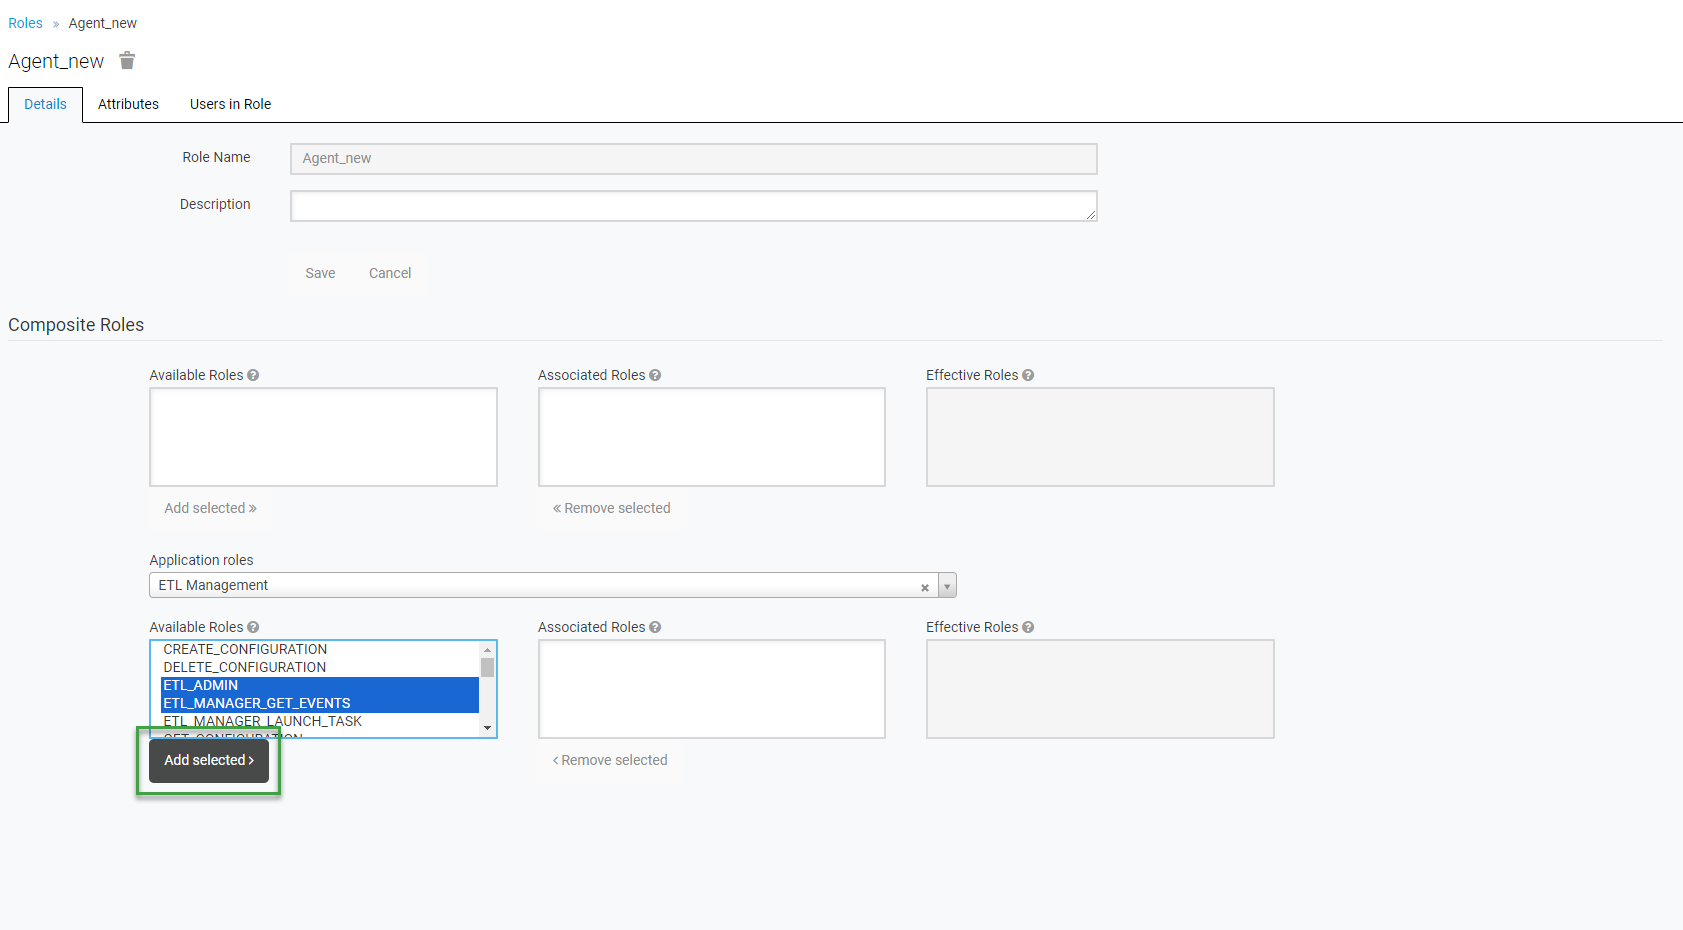
Change the application (module) to add the next roles, based on the table above. Repeat the same step to add all necessary roles.
Further details about adding, editing, or removing custom roles can be found on the Managing Custom Roles page.
Assigning Roles to Users
Custom roles are assigned automatically during the import of users from Webex CC or Zoom Contact Center servers based on the configured role mappings. If the new custom roles are named differently than we have suggested on this page, correct the default YAML configuration of User Data Importer.
To assign the newly created roles to users manually, follow the steps described on the Assigning Roles page.
Before assigning new custom roles to users, make sure there is an available license for the given module!
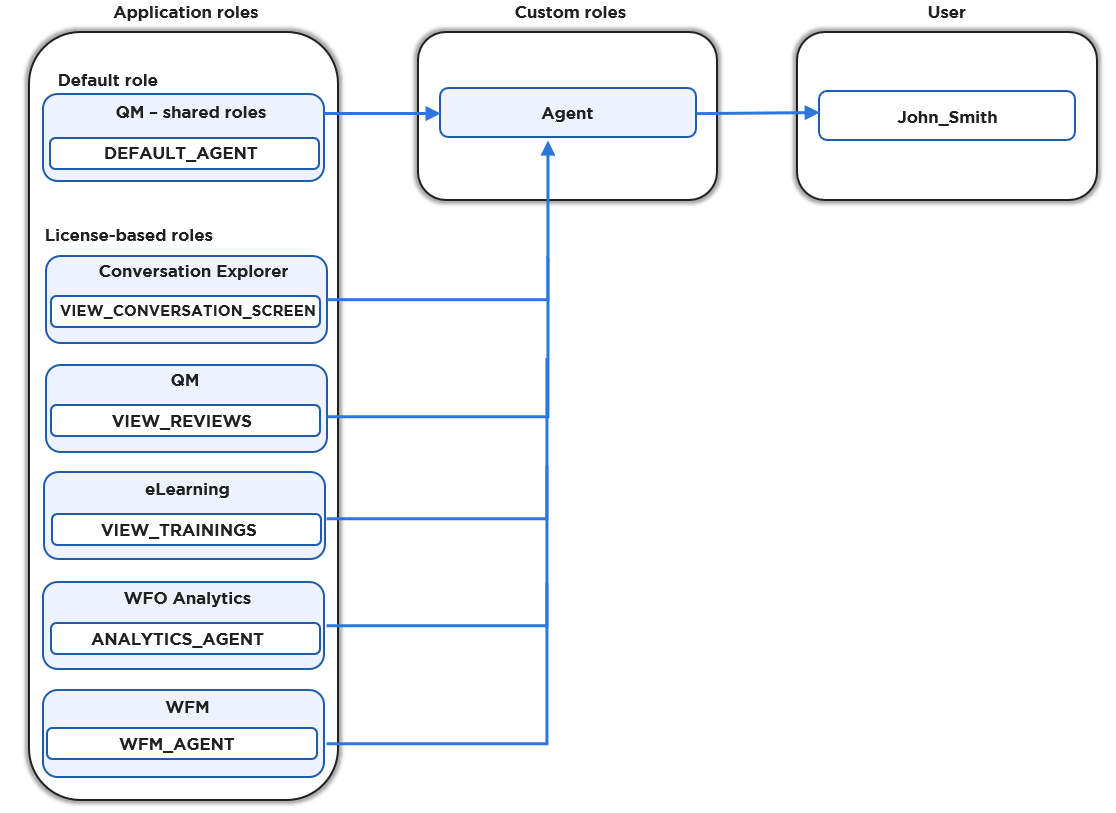
The below diagram illustrates the example of creating a new custom AGENT role and assigning it to a user.