Working With Production Forecasts
| CONTENTS |
|---|
Overview
The production forecast is the final forecast which is used in the creation of a schedule. Any draft forecast created within the studio environment can be selected, and used, as the production forecast.
WFM_SCHEDULER role assigned are able to modify production forecasts! Read more about Workforce Management Roles.
Checking Production Forecasts
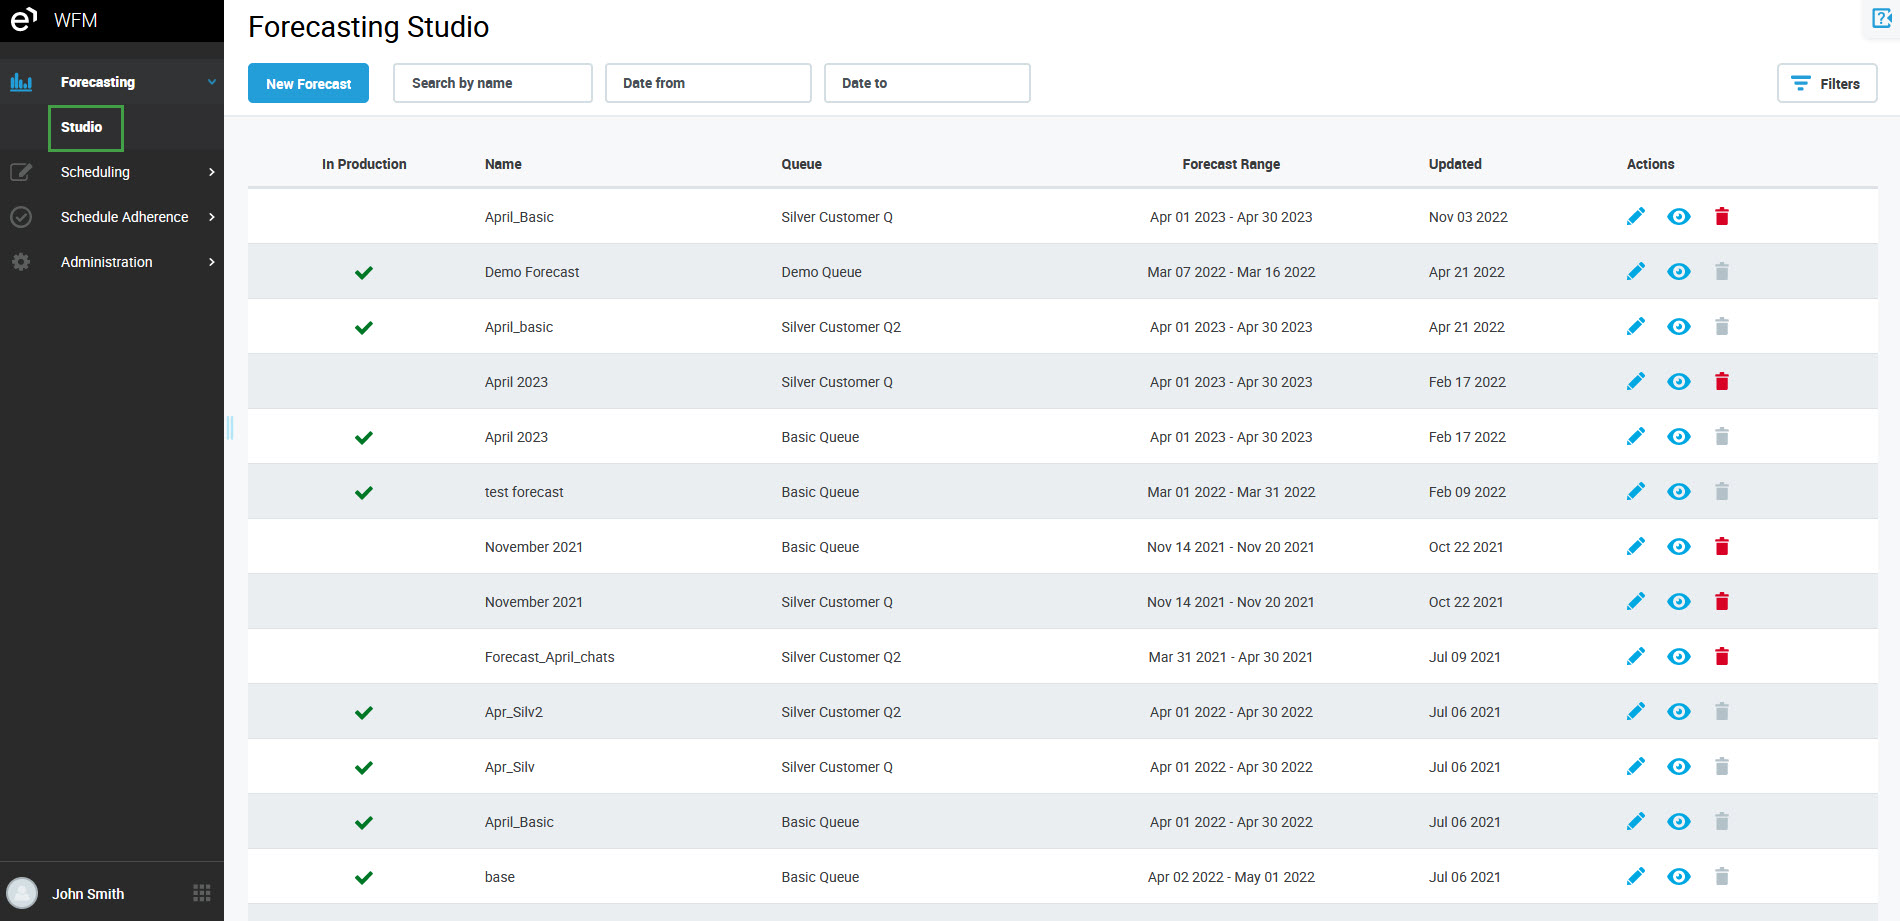
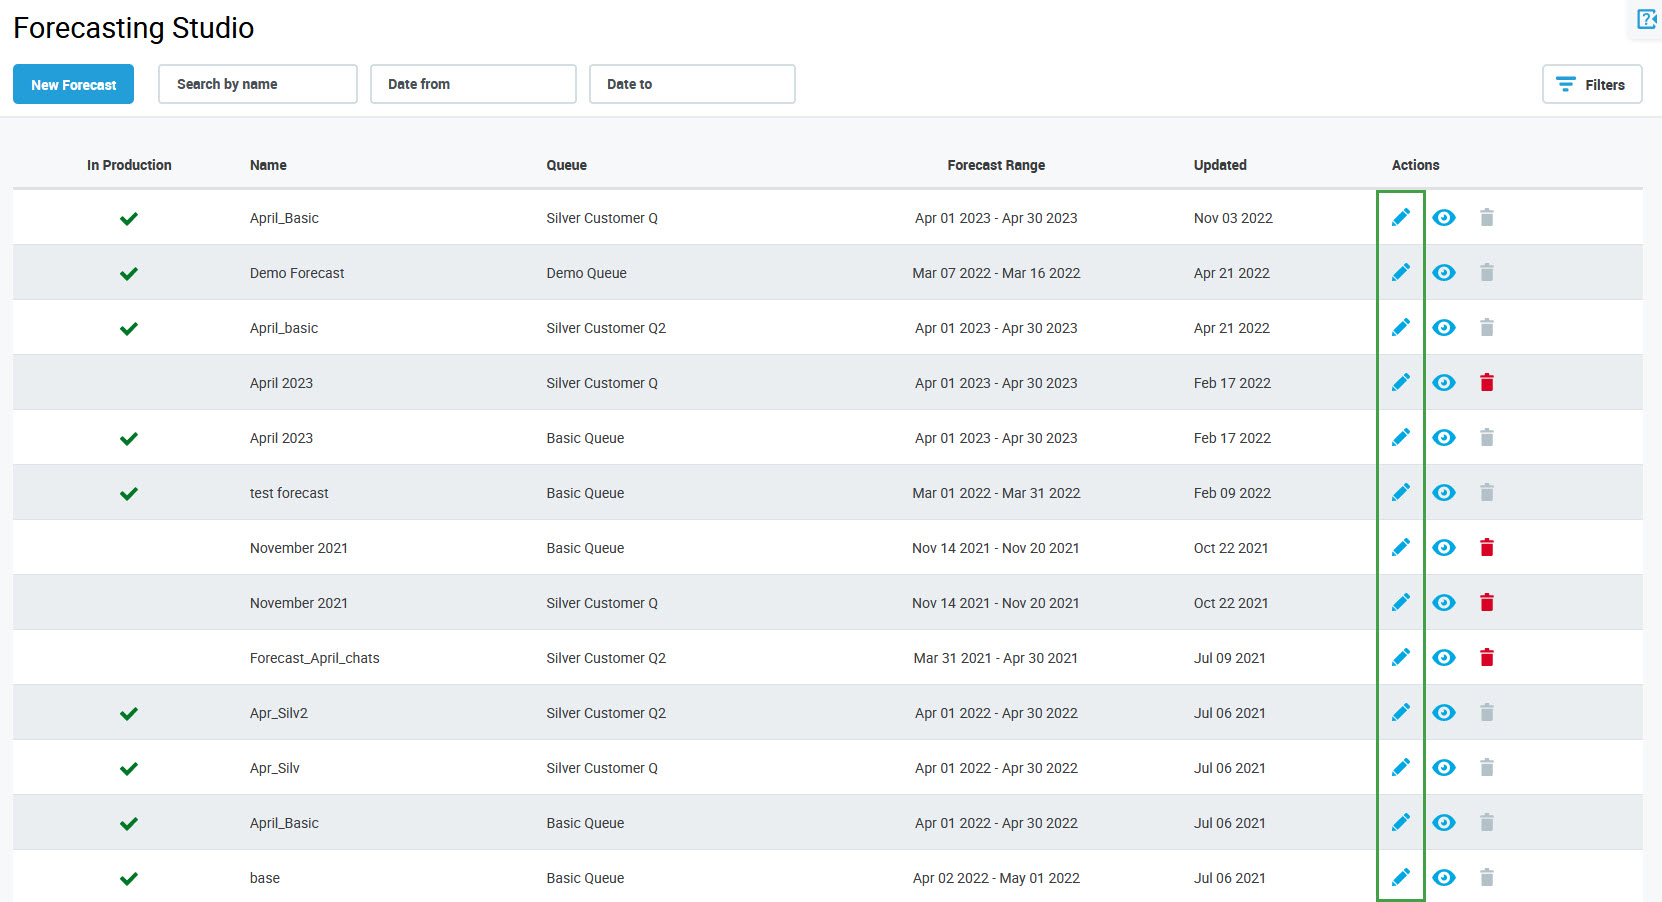
To display existing production forecasts, expand the Forecasting module within the navigation tree and click Studio. The Forecasting Studio screen will display.
The forecast(s) currently in production is/are marked with the green check mark (
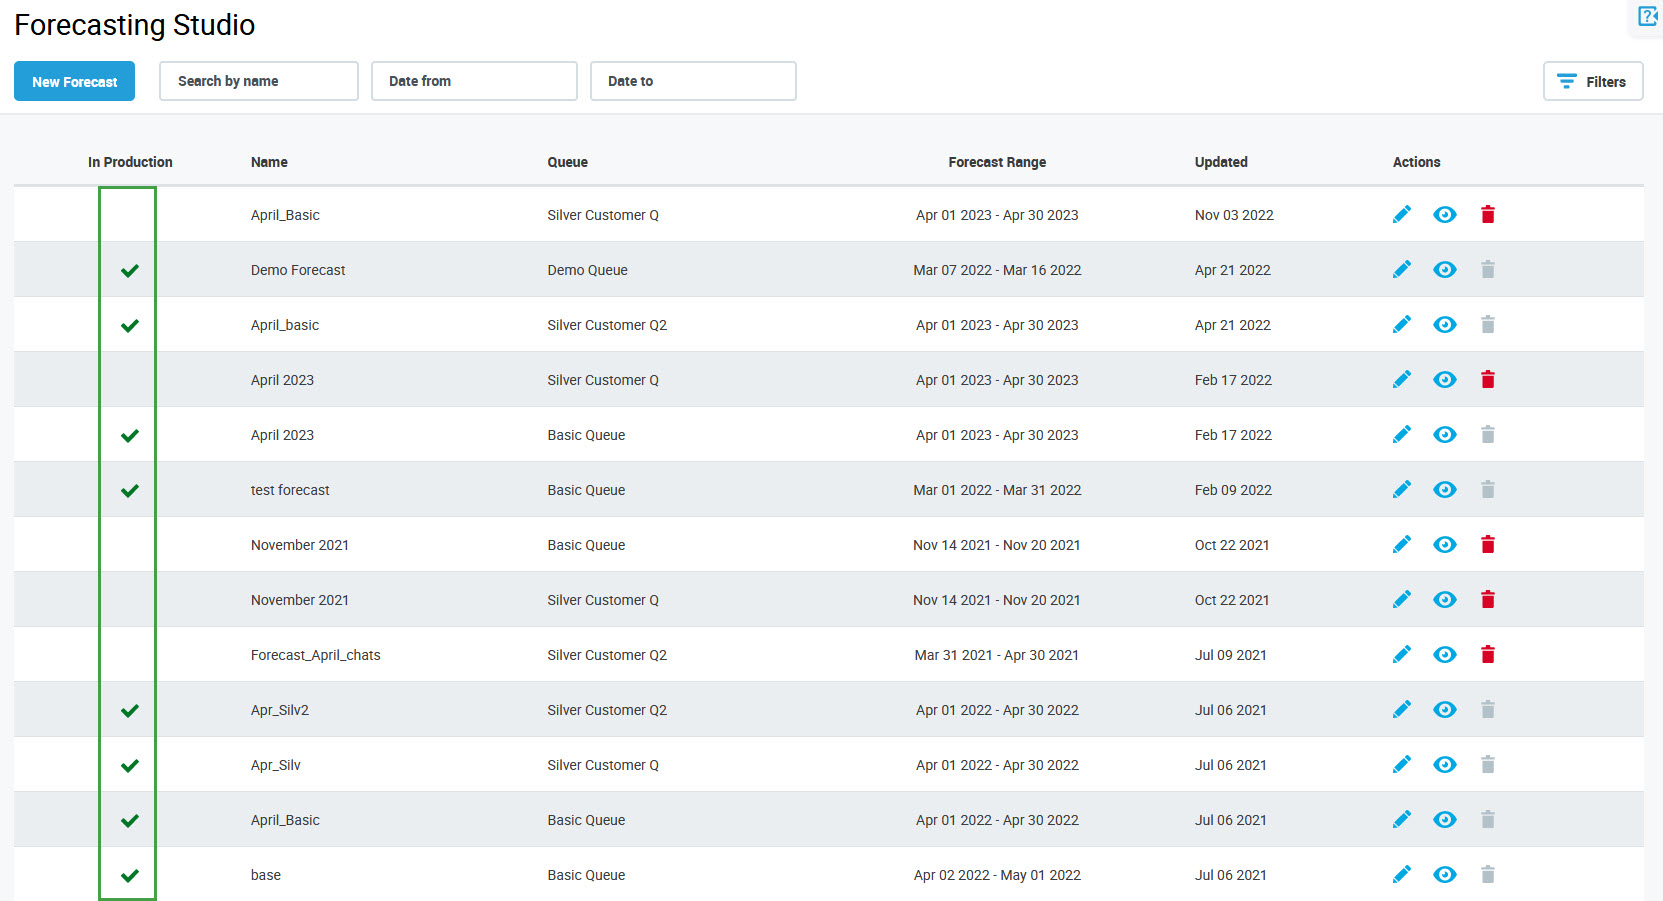
Note that only one forecast can be selected as the production forecast for each queue for any given day!
- When a new production forecast is selected for the same time range and queue, the previous production forecast is automatically converted to a draft.
- If a new production forecast is selected that contains an overlapping time range with an existing forecast that is in production, both forecasts will stay in production, but the overlapping days will be overwritten by the new production forecast.
The Action column allows further actions in regards to the production forecasts:
- the View button () enables the user to review the forecast – this option is available only to users with the
WFM_ANALYSTrole assigned - the Edit button () allows for the modification of the forecast – this option is available only to users with the
WFM_SCHEDULERrole assigned - the Delete button () allows for the removal of the forecast – this option is not active for production forecasts
The table below indicates which actions are enabled based on particular permissions:
| VIEW | EDIT | REMOVE | |
|---|---|---|---|
WFM_ANALYST | - | - | |
WFM_SCHEDULER | |||
WFM_AGENT | - | - | - |
Selecting a New Production Forecast
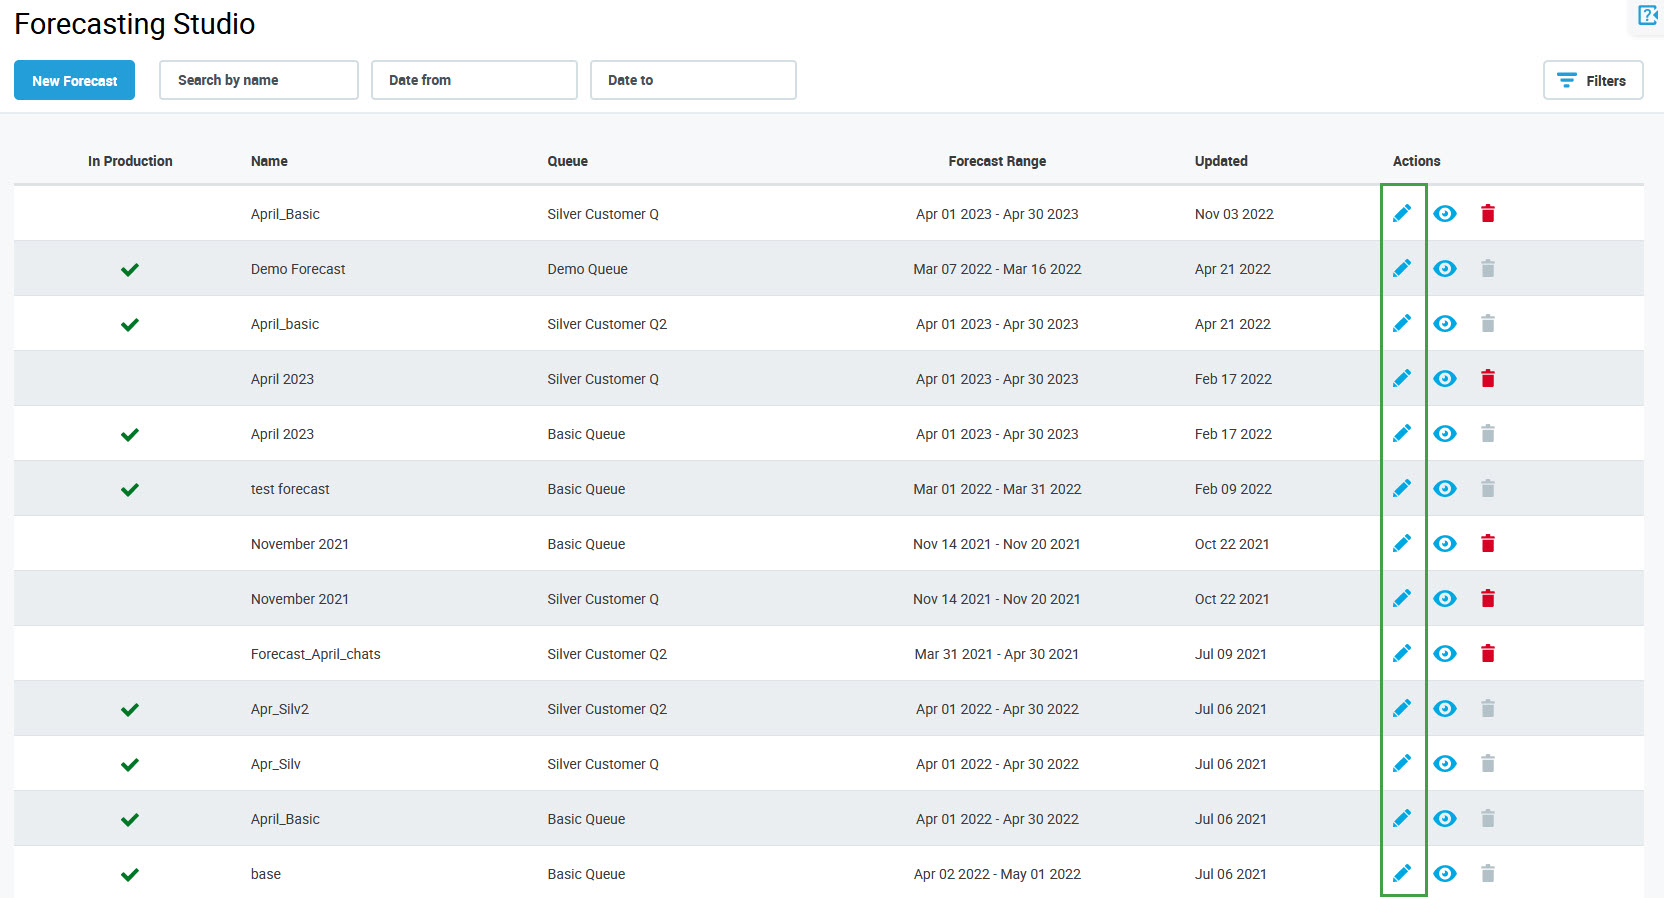
To put a forecast to production, click the Edit button () in the Actions column for the forecast that you wish to put to production.
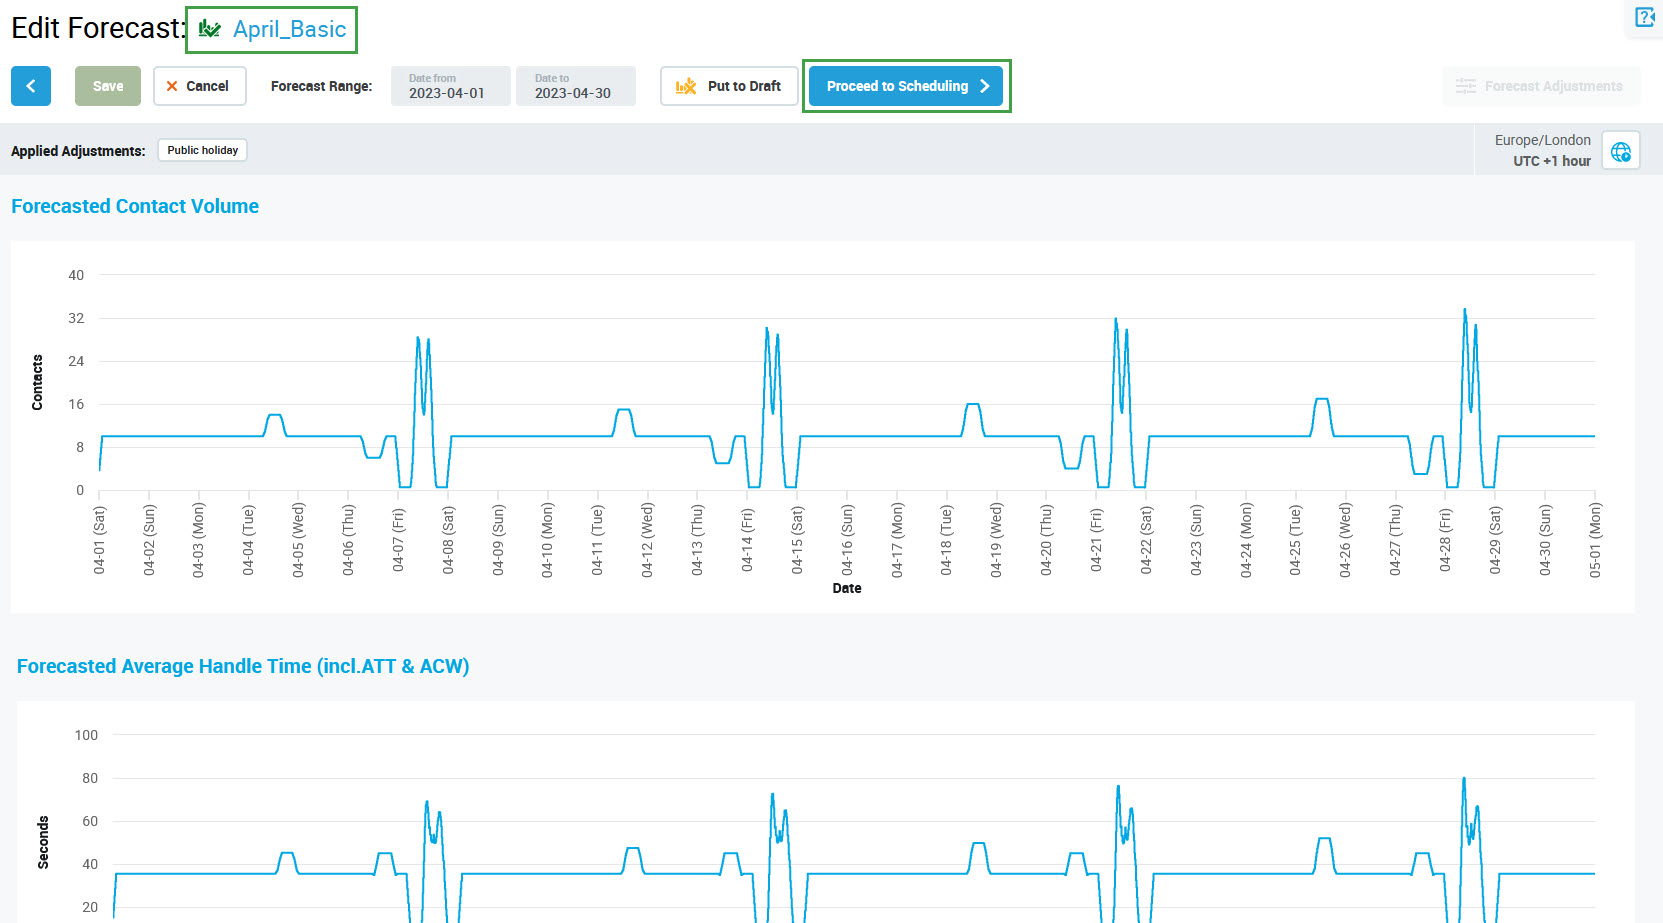
Click Next step to navigate to the second step of the wizard. Click the Put to Production button to put the forecast to production.
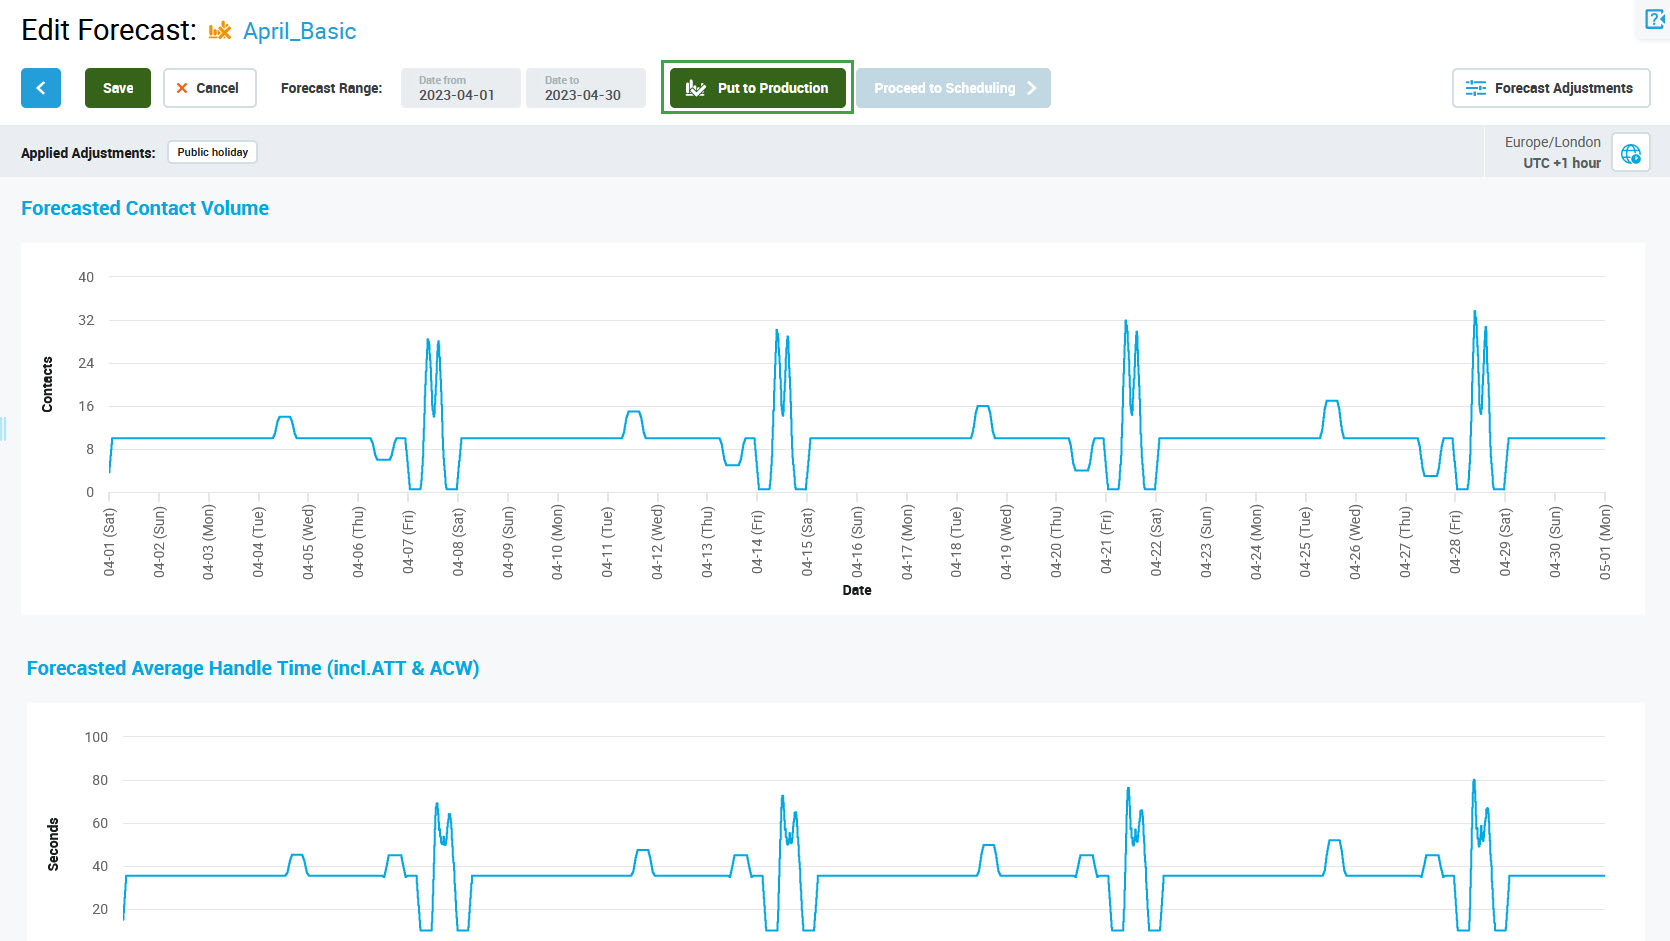
The In Production icon (
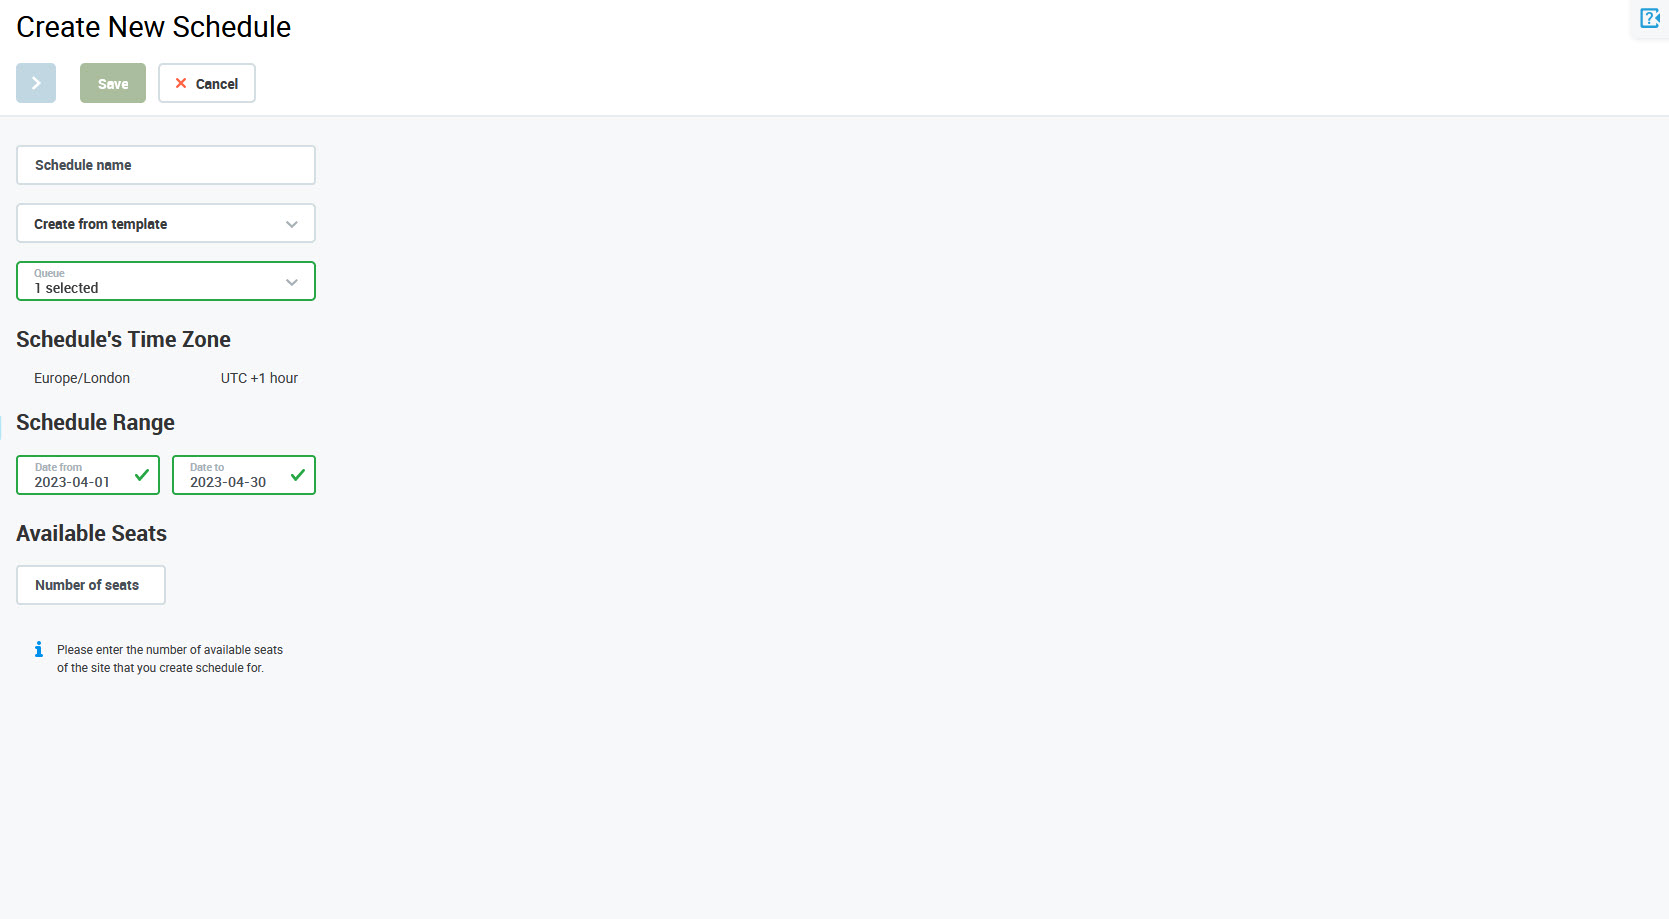
Data selected in the Forecasting Studio (Queue, Date from, Date to) is used as input.
Editing the Production Forecast
The production forecast cannot be modified. If changes to a forecast which is in production are needed, first remove it from production, edit it and then put it back to production.
Removing a Forecast From Production
To remove a forecast from production, click the Edit button () in the Actions column for the forecast which is in production.
Click Next step to navigate to the second step of the wizard. Click the Put to Draft button to remove the forecast from production.
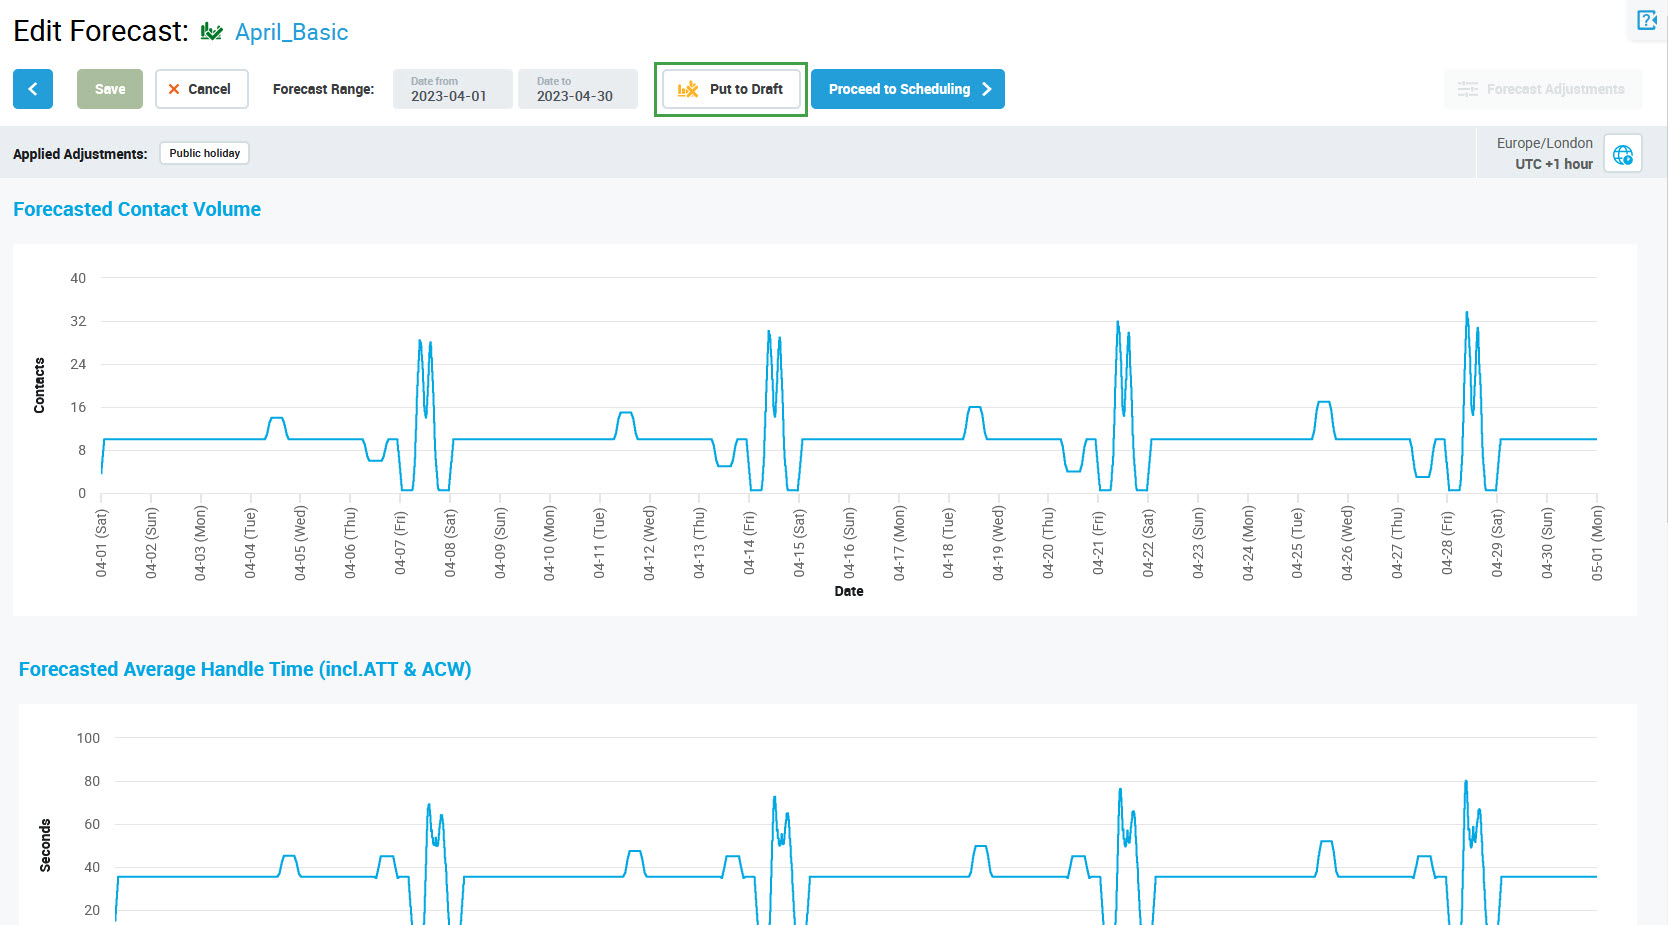
The In Draft icon (
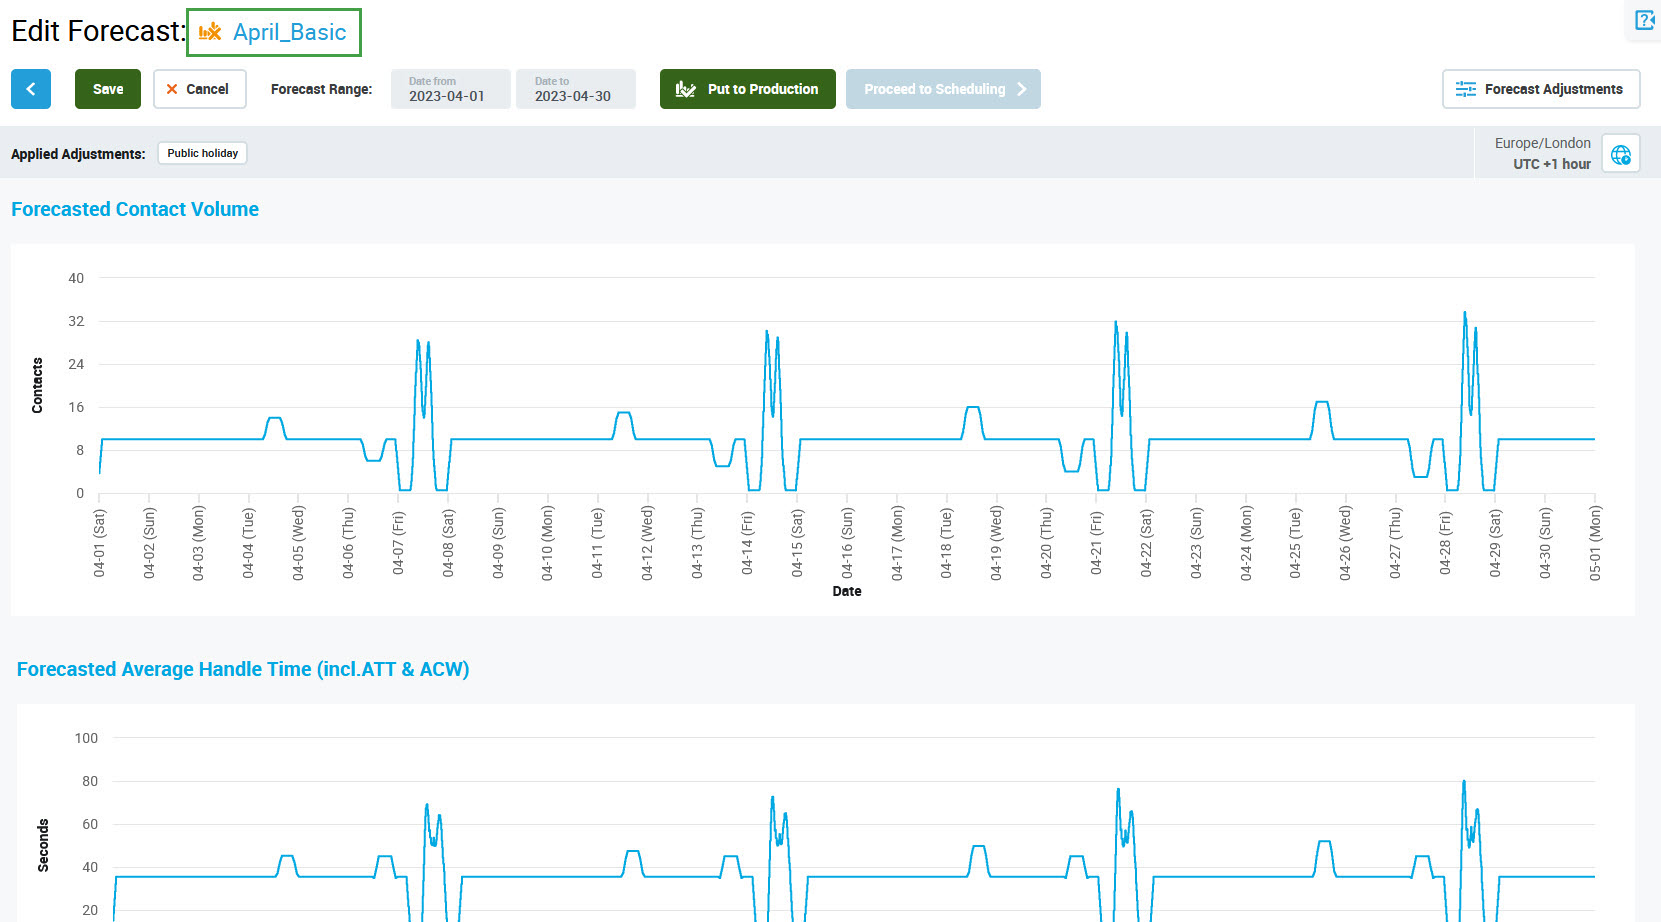
The Save and Forecast Adjustments buttons are active again, the forecast can be modified.


