Managing Provider Clients
Adding a Provider Client allows other applications to communicate with User Management. For example, this is the first and necessary step before deploying a Historical Data Provider or Users Data Provider (used by Eleveo User Management to import users and groups from UCCE/X).
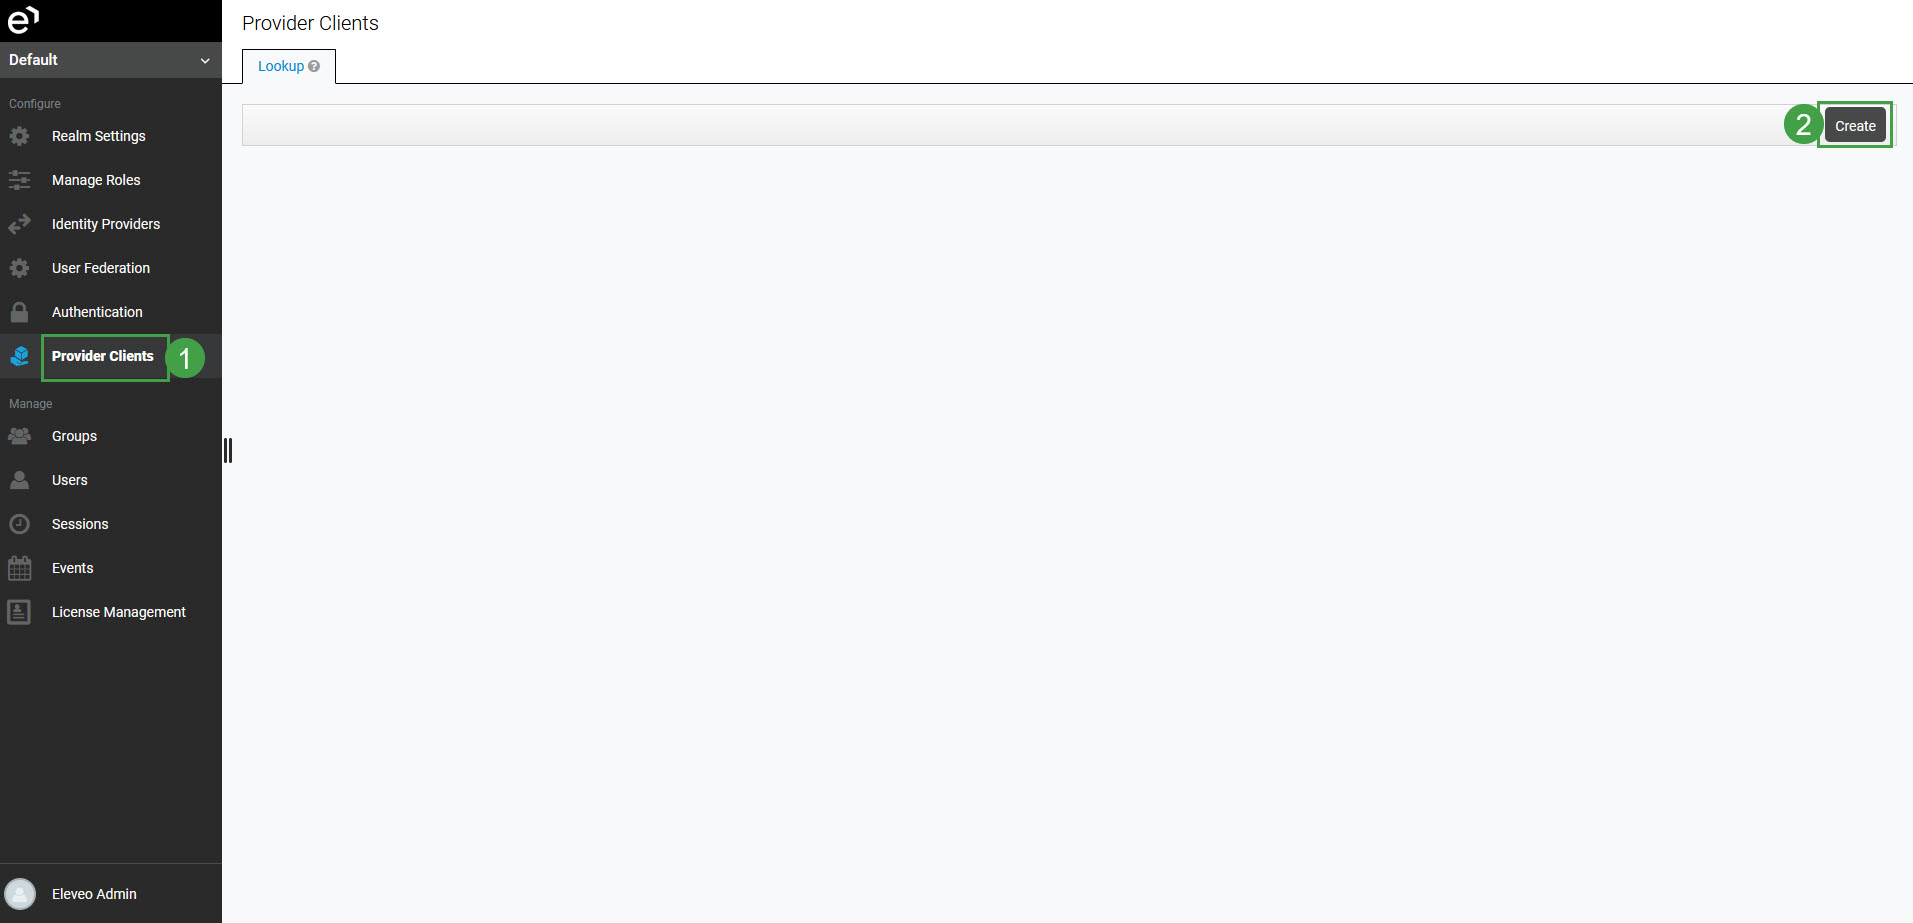
In order to add a new client, click Provider Clients in the navigation tree on the left. The Provider Clients screen will open. Click Create.

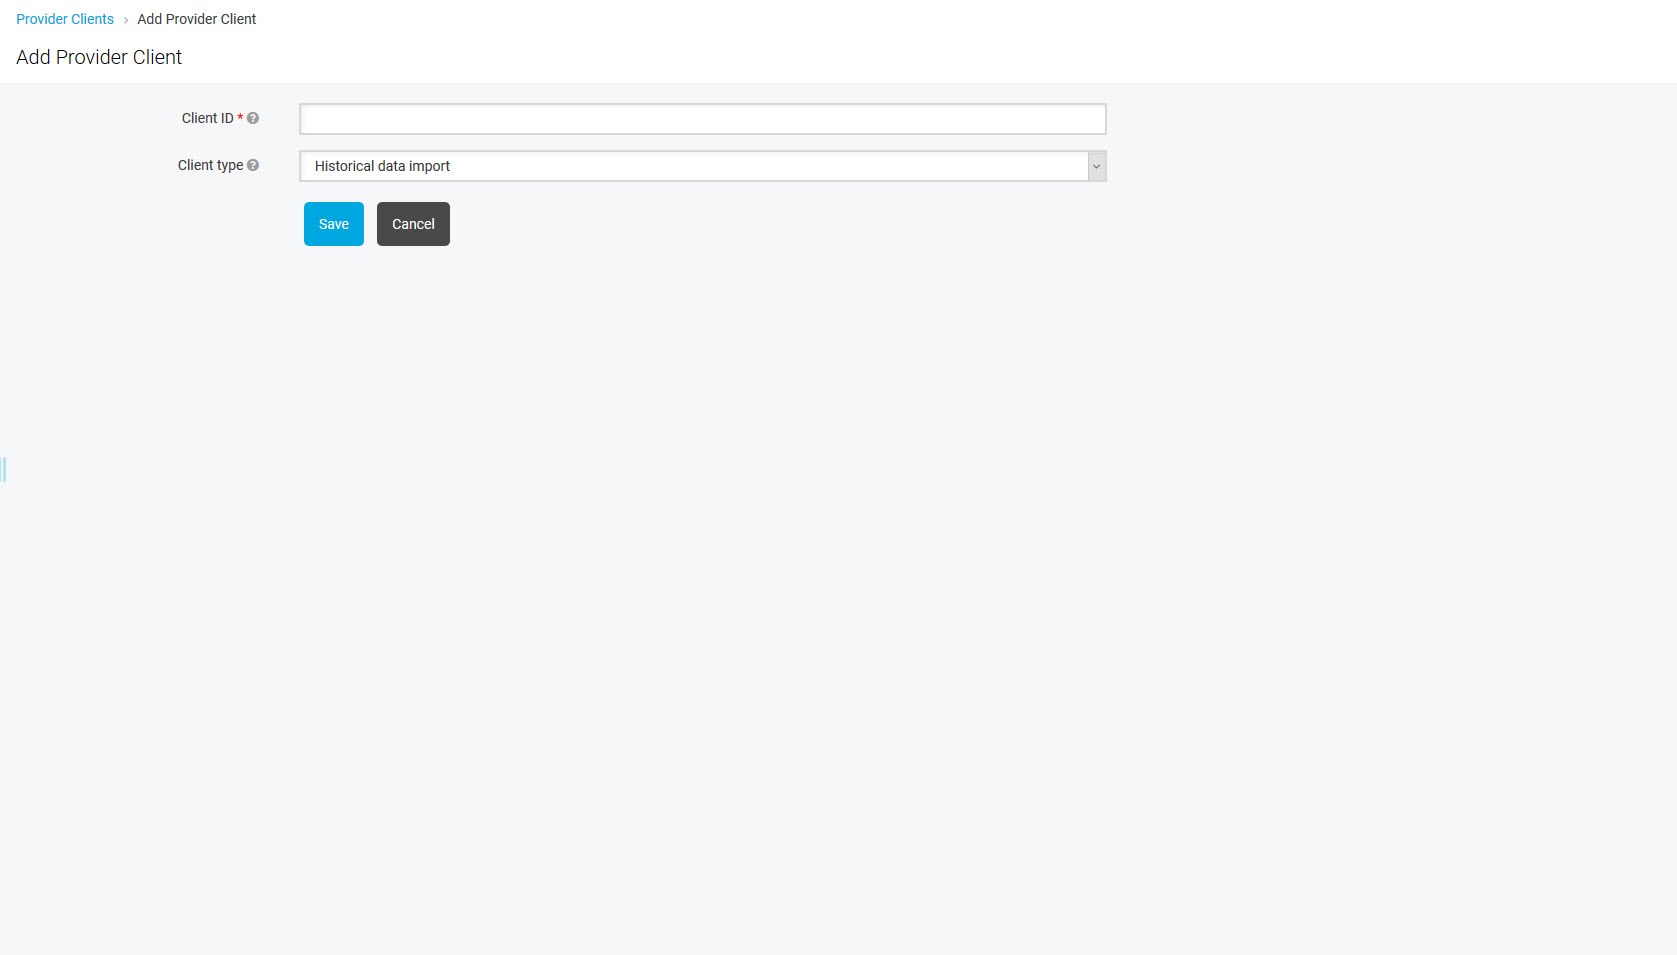
The Add Provider Client screen will display.

Configure:
- Client ID – name of the client (for example: ucce-user-pusher-app or uccx-user-pusher-app)
- Client type – type of the client (select from the drop-down menu)
It is important to select the correct Client type:
- Historical data import – to import historical data from UCCX or UCCE servers into the WFM application
- User import – to import users and groups from UCCX, UCCE, or CUCM servers into User Management
- Cloud integration – to import calls and metadata from an on-premise server into a server in the cloud
- Screen capture – to authenticate CCaaS (Cloud) Screen Capture clients against the Eleveo solution
- CTI events import – to import Agent State events from Cisco CTI servers, in real-time, into Eleveo
Note that the ETL basic, ETL user import and ETL historical data import Provider Clients are created automatically, as a result of the ETL Manager configuration, for example when integration with Webex Contact Center is set up.
Do not add them manually from within the User Management UI!
Click Save to create a provider.

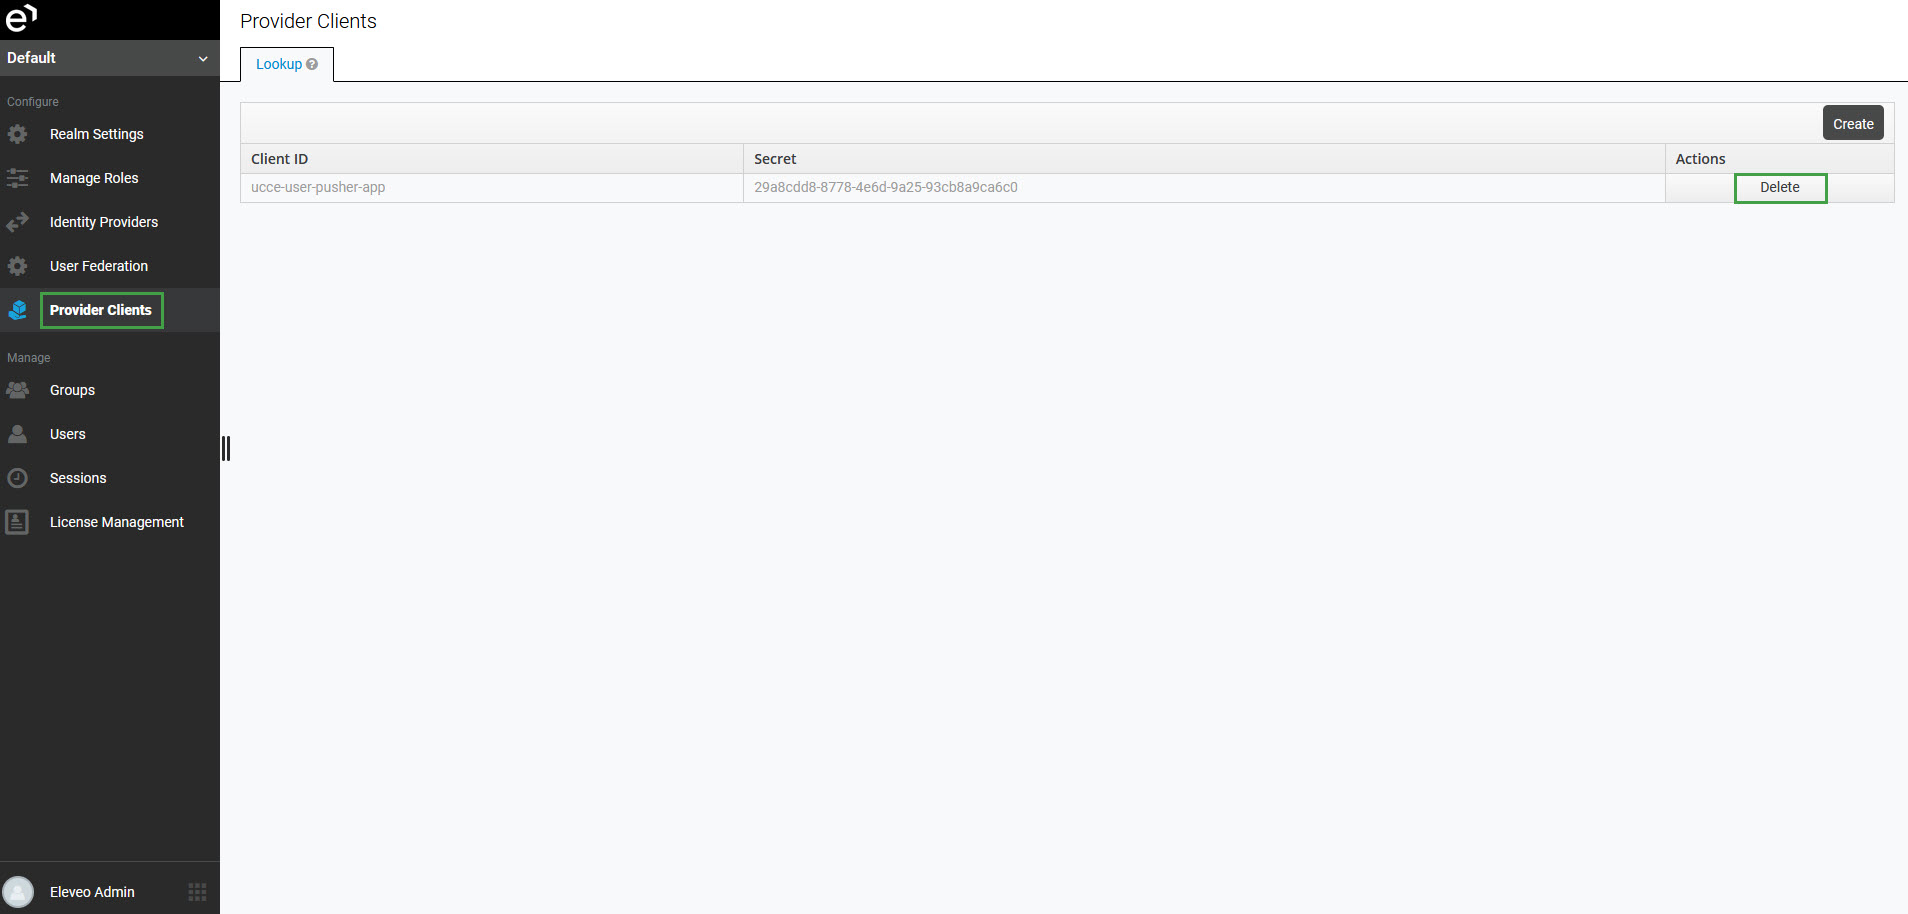
The new client will be listed on the Provider Clients screen. Note that Client ID and generated Secret will be needed later, during the Data Provider configuration.

Removing the Provider Client
To remove the Provider Client, click the Delete button next to the Provider's name on the Provider Clients page.

